Thursday, April 3, 2014

Thrifted Rustic Easter Vignette

I found these three pieces at my local thrift store -- total cost was $4.00.  
 This is how they started out.   I gave all three pieces a coat of white chalk paint.  They were too 'stark' for the look I was going for so I added several coats of watered down brown paint.  Here you can see the duck on the left after it was 'aged' and the one on the right with just chalk paint.
To age the watering can, I just kept wiping brown stain over it and rubbing it off.  The hatching chick decal was applied using Mod Podge.  I have a method for printing these out using just plain paper, white tissue paper and a regular ink jet printer.  You can read about it in detail HERE.
To help make the edges of the print 'disappear', I take something stiff (a stencil brush, stiff piece of dry sponge, etc.) and pound the edges.  They then 'fray' and 'feather' out so you hardly see them.
 I filled the bottom of the can with paper and topped with some moss and wooden eggs that I already had.  I'm trying to spend as little as possible while adding to my Easter decor this year.  How are you saving money with your decorating?  I always love seeing how others decorate "on the cheap"!  Happy Spring (hopefully it will FEEL like Spring soon where we are!)
 

Saturday, March 29, 2014

Peeps Feeling Blue


 I'm not a fan of EATING peeps (shock!) but when I saw this cute idea on Mommy Savers, I knew I had to try it.
I already had the square vase so I picked up the marbles at the Dollar Tree and a bouquet of white flowers.  Now finding BLUE peep BUNNIES proved to be impossible (I know I'll see them EVERYWHERE in the coming weeks when I don't need them!) so I opted for the blue chicks.
I wasn't sure how they'd work but I have to say that I think their little "smooshed" beaks look kind of cute in a slightly creepy way.
To start I put a small glass in the center of the square vase and then filled in with the marbles.  The peeps went in next and then the flowers.  
I decided to attach a few of the chicks to skewers (MORE torture as if smooshing them into a square vase wasn't bad enough) and add them to the arrangement.
I'll just refill the water in the glass when needed.  I'm thinking that these will just harden up and I'll be able to store and reuse them next year.
There's nary a sign of spring in these parts yet except for a smattering of Robins who are no doubt shaking their beaks wondering if they misread the calendar.
Hopefully it will start to feel like spring soon . . .


Sunday, March 2, 2014

Eileen Is Irish

Eileen loves holidays because like most ladies, she loves to change up her look now and then.  These days she's "wearin' the green" and looking quite lovely I have to say.
Eileen came to live with me last summer -- she was a STEAL at just $25.00 and we've had a lot of fun together ever since. She's named Eileen for a reason -- you can read her story in my original post.
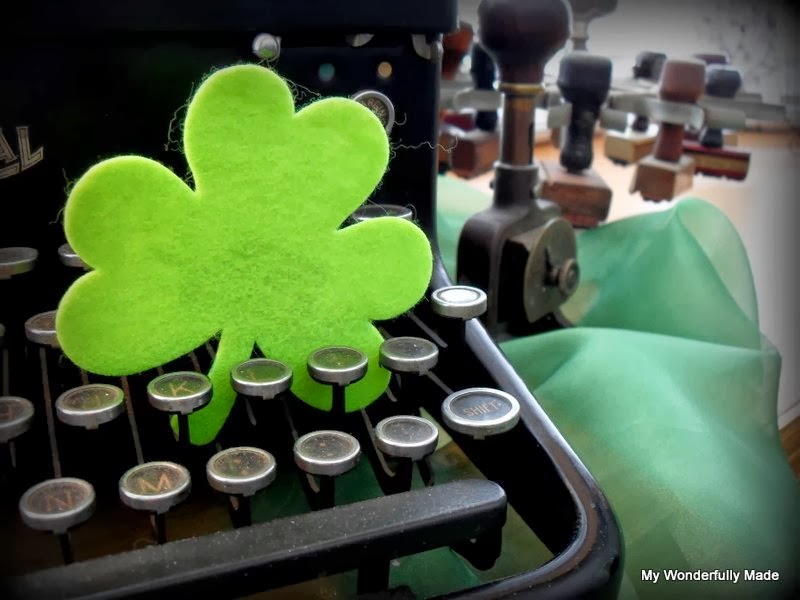
She sits "royally" in my bay window along with my ever-growing collection of vintage office equipment.
A friend gave me two very old date stamps.  I am planning to do a little research on them but they belonged to his father and were used in the early 30's.
 My daughter knows what her mom loves.  She picked up these old pince nez glasses in their original case (the leather pouch they're sitting on.)  They fold up -- so cute!  And they're green so with my tinted green water in the ink bottle, they are perfect for St. Patrick's Day.
 This working Baby Ben clock was my dad's and he recently gave it to  me (he couldn't figure out exactly WHY I'd want such an old thing LOL).
 With continued snow I feel like I should say "Merry Christmas!" but I'll think Spring and wish you all a "Happy St. Patrick's Day!"

Saturday, February 8, 2014

LOVE Valentine's Day!

I have to say that my most FAVORITE holiday to decorate for is Valentine's Day.  I think it could be because red is my favorite color.  Or it could be that after the Christmas decorations come down, everything looks so sad and bare and the Valentine decorations really make it look festive again.  OR, it could be because the bright pops of color help me through the dreary, gray days of January and February.  Whatever the reason, I thought I'd share some decorating ideas with you from this year.
 I keep this vintage "office" vignette in my bay window year-round but it always gets "tweaked" depending on the season.
 This little "nook" in my living room wall is always changing (even DURING a season!)  It's kind of like my "dress up doll" that I constantly rotate new and old things in and out of.
One of my favorite finds last year was thing vintage Josef ceramic angel.

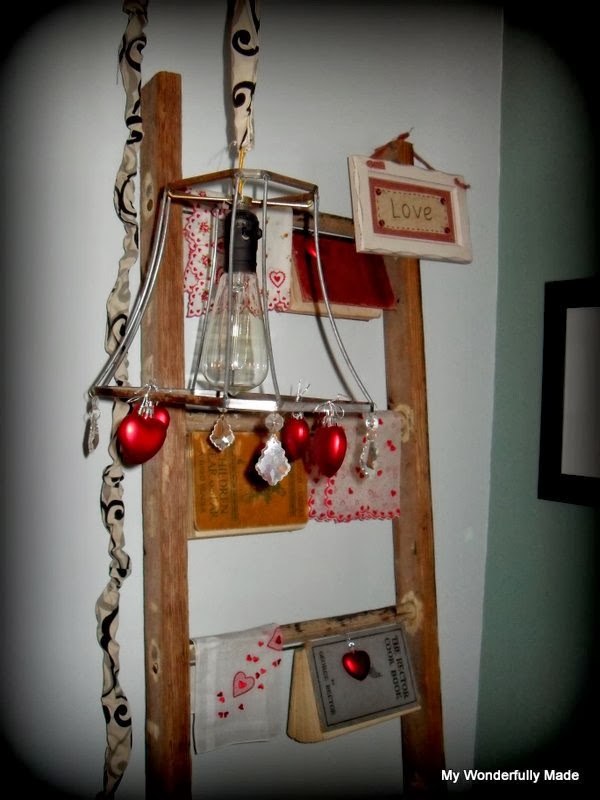
My antique ladder is another one of my "dress up dolls".  
And finally, gratuitous photo of what I think is the cutest, little fur ball on the planet, Ava.
So as the snow is STILL falling here in the Midwest, I will turn on my Valentine lights and dream of seeing the grass again some day (I DID see a Robin today -- I'm thinking she was looking at the wrong month on her calendar though!)
How are YOU passing these dreadful, winter months?  Do you have an area that you change up with the seasons in your home?


Wednesday, January 1, 2014

Cheesy Mashed Potato Pancakes

 Leftover mashed potatoes from your holiday meal?  Here's a great way to use them . . . make potato pancakes!  These are simple and quick to make and can be enjoyed as a side dish or in a light meal all by themselves.
Combine your mashed potatoes (in my case they were garlic mashed potatoes . . . even better!) with a few simple ingredients, shape into patties and fry.  You don't need a lot of oil so don't be put off by this step.
Once you've removed them to a platter, you can lightly salt them if you prefer and serve up warm with a dollop of sour cream (fat free in my case) and a sprinkle of chopped chives or scallions.
Cheesy Mashed Potato Pancakes

Combine:  3 cups cold, mashed potatoes; 2 T flour; 1 egg; 2 T chopped scallions or chives; 2/3 c shredded cheddar cheese.  Mixture should be dry enough to form into golf ball-sized balls.  If too sticky, gradually add more flour.  If too dry, add an additional egg.  After you form into balls, roll in additional flour and flatten to about 1/2" thick.  Heat a few tablespoons of oil (I used canola) and fry approximately 3-4 minutes per side or until golden brown.  Remove to serving platter and sprinkle with salt.  Serve with sour cream and extra chives or scallions.  Enjoy!