I'm still having fun making tea cozies with vintage linens! I wanted to try a slightly different shape so after measuring one of my pots from top to bottom and spout to handle, I created a slightly pointed cozy with straight sides.
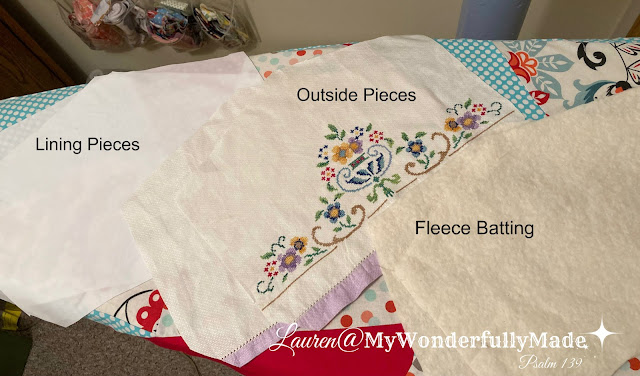
I cut out my two lining pieces (FYI . . . I purchase plain, white sheets at estate or garage sales and use them for things like this!), my two outside pieces (from a vintage tea towel) and two fleece batting pieces.
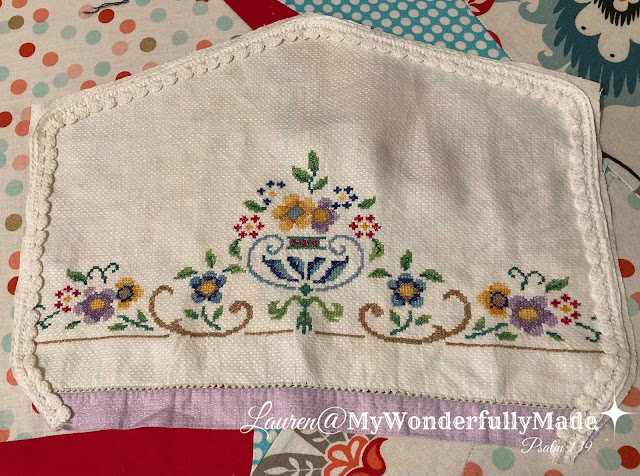
The trim for this one was actually a scrap cut from a vintage pillow case. I used the embroidery from the case for a project but glad I hung on to the edging! This was stitched onto one of the outside pieces with the trim facing INWARD.
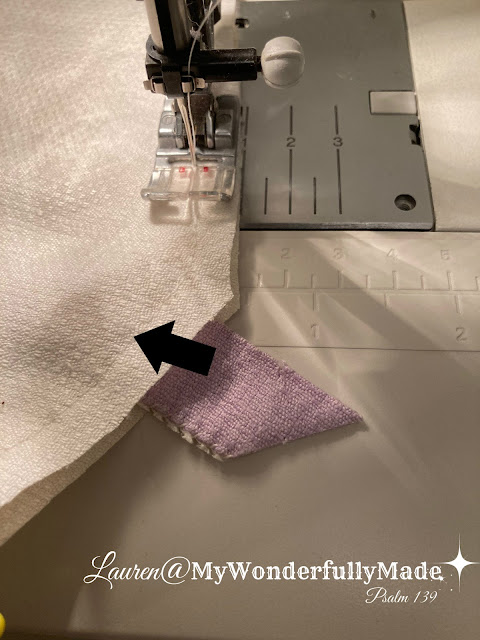
While sewing the two outside pieces, right sides together, I added a piece from the edging (placing it so the finished edge points INWARD) to create a little tab on top of the cozy. Stitch top and sides, leaving bottom edge open. Turn this right side out and press.
Now sew the batting pieces to the wrong sides of the lining pieces, leaving bottoms open. Then stitch these two pieces, right sides together on the top and sides, leaving bottom open.
Here's what you now have. Leaving the lining inside out, slip the outside pieces inside the lining so that right sides are together. Stitch the bottom edge, leaving about a 3" opening to turn.
Once you turn it all right side out, this is what it will look like. Now, just push the lining up inside the other pieces and press all of the edges, pressing the opening in as well.
This is what it will then look like. Next, stitch close to the bottom edge, catching in the edges that you left open. Press and you're finished!
I love how this one turned out and I love the shape. HOWEVER, with that slant in that I added at the bottom, it would NOT fit the teapot I intended . . . it was too tight.
BUT, it DID fit this teapot which was smaller. This pot belonged to my late mom (who never made a pot of tea in her life that I can recall haha!) and I just love using it and the cozy fits it perfectly. So, if you're going to tape in the bottom, make the cozy overall about 1" bigger.
The kitchen reno continues above my head so I'm grateful for my sewing room downstairs where I have heat and my machines and lots of other blogs to visit and get inspiration from!!


Another lovely tea cozy! I'm sure I have a teapot in my collection that will fit the cozy.
ReplyDeleteAnother pretty tea cosy! I love the embroidered design. I don't know if you noticed but there are purple flowers in both the embroidery and teapot that match. Meant to be!!!
ReplyDeletethis really is so cute! I love the teapot, too. A perfect combo! Hang in there with the kitchen!
ReplyDeleteLauren these are the sweetest. Happy Easter. xoxo Kris
ReplyDeleteAnother cute cozy, Lauren! I’m glad you gave your sewing area to keep you busy while the Reno is going on. Happy Easter blessings!
ReplyDeleteYour tea cozies are so beautiful! It's wonderful to give something old a new life!
ReplyDeleteI just wanted to drop by to let you know that I am hosting a small giveaway on my blog. I'd love to have you join if you'd like!
ReplyDeleteThat tea cozy is so pretty. So much detail - you did an excellent job. You are so creative, Lauren, always working on unique projects.
ReplyDelete~Sheri