


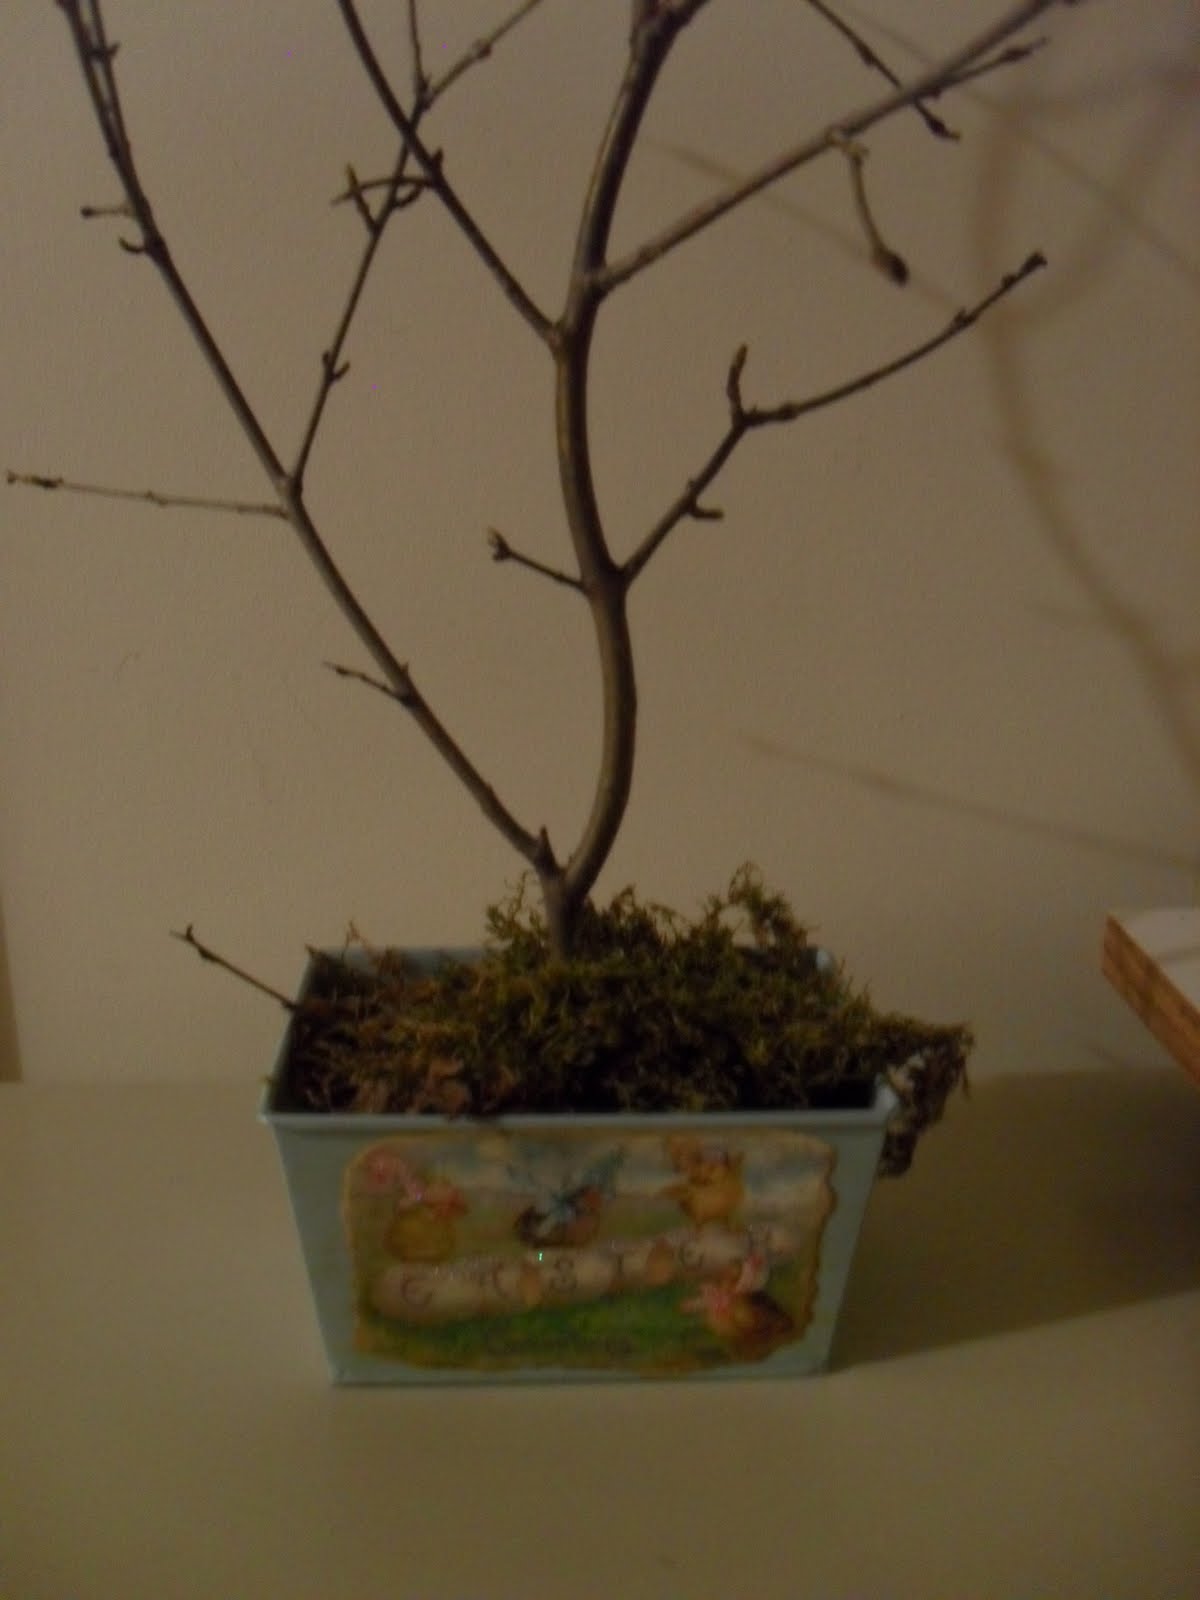
To decorate it I went back to Google and found these cute, vintage Easter postcards, printed them out, tore the edges and distressed them. Using Mod Podge I attached them to the container front and back.

After they were dry, I used a small paintbrush to add glue to parts of the images and then sprinkled on my favorite ultra-fine glitter. Once this was dry, I used a small, dry brush to remove any excess glitter.

To hold the branch in the container, I used hot glue to attach a spray paint can lid into the bottom, put the branch in the little center hole and surrounded it with sticky tack to secure it. I added some sheet moss to cover all of that.
I had a hard time deciding what to put ON the tree so looking around I decided to take some pages from an old book and make flowers to attached to the branches.
First I crumpled up the pages and then un-crumpled them. Taking a light brown ink pad, I rubbed the pad over the wrinkled pages, distressing them.

Then I used a circle scallop punch to punch out the petals. If you don’t have a circle punch or scallop punch, just cut out circles free hand – the more uneven, the more vintage it will look anyway! Laying 4 petals on top of each other, I inserted a jewel-brad.


Next I crumpled up the petals and then fanned them back out giving the flowers a 3-dimensional look. These were attached to the branches of the tree with hot glue.


You really could use any type of container-- even an empty aluminum can would be cute! So this is a really inexpensive (and in my case . . . free!) project to use as a table centerpiece for your Easter dinner!

And I found a 'temporary' use for the little vase whose handle I replaced with beads! Happy Easter everyone!!

Hi Lauren,
ReplyDeleteI found you over at Its a Hodgepode Life link party. I made a dictionary wreath a couple monts ago. I covered easter eggs with dictionary pages, and a candle holder. Now I have one more very cute way to use more paper. I'm your newest follower.
That should cheer everyone up on a gloomy day!
ReplyDeleteThank you for that awesome tutorial! I have this punch and will for sure be using it for this! Come by and see my pringle cans. You'll love them! :)
ReplyDelete~Liz
This is a wonderful project. I thought that container came that way when I first looked at it. What a great idea! Mod Podge makes everything better.
ReplyDeleteThat is so cute! Good job! :)
ReplyDeleteSarah
It's darling- love the sweet little container! Well done! Thanks for sharing at FNF! :)
ReplyDeleteI love the way your sweet container came out! I'm going to have to learn to use Mod Podge! heehee! ♥
ReplyDeleteOh this is so very cute! Love how you made the tree. Thanks for linking it up!
ReplyDeleteSherry
you're so talented, that is so cuteee, love the cute tree with a super cute container that you redo!!
ReplyDeleteSusan @http://tea-diary.blogspot.com
Newest follower!
ReplyDeleteI love the flowers on the branches. I was just looking at those punches the other day and knew there was something I could use them for.
Hope to see you over at my blog.
http://dragonfliezcreationz.blogspot.com
wow that it precious!! thanks! love your blog!
ReplyDeleteWhat a sweet tree! I looks precious in your Easter vignette. I hope you stop by the Tuesday To Do party and share it!
ReplyDeletehttp://blackberryvine.blogspot.com/2011/04/tuesday-to-do-5-and-4-list-makers.html
Smiles!
Jami
what a great idea!!! Those book page flowers are soooo fun and cute....great job!!!
ReplyDeleteapril
That is such a sweet idea. I love flowers made out of book pages. Lovely.
ReplyDeletesuch a great idea.. way to go!
ReplyDeleteThose are so pretty!! I just bought a distressing ink pad and wasn't quite sure how to use it....I might try those flowers!
ReplyDeleteThanks for linking!! :)
WOW! Lauren, what a beautiful creation you have here. I love this idea. Thanks for sharing. I saw this entry at the Handmade Tuesday linking party.
ReplyDeleteI'm a new follower to your fabulous blog :)
Hugs, Rleen
Love this. I did an Easter Tree to, but I think I like yours better
ReplyDeleteGreat job! I really love those sweet little flowers!
ReplyDeleteThanks so much for linking to "20 Below Thursday"! :)
Love this, thanks for showing how you did the flowers....
ReplyDeletelooks fantastic great job sometimes a rainy day turns out to be a good thing
ReplyDeleteThanks for linking up!
ReplyDeleteSherry
Just darling! love the graphics and the little paper flowers. Thanks for sharing the fun at VIF! xo Debra
ReplyDeleteLove your shabby Easter tree!
ReplyDeleteCute tree, Lauren. I usually use pussy willow branches for an Easter tree here, but his year I want to change it up. I still need to find a branch or something else appropriate. Better hurry. I'm running out of time. ;-)
ReplyDeleteHappy to find your blog. ~ Sarah
What a lovely Easter display! I love how you used the vintage Easter images to decorate your tin! Gorgeous! X
ReplyDeleteThat is so pretty. Love what you did to the container, and your flowers turned out great. So glad you linked this to Favorite Things. laurie
ReplyDeleteIts really something great innovative idea. Thanks a lot for sharing this information.
ReplyDeleteI will try out.
Regards,
Gift Basket Ideas