Wednesday, May 21, 2014

Vintage Domed Glass Pictures


Now that we finally have warm weather, I've been working in my garage on some larger pieces for a show I'll be doing in June.  After a few hours in the heat (I am NOT complaining!) I decided to take a break and move inside to work on some smaller projects.
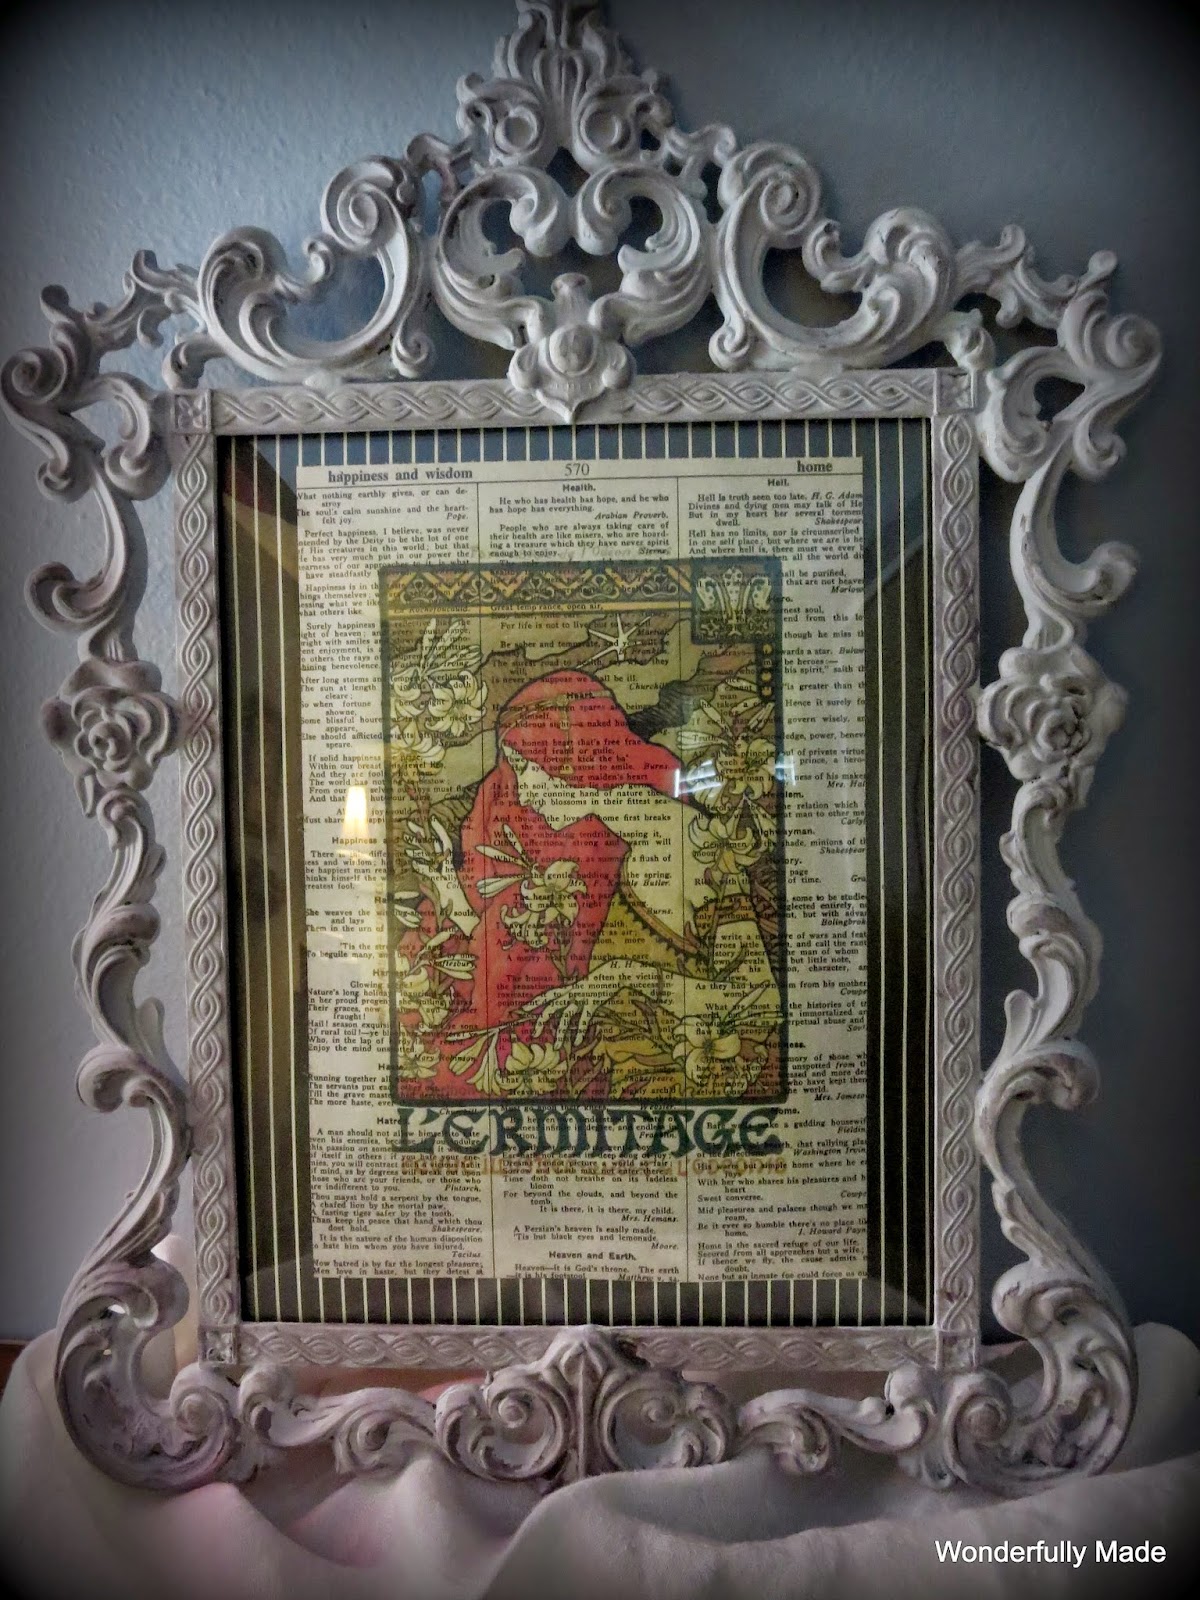
  I snagged these at my local thrift store over a year ago (it took me THIS long to get to them!) for $6.00 for the pair.  Looked like a simple repurpose to me until I took them apart and found that the pictures were GLUED to the domed glass.  Ahhhh . .  maybe I'll work on these another day . . . well today was the day.  I had to soak the glass in hot, soapy water and scrub, scrub, peel, scrub some more, all of the picture off of the glass. So the easiest part was painting the frames!
Just a few coats of Paris Gray chalk paint, some stain rubbed on, some sanding, some more paint and they were finished.

I found these graphics online and printed them on old, dictionary pages and mounted them on a simple black and white striped paper.

It was worth a little 'elbow grease' to get these finished.  Now back to work . . . how I LOVE these hot, summer-like afternoons!


Tuesday, April 22, 2014

Coconut Cream Cupcakes

I LOVE coconut anything so when I found this recipe for Coconut Cream Cupcakes I knew I had to make them. Mind you, these are not low calorie, healthy, yada yada yada BUT if you are treating yourself, this is a great way to do that.
 I like to use a cookie dough scoop to get the batter in the cupcake papers.  Two scoops, no mess, no drips, no clean up of your pan.
 Another benefit to using a cookie dough scoop is that they all turn out perfectly uniform and they all bake evenly.
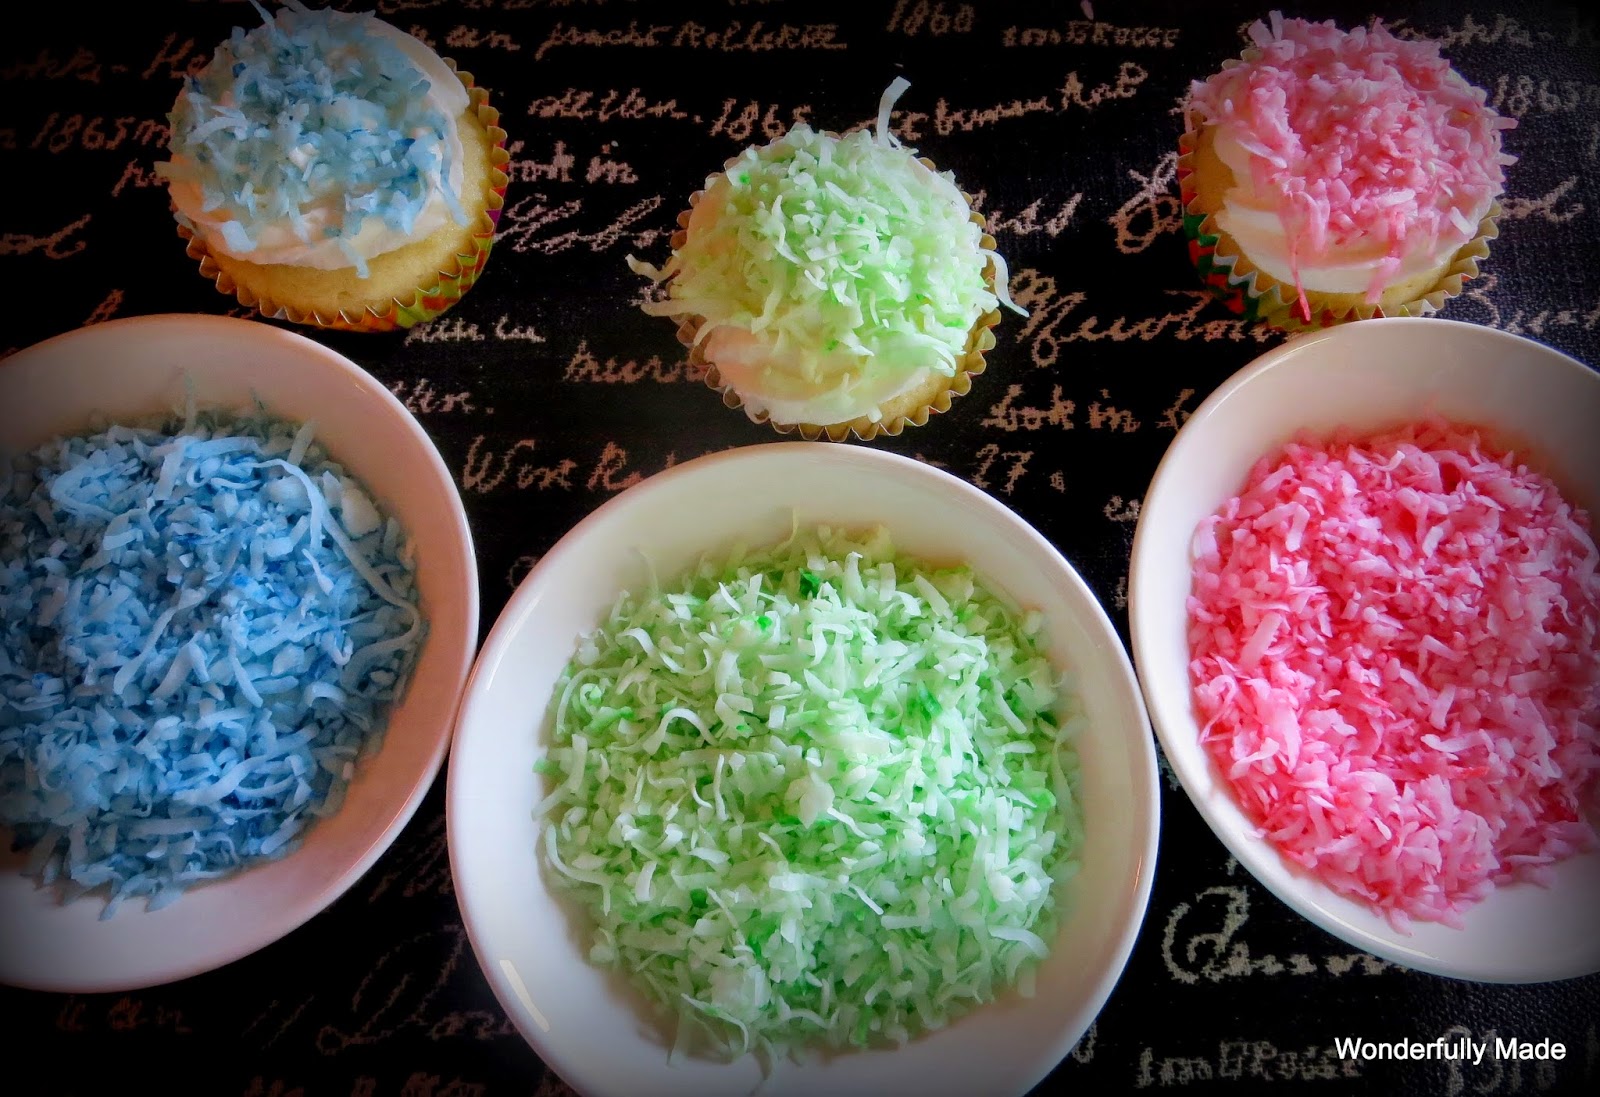
 I wanted to tint some of the coconut so I put the coconut in 1/2 pint jars, added a few drops of food coloring, put the lids on and shook them well.
Then if you have left over, tinted coconut, you can just put on the lid and save it for another time without wasting it.
 After piping on the frosting, I immediately sprinkled the coconut on before the frosting hardened too much.
 These cupcakes came out moist, light and fluffy.  This is definitely going to be a "keeper" recipe for me.
You can click on the link at the top of the post but here is the recipe as well:

Coconut extract is added for an extra boost of coconut flavor. If you don’t have any, substitute vanilla but I highly recommend the coconut extract.

Ingredients:

  • 1 cup butter, at room temperature
  • 2 cups sugar
  • 4 large eggs
  • 1 tsp coconut extract
  • 3 cups all-purpose flour
  • 1 Tbsp baking powder
  • 1/2 tsp salt
  • 1 cup coconut milk or regular milk (Again, I highly recommend the coconut milk)

Frosting (recipe follows) and shredded coconut, for decorating

Coconut Frosting:

  • 1 cup butter, at room temperature
  • 8 cups confectioners’ sugar
  • 1/2 cup coconut milk or regular milk
  • 1 tsp coconut extract


Instructions:


Preheat oven to 350F. Line cupcake pans with paper liners; set aside.

In a large bowl beat the butter and sugar for a few minutes, until fluffy. Add the eggs one at a time, beating after each. Beat in the vanilla.

In a medium bowl, stir together the flour, baking powder and salt. Add about a third to the butter mixture, beating on low speed just until combined. Add half the coconut milk in the same manner, then another third of the flour mixture, the rest of the coconut milk and the rest of the flour. It may look curdled at some point -this is OK.

Fill the prepared muffin cups 3/4 full and bake for 15-18 minutes, until pale golden and springy to the touch. Meanwhile, to make the frosting: beat the butter and half the confectioners’ sugar until smooth; add half the coconut milk, then the rest, and the extract, and the rest of the confectioners’ sugar, beating until you have a slightly stiff frosting. Cool completely before frosting. Sprinkle with coconut immediately as the frosting will set up and become too hard for the coconut to stick if you wait.  Makes about 2 dozen cupcakes.
 

Thursday, April 3, 2014

Thrifted Rustic Easter Vignette

I found these three pieces at my local thrift store -- total cost was $4.00.  
 This is how they started out.   I gave all three pieces a coat of white chalk paint.  They were too 'stark' for the look I was going for so I added several coats of watered down brown paint.  Here you can see the duck on the left after it was 'aged' and the one on the right with just chalk paint.
To age the watering can, I just kept wiping brown stain over it and rubbing it off.  The hatching chick decal was applied using Mod Podge.  I have a method for printing these out using just plain paper, white tissue paper and a regular ink jet printer.  You can read about it in detail HERE.
To help make the edges of the print 'disappear', I take something stiff (a stencil brush, stiff piece of dry sponge, etc.) and pound the edges.  They then 'fray' and 'feather' out so you hardly see them.
 I filled the bottom of the can with paper and topped with some moss and wooden eggs that I already had.  I'm trying to spend as little as possible while adding to my Easter decor this year.  How are you saving money with your decorating?  I always love seeing how others decorate "on the cheap"!  Happy Spring (hopefully it will FEEL like Spring soon where we are!)
 

Saturday, March 29, 2014

Peeps Feeling Blue


 I'm not a fan of EATING peeps (shock!) but when I saw this cute idea on Mommy Savers, I knew I had to try it.
I already had the square vase so I picked up the marbles at the Dollar Tree and a bouquet of white flowers.  Now finding BLUE peep BUNNIES proved to be impossible (I know I'll see them EVERYWHERE in the coming weeks when I don't need them!) so I opted for the blue chicks.
I wasn't sure how they'd work but I have to say that I think their little "smooshed" beaks look kind of cute in a slightly creepy way.
To start I put a small glass in the center of the square vase and then filled in with the marbles.  The peeps went in next and then the flowers.  
I decided to attach a few of the chicks to skewers (MORE torture as if smooshing them into a square vase wasn't bad enough) and add them to the arrangement.
I'll just refill the water in the glass when needed.  I'm thinking that these will just harden up and I'll be able to store and reuse them next year.
There's nary a sign of spring in these parts yet except for a smattering of Robins who are no doubt shaking their beaks wondering if they misread the calendar.
Hopefully it will start to feel like spring soon . . .


Sunday, March 2, 2014

Eileen Is Irish

Eileen loves holidays because like most ladies, she loves to change up her look now and then.  These days she's "wearin' the green" and looking quite lovely I have to say.
Eileen came to live with me last summer -- she was a STEAL at just $25.00 and we've had a lot of fun together ever since. She's named Eileen for a reason -- you can read her story in my original post.
She sits "royally" in my bay window along with my ever-growing collection of vintage office equipment.
A friend gave me two very old date stamps.  I am planning to do a little research on them but they belonged to his father and were used in the early 30's.
 My daughter knows what her mom loves.  She picked up these old pince nez glasses in their original case (the leather pouch they're sitting on.)  They fold up -- so cute!  And they're green so with my tinted green water in the ink bottle, they are perfect for St. Patrick's Day.
 This working Baby Ben clock was my dad's and he recently gave it to  me (he couldn't figure out exactly WHY I'd want such an old thing LOL).
 With continued snow I feel like I should say "Merry Christmas!" but I'll think Spring and wish you all a "Happy St. Patrick's Day!"