

It's FINALLY spring here in the Midwest and that means I'll be out working on my flower beds, yard and the general mess that our winters leave behind. With that in mind, I decided to make these hand scrub 'flowers' (you could use any shape mold) and am also adding them to my Tea Cup Exchange box for Stephanie's Tea Cup Exchange at The Enchanting Rose. This is the TWELFTH one she's hosted - it's an amazing and wonderful way to meet other bloggers and it's SO fun to put together the packages!

It takes just four simple ingredients: Epsom salt, baking soda, essential oils and distilled or filtered water. You'll also need a spice or coffee grinder and some type of silicone mold. I chose flowers for these. There are a lot of different recipes on Pinterest but this one from One Essential Community seemed to be the simplest.

You definitely need the grinder for this -- a food processor will not grind the Epsom Salts finely enough. Here you see the salts on the left and afterward, they are ground to a fine powder.

After you combine the Epsom salt and baking soda, you add your essential oils. My daughter and I decided on Lavender and Lemon/Rosemary. We did 12 drops of each and mixed with a wooden spoon (that I only use for craft projects). Add two tablespoons of water and mix then continue adding by the tablespoon until you get a nice, smooth, but stiff paste. We used 7 tablespoons of water.

Press the paste into the molds.

Our mixture made 18 flowers.

Cover your molds with plastic wrap and weigh them down with a heavy book. The mixture continues to expand for several hours so you have to keep checking and patting them down, compressing the mixture back into the molds. Let them dry over night and then you can pop them right out.
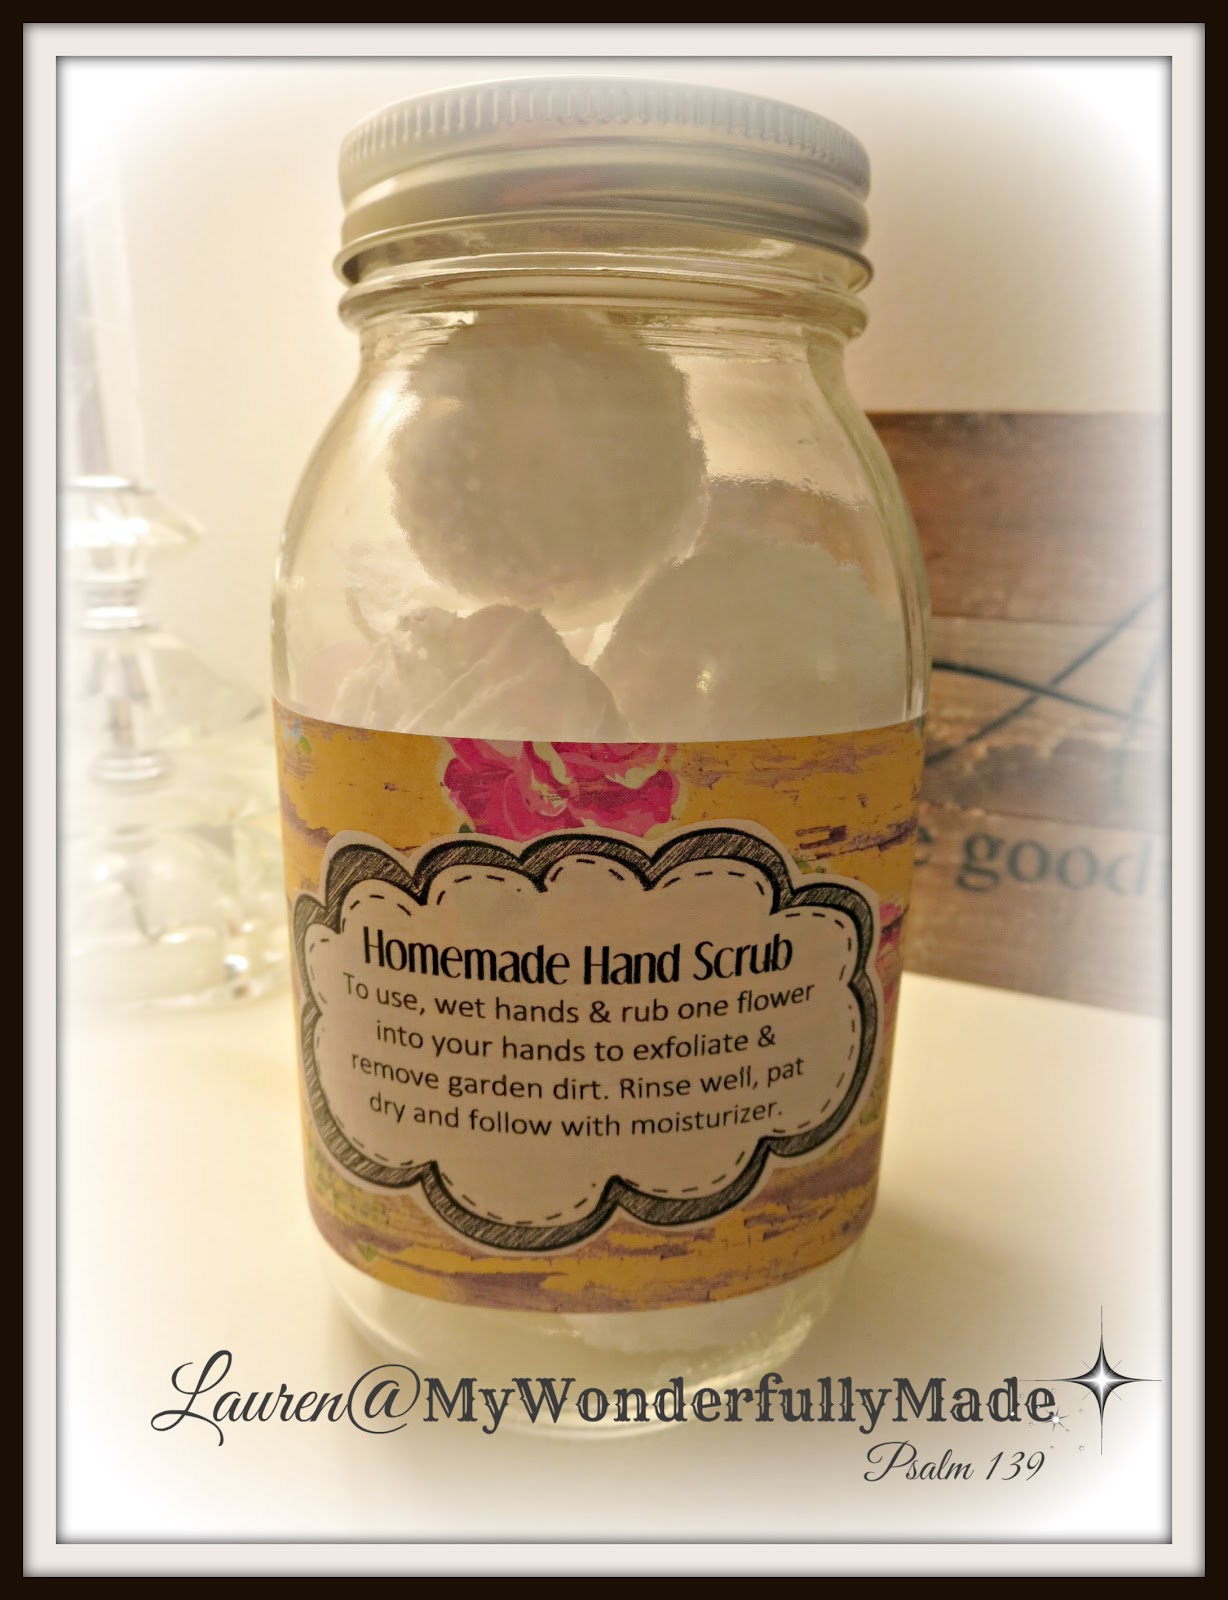
Store in an airtight jar. When your hands need a good cleaning, simply wet your hands and rub one of these into your hands and the dirt of the day will come right off. The bonus is your hands are exfoliated and smell great! I've used them already and plan to make a lot more to have 'on hand'.

I just used a Mason jar for mine and made a pretty label and decorated the lid. This jar is going into my Tea Cup Exchange box . . . MY jar isn't as fancy haha!
Be sure to check out Stephanie's blog, The Enchanting Rose -- she's such a beautiful lady and I know you'll enjoy all she shares on her blog!
DIY Hand Scrub
Use a spice grinder to grind 1 cup Epsom salt to a fine powder; add ground Epsom salt and 1 c of baking soda to a glass bowl. Add 24 drops of your choice of essential oils. Mix well, breaking up any clumps with a wooden spoon or your hands. Begin adding 2-3 T filtered or distilled water to the bowl. Continue adding water until it's the consistency of stiff cookie dough. Press dough into your molds and let dry overnight. The mixture will expand as it dries so cover molds with plastic wrap and weigh down with a book. Continue checking and pressing down the dough for the first 3-4 hours. After the dough has dried, pop it out of the molds and store in an airtight container.
On
any given week (depending on how busy I am!) I love to participate in Link Parties. These gals put a lot of time and effort into
hosting these parties so I always want to show my appreciation by directing my
readers to these blogs.
Monday
Tuesday
Wednesday
Thursday
Friday
Saturday
Sunday
00000h - I LOVE this idea! These would be so perfect for Christmas gifts (or Mother's Day....or any occasion). Thank you for this!
ReplyDeleteHi Lauren ,thankyou so much for sharing your hand scrub recipe with us,it looks fantastic xx
ReplyDeleteI've never seen these hand scrubs in the shops, Lauren...interesting. I like the pretty flower molds you used. And that mason jar with the rose lid is lovely. That will be nice for the gift exchange. I haven't participated in Stephanie's tea cup exchange, but enjoy looking at all the pretty tea cups each year.
ReplyDelete~Sheri
What a nice gift. Your jar lid is so pretty! Great DIY project. Thanks for sharing with us!
ReplyDeleteWhat a good idea! And I love the pretty packaging too!
ReplyDeleteLauren, these are so great...and what a lucky lady to be receiving some in her teacup package from you! You put such wonderful personal touches in the package you sent to me last year so your new friend will surely be blessed! Love the mason jar lid!
ReplyDeleteWow, these are beautiful little gifts, Lauren, and yes, I have all the ingredients, but I don't have a spice grinder!! Oh dear!! Your teacup recipient will love receiving these special little gifts. I used my beautiful teacup from you, just this morning!
ReplyDeletep.s. I have that same paper that you used on the lid of the jar!
OH, my goodness! These are so neat! I have never tried making something like this, but they would be so nice to have on hand and ready. I love the pretty jar. You are so right. Dear Stephanie is just a true, precious gem to do all she does for us. I got my box from her exchange in the mail today, and oh, my word, it is just wonderful. It could not have come at a better time...it picked up my spirits like you wouldn't believe. Whoever gets your beautiful gift will be so blessed, my dear, faithful friend. Praying for you today and sending hugs and love!
ReplyDeleteWhat a handy gift!
ReplyDeleteThese are really cool! I've never thought of trying something like this! Going on my to do list!
ReplyDeletePraying you have a lovely day!
How fun this is...and perfect for gifts...you are talented !!
ReplyDelete