

I found this table at a garage sale for $5.00. It’s a very heavy, solid piece so I bought it. I started with two coats of cream Chalk Paint. I really wanted to add a graphic from The Graphics Fairy but didn’t want to go through any of the processes I had seen online. I had read somewhere that you could use an ink jet printer to transfer to wood so I thought I’d give it a try.
After a bit of practice on scraps of wood, this is the technique I came up with and it worked really well. You’ll use a sheet of peel off labels and remove all of the labels leaving you with the waxy paper.
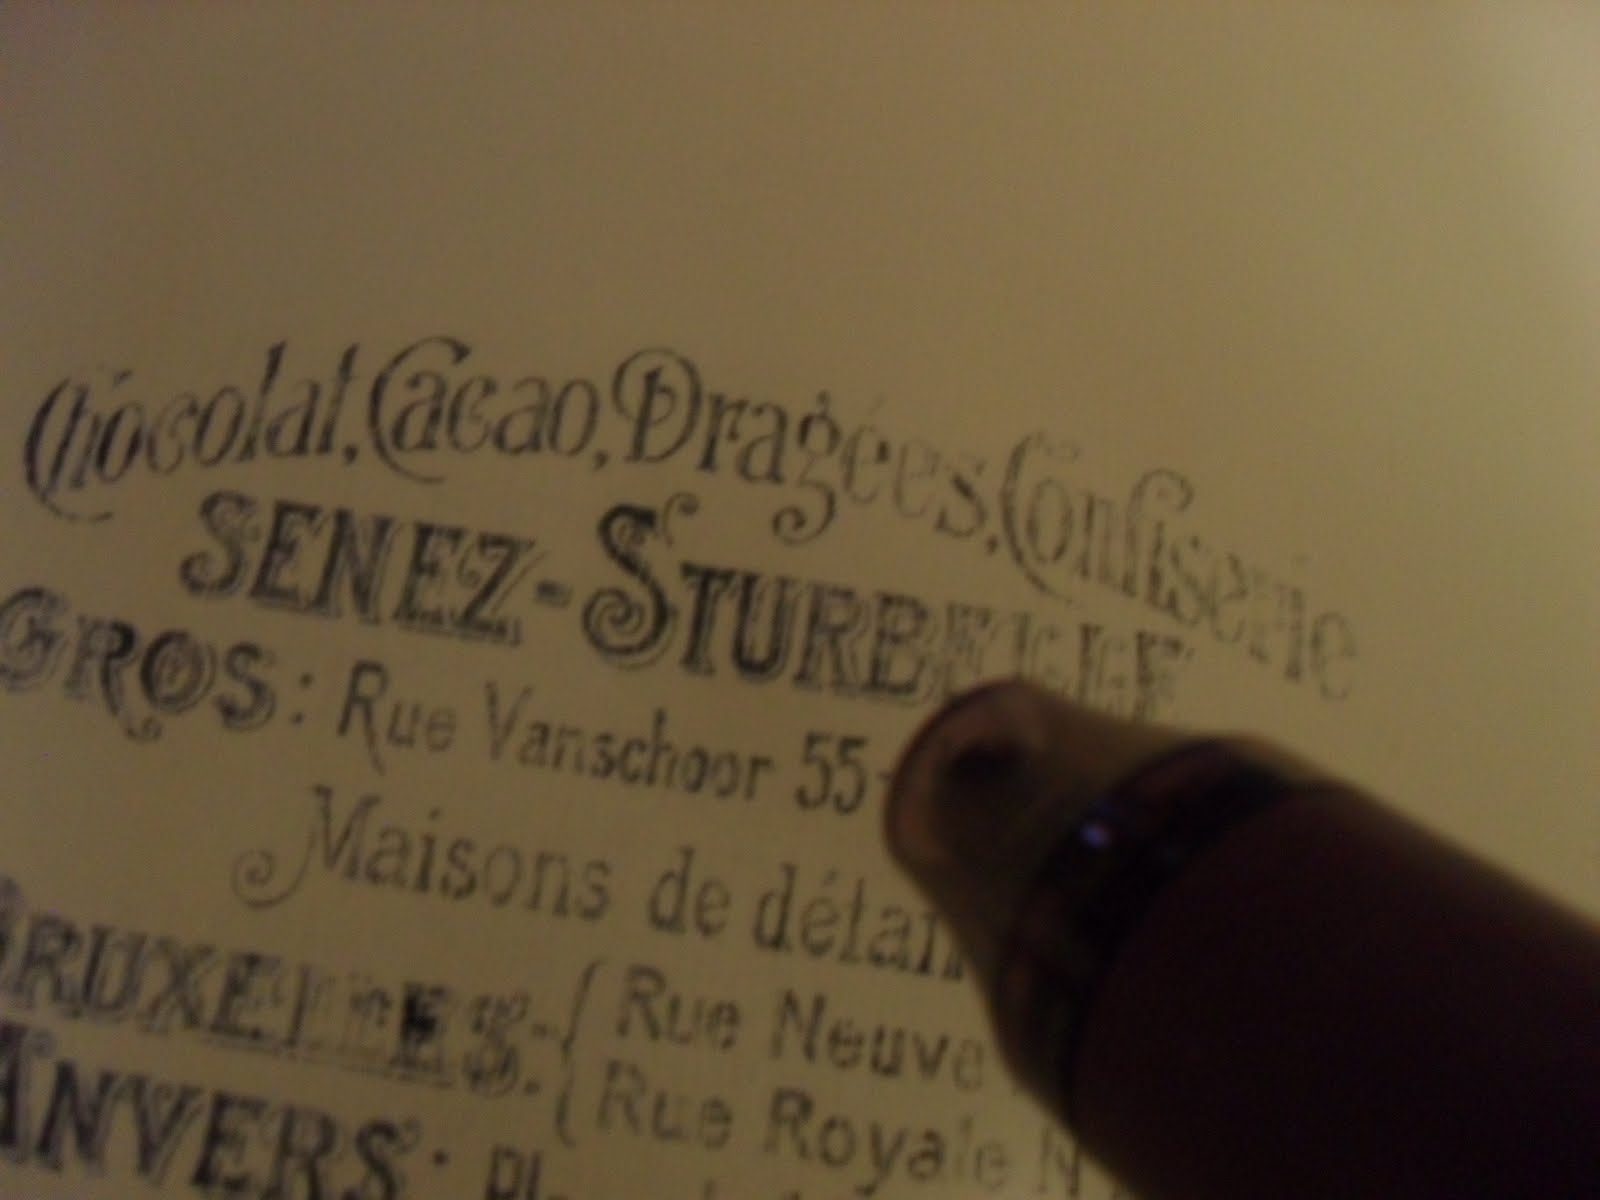
For this technique, I found a simple image worked best. If it is too finely detailed, it ends up looking ‘muddy’. I chose this image that is mostly letters.
Print your image on the WAX side of the paper (remember to reverse it if there are words/letters in the image) and then using a heat gun, dry it completely. This is important. Even letting it dry by itself for hours, doesn’t completely dry the ink and it will smear when you lay it down on the wood!

Lay the image face down on the painted surface and secure with painter’s tape. Using something like a plastic scraper (I used a sample of chipboard) rub and rub and rub.

You can peel back the paper periodically to see if there are any areas you’ve missed. Once you’re satisfied with the results, remove the paper. You can reuse the paper by simply wiping off the image with a damp cloth. This one I obviously couldn’t because I chose to cut it so it made centering the image easier.
Using the heat gun again, go over the entire image to make sure it is dry. Don’t hold the gun over any one area too long or too close or it may bubble. Gently, and using a soft cloth instead of a brush, apply a coat of wax (I used clear). Once this is dry you can distress, buff, wax again or whatever you choose. For this piece I chose to do some more distressing and apply another coat of clear wax.
It should be noted that this method doesn’t give a SHARP image but since I was going for a vintage , distressed look, it was perfect!

To summarize:
Paint
Print image and dry with heat gun
Apply image
Dry and heat set image with heat gun
GENTLY apply a coat of wax using a soft cloth*
Distress, wax, etc. as much as you want
*You can also spray with clear sealer. I did that on a smaller piece and it worked fine too.
|
| BEFORE |
 |
| AFTER |


And, since I just have to stop keeping the furniture I redo, this one is for sale on Craigslist (Sold) . . . Now on to my next project!

Very nice Lauren. You clever girl.
ReplyDeleteWhat a great garage sale find. And the transformation you did is wonderful. Truly wonderfully made!
ReplyDeleteWow...Amazing job! It should sell quickly!!!
ReplyDeleteWhat a great transfer technique and transformation! Great job! Hope you will stop by for my summer giveaway. http://www.thediyspot.com/2011/07/the-diy-spot-summer-giveaway/
ReplyDeleteThank you for such a fantastic tutorial! You have done an amazing job and you are so generous to share your tips with us! That table looks great! You are very inspiring! X
ReplyDeleteThat turned out really nice, I tend to screw up anything to do with lettering:O! Maybe I could try this someday...
ReplyDeleteBeth
Lauren you are quite the visionary:) Very nice transformation the table looks lovely, I'm sure it will find a good home.
ReplyDeleteTHAT is an amazing transformation. It looks great!
ReplyDeleteSo beautiful! Loved the mellowed finish on it and I simply adore this new technique of image transferring....thanks for the easy directions... I have to try it out. Enjoyed your visit so much and reading your sweet comment. Have a wonderful afternoon!~Poppy
ReplyDeletehttp://withadashofcolor.blogspot.com/
I have a similiar table I've wanted to paint for a while. Your table is beautiful, so thanks for the inspiration to make me want to tackle my project too.
ReplyDeleteThat is AMazing! I've been looking for a way to add decorative images from the web, other than decoupage, and that's it. Thank you for the great tutorial! I'm going to follow your blog to see more great projects. And, thank you for your lovely comment about my painted dry sink.
ReplyDeleteLove this...I tried good ol' carbon paper...stop over to see my June 29th post, our tables are very similar!
ReplyDeleteAlso enter my giveaway!
Wow! What a great technique! I love it and it came out so pretty!
ReplyDeleteWhat a great idea!
ReplyDeleteBEAUTIFUL upcycle...and thanks for the tutorial!
ReplyDeleteFrom frumpy spinster to au-current chick.
ReplyDeleteSimply wonderful! I will have to give this a try! :oD
ReplyDeleteGreat job, what a bargain for such a great little cottage table. Your transfer method is pretty darn awesome, thanks for sharing it.
ReplyDeleteHi Lauren! So nice to meet you! I read all of your posts just on this page only and I am quite impressed by your creativity. I especially LOVE the tomato red chandelier. I too, have seen them all over. I might try it sometime. Love all your other creations too!
ReplyDeleteExcellent job on the transfer and thank you for the tutorial!
I love this technique. I will have to try it out, thanks for sharing
ReplyDeleteThanks, Lauren! I have been trying all sorts of ways to transfer images to painted wood as that is what I mainly do...none of them have worked...I am so going to try this:)
ReplyDeleteRene
This is terrific Lauren! I have a perfect table that would be a candidate for this method! Thanks for sharing
ReplyDeleteKathy
Great idea, I tried it with my inkjet and it didn't print on the waxy paper. Does it have to be Avery? thanks Nancy
ReplyDeleteThat looks so nice! You did a great job on it! Thanks for linking it up!
ReplyDeleteSherry
I love the top detail- nice touch!
ReplyDeleteWow, this is smart and it really transformed this table. great job!! thanks for sharing on VIF! xo Debra
ReplyDeleteI love your little table~ so darn cute, thanks for droppng by, I love your blog!
ReplyDeleteThank you for stopping by my blog and leaving such a kind word! I am so glad to find your blog and especially this post. :) I've been using graphics fairy's images and running fabric through my ink-jet to use for fun projects. I can't wait to give this the ol' college try!
ReplyDeleteGreat job, Lauren! Love the way this turned out!
ReplyDeleteBeautiful! It really turned out well, Lauren! Another technique I need to try. I think the look of it fits in and you've saved yourself some distressing time!
ReplyDeleteThanks for your lovely comments on my blog! : )
Awesome transformation!! I am definitely going to try this!! Thanks for sharing!
ReplyDeleteAlyssa
sweetsewnstitches.com
Thanks for the tutorial, I tried it on a small piece today!
ReplyDeleteKaree
This turned out beautifully! Thank you for a great tutorial. I have a question, is it the waxy surface that makes this work? Would I be able to use freezer paper (a similar waxy surface) or must it be the paper that the labels come on? Awesome job!!
ReplyDeleteBlessings,
Kathleen
Thanx for the lesson! Your table turned out awesome. I would have tried to apply it while the ink was still wet - who'd a thunk? I also would think a heat gun would melt the waxed paper. I'll have to give it a try! Thanx again and great table!
ReplyDeletePerfect! I tried this but with actual wax paper. It was a hit or miss for me and yes it does come out more faded but like you I prefer it that way!:)
ReplyDeleteThat is very clever and it works really well!
ReplyDeleteI love the table.
Dee
I'm glad you figured this out and shared. The table looks amazing and no wonder it sold fast. I can't believe that you paid only $5 for this cutie. Our equivalent to CL is Gumtree and South Africans do not list their unwanted furniture this cheap:(
ReplyDelete