Friday, February 15, 2019

Valentine's Day Breakfast


I love Valentine's Day. I love Breakfast.  Combine the two and it's one of my favorite things to do . . . create a Valentine's Day breakfast!


After making a big fritatta, I used a large cookie cutter to cut heart shapes and a smaller one to use up the scraps.  Of course don't throw away the uncut scraps! Those are for the next day!


Now had I not lost track of these, they would have looked much more like heart-shaped bacon lol! Baked in the oven, these are easy and no mess . . . just be sure to check often!


Strawberries sliced in half with a "V" cut in the top look like little, red hearts!


Ahhhhh . . . biscuits.  How I love a good biscuit.  This recipe is from Tracey's Culinary Adventures.  It is. By far. The best. Biscuit recipe I've ever used and the only one I use.  I think it's not only the honey and buttermilk but the METHOD that makes these a stand out.  By folding the dough several times (see her recipe and instructions), you get these wonderful, flaky layers.  I'm not kidding.  You will never want to make biscuits any other way ever again!


Just look at all of those fluffy, buttery layers . . .


Plated and ready to be enjoyed . . .


Add some pink grapefruit juice, candlelight and a good, hot cup of coffee and there you have it! A simple, HEART-warming breakfast.

Monday, February 4, 2019

Vintage Style Valentine Ornaments


I'm having a lot of fun making ornaments for my Valentine tree!  Last week I saw these double heart, cardboard ornaments in a gift shop.  They were so cute but they were 12.00 each! No thank you.  I made a few mental notes and came home to make my own version.


I started by printing out some vintage Valentine images. A smaller heart template was used for the image itself and a slightly larger one for the red background.  I used pinking shears to create the edges.


You could embellish these however you like. I had some Stickles glitter paint so I just added a few touches of that.  To get the glittered edges, I watered down a bit of white glue.  Using a brush, I painted the edges with the glue.


Sprinkle on some ultra fine glitter while the glue is wet.  After these dried, I turned them over and gave them a 'flick' with my finger to pop off any excess glitter.  I also brushed them off with a small brush to remove some.


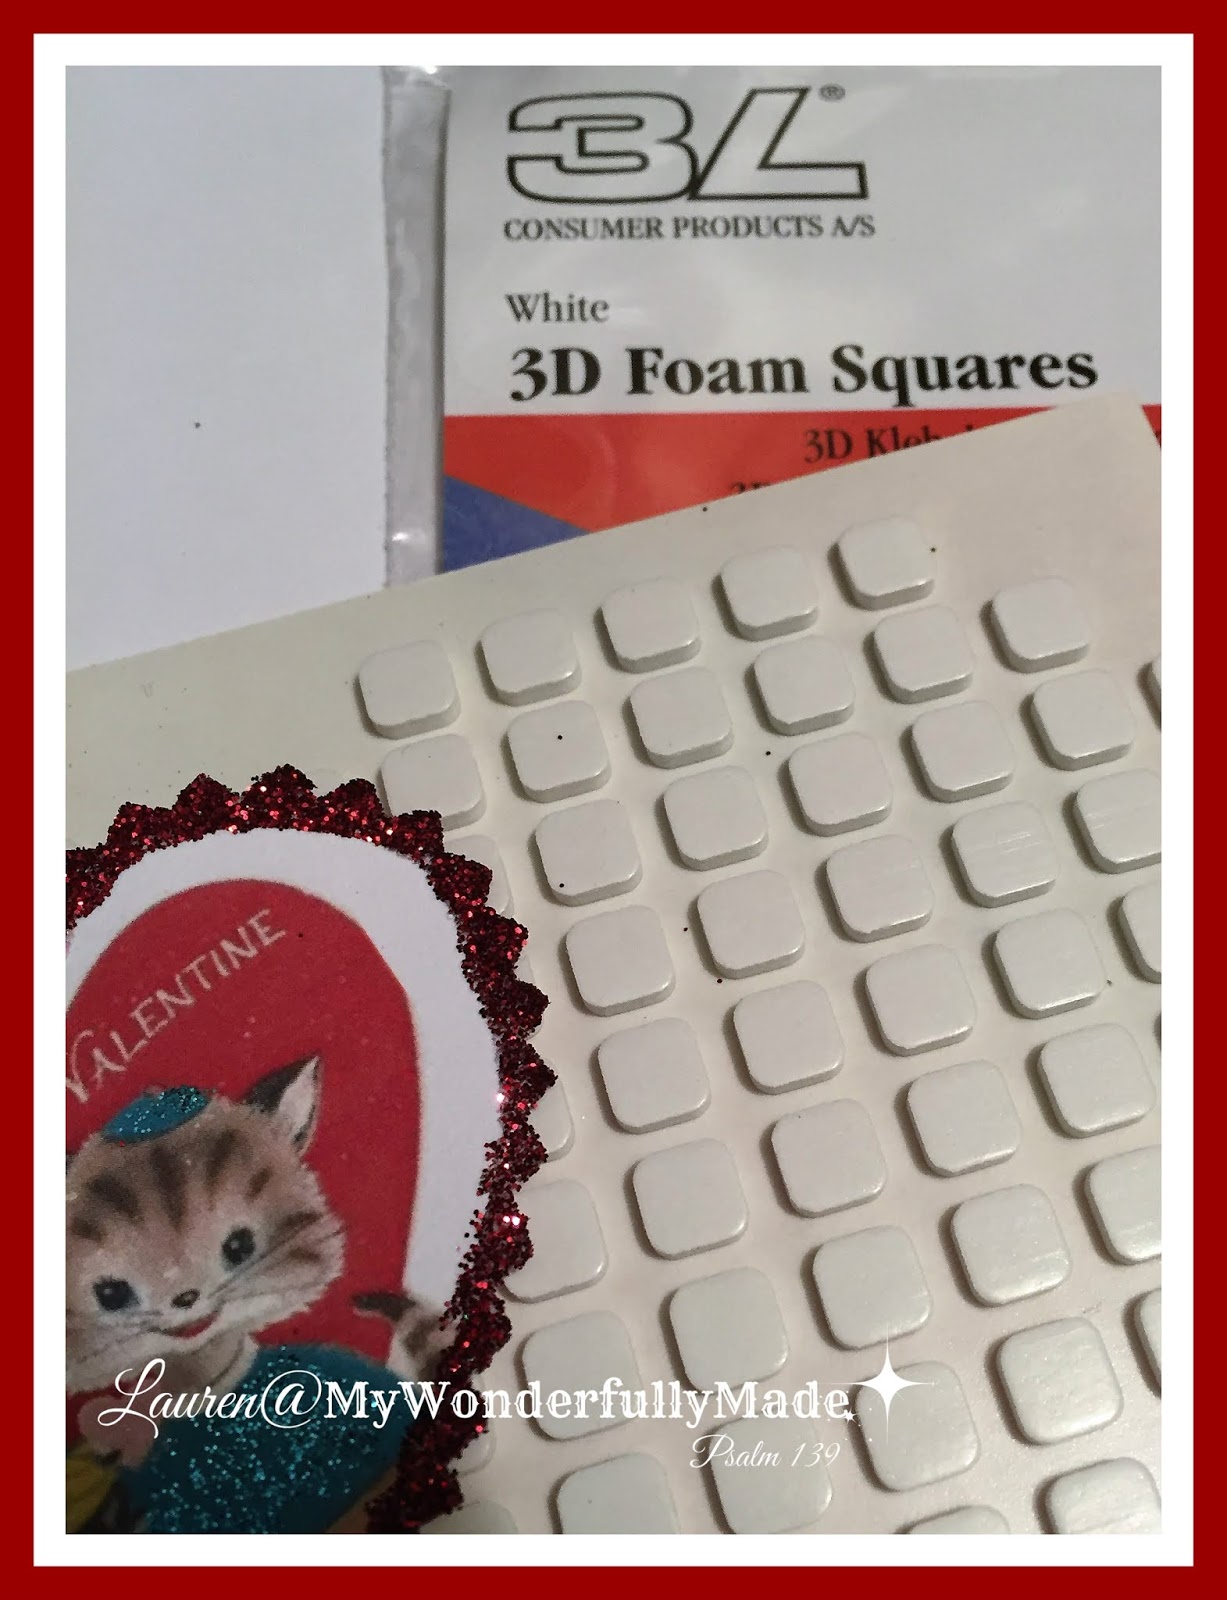
You could just glue the image to the larger heart but I decided to give it a little more dimension with these small foam squares.  


For the hanger, I knotted a piece of cording and adhered it to the back with another piece of card stock glued down.  Afterwards I thought I could have just attached another whole red heart on the back and it would have looked neater. Oh well.  Don't look at the back!


I'm pleased with how they turned out.


These would be cute for an Easter tree cut in egg or flower shapes too.  


These are just two layers but three would be pretty too!


A simple, fun craft that would also be cute tucked into a card or on top of a gift!


Saturday, January 19, 2019

Valentine Tree and Vintage-Style Chenille Ornaments


With a new puppy, I opted for a small tree for Christmas this year.  When it came time to put up my Valentine decorations, I thought it was the perfect size for a Valentine Tree.


I already had white lights on it so I added some red netting around the base and a wood plaque for a topper.


I've been looking at these vintage-style chenille ornaments on Pinterest and found this simple tutorial for how to make them at Vintageimagecraft.  They're so simple to make and a lot of fun to 'dress'.


I found some images of vintage postcards, printed them and then then just cut off the heads (ouch!).


The Dollar Spot at Target had lots of little Valentine embellishments like these rhinestone heart stickers.


You can make animals too!  I'm planning to make lots of little ducks and chicks like this for Easter.


Several of the dresses were made using tulle.  I just cut a piece about 15" long and folded in half lengthwise (so the hem is the folded edge).  Using a needle and thread I gathered the 'neckline', wrapped around the doll and secured with hot glue.


You can use doilies, pieces of doilies and other fabric as well. This little gal is holding a rhinestone heart from my broken jewelry stash.


Stick on rhinestones made this little pup's dress sparkle!


I had a lot of pieces of vintage, glass prisms so I wired them together and hung them on the tree as well.


I also added vintage earrings and pins for ornaments as well as some red hearts that I got at Hobby Lobby.


My whole house is decorated inside and out for Valentine's Day.  It's quite cheery, especially as I sit here watching massive amounts of snow fall and blow outside my windows.  I'll be sharing more of my ideas and decorations soon!

Keep warm everyone!!

Thursday, January 10, 2019

Cupboard Door Valentine Decor


Here is a great, simple way to add holiday decorations to your kitchen cupboards, doors, etc.  You'll need:

Ribbon
Command hooks
Pencil, Ruler
Hot glue, Scissors
Decoration to hang


Mark where hook will go with pencil on the INSIDE of the cupboard door.  Apply the command strip in between the marked area.  Remove paper and apply the hook UPSIDE DOWN . . . which I didn't do the first time haha!


Another important note:  Use tape to attached the hook to make sure it's not going to hit the door frame which means you can't close the cupboard door!!


Decide how long your ribbon needs to be (depends on how far down you want your decorations to hang) and cut all the same length.  Decide where the hole for attaching to the hook needs to be.  Cut one slit in a piece of the ribbon.  Lay that piece on top of the other pieces and with a pen or pencil, mark where the slit needs to go.  Cut all slits.


The slit slips over the hook and then the ribbon hangs over the cupboard, out onto the front.


I used hot glue to attach the hearts to the ribbon.


With the hooks on all of the cupboards, I'll be able to change out the decorations for other holidays.  It's such a nice, pop of color don't you think?


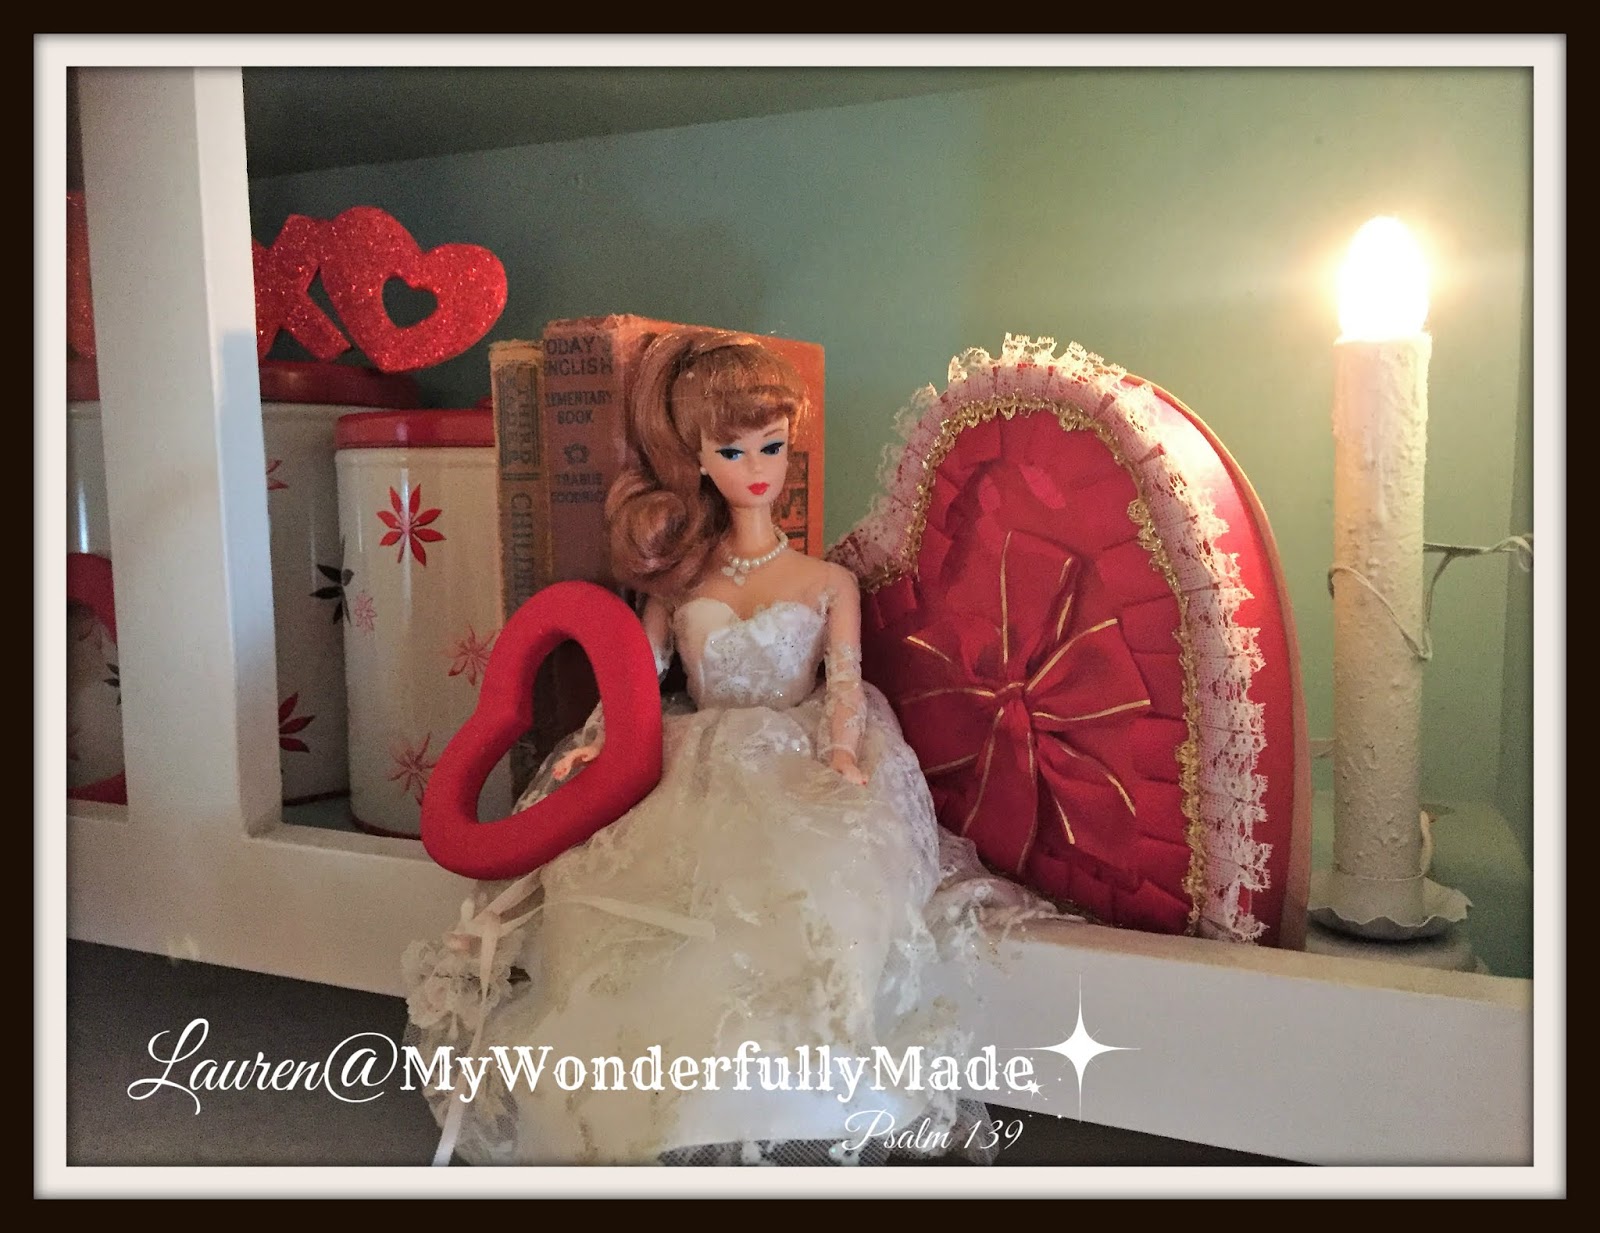
When I redid my kitchen a few years ago, I left the doors off of the cupboards above the refrigerator.  You know, the ones NO ONE can reach so you never use them?  I love decorating this little "nook" year round and especially for the holidays.  Here I have my vintage bride Barbie, a vintage candy box and a few other 'trinkets'.  


A milk glass bowl holds vintage heart molds and cookie cutters with this little tray and a few other little trinkets.


My message center is getting in the Valentine spirit as well!
Can you tell I LOVE Valentine's Day decorations!?

Do you decorate for Valentine's Day?  My decorations go up as soon as the Christmas ones come down!  I love the bright, cheery reds and pinks and lights in an otherwise quite dreary time of year!

Sunday, January 6, 2019

Painted Rocks and Puppy


Happy New Year!

For my first post of 2019, I decided that I'd feature my two current "projects".  First . . . Painted Rocks.

Have you heard of this? It was new to me until I got involved with a group that is active on the island where we vacation each year.  Let me warn you, it's addicting!


If you just google "painted rocks" you'll find thousands of ideas and lots of information, tutorials, etc.  The original idea is typically credited to a gal named Megan Murphy.  Megan began this project called The Kindness Rocks Project in 2011. From their site you read:

"It all started with a single stone on a beach in Cape Cod and now spans the globe. The Kindness Rocks Project, founded by Megan Murphy, is based on the profound truth that one message at the right moment can change someone’s day, their outlook, and, indeed, their whole life. The messages on these thoughtful pebbles take many forms: gratitude, affirmations, encouragement, and offers of hope—all signposts along the way for someone to find at exactly the right time."


All of my rocks were painted with acrylic paints, some with a white or black base coat and others left natural. You can use Sharpie pens but after a bit of trial and error and some research, I landed on Posca Paint Pens and I got a set of fine and medium tips. Other people just use brushes and paint designs on, many of them gorgeous works of art!


One of my favorites using the words from an old hymn, "My anchor holds and grips the Solid Rock".

The idea is they can be as simple or as complex as you like and they are GREAT for kids to do! Like I said, just look on Pinterest or Google and you'll see what a perfect family project this is. Not only is it fun CREATING the rocks, but then you hide them, search for them, take pictures of what you find, post them on Facebook or other social media and see where all of your rocks end up! You are encouraged to re-hide ones you find but if you do decide to keep them, that's okay too.

Mykidlist.comhttps://mykidlist.com/kindness-rocks-painting-groups/ has a great post on Kindness Rocks to help get you started. I'm seriously thinking of starting a group here in my little town!

Julie at Momrewritten also has a great post about rock groups.

NOW for my OTHER current PROJECT . . .


Little Hudson is almost five months old! He's probably only survived this long because he's so cute hahaha! He's been a challenge to train but I think we're starting to see some light at the end of the tunnel!


He's grown from a two-pound "beanie baby" to a 9 pound "toddler".


Here he is with his favorite Christmas gift. He adores his big, fuzzy duck!

After a week+ long bout of the flu which I'm still recovering from, I hope to get to painting some Valentine rocks because one of my Christmas gifts was a long weekend on St. Simon's Island (where the rock group is). I'll be packing my bag with some painted rocks to hide while I'm there!

What about you? What are some of your new projects this year? Looking forward to sharing mine and seeing all of your creativity, recipes and DIY in 2019!