Monday, June 2, 2014

A Robin's Tale

I know a lot of people discourage birds from nesting on their homes, especially on porches.  But if you want to observe the miracle of new life, and the amazing way God has equipped His creation to prepare for, care for and raise little ones, then let the birds nest where you can watch!  This faithful mama fed her little babies NON-STOP and by the time they left the nest, let me tell you, she looked worn out! (Can we moms relate to this!?) We helped her out by leaving piles of earthworms and meal worms and fresh water in a bowl near the nest.  Each morning we'd peek out the blinds and enjoy watching the movements of both mom and babies.  And yes, dad too -- the male Robin helps feed the babies although he appeared to be a bit of a 'slacker' to me and the majority of the care was provided by mom.

While I couldn't linger on my front porch for long without catching an "ear full" from mom, the inconvenience was short-lived as this whole process took less than a month!
 As you can see from the timeline, once the babies hatched, it was just about ten days before they left the nest!  The growth in the last five days was CRAZY fast and reminded me of just how quickly the years went by as my three kids grew up. I was concerned the Robins were much too young to leave the nest but appeared to be faring just fine.  As moms, we're often afraid that our kids are too young to leave and yet, as parents, we are supposed to raise them for just that . . . to leave and live their lives and create families of their own.  But I still saw Mama Robin bringing food up into the tree so I know she's still there to help when her babies need her . . . and aren't we as moms always doing the same?  My front porch nest is empty and so is my "nest" now but a mom is always a mom, no matter how big her babies get, right?
 

Saturday, May 24, 2014

Before and Afters & A Stunning Bride

 I'm getting ready for a show in June so I've been working nonstop to get projects ready.  I've been blessed to have friends who often "gift" me with things they no longer want and this basket was one of them. (Bless you Sharon!)
I gave this one coat of homemade chalk paint inside and out.  After a light sanding I decided I didn't want to wax this piece -- I like the rustic, worn look and feel.
A little antique key adds a little extra charm, I think.
This chair was purchased for $4.00 at my first garage sale of the season.  Solid, clean lines made this perfect for adding a simple quote.  One coat of homemade chalk paint, some distressing and it was ready for the quote detail.

I printed out the words on my computer and then using graphite paper, traced them onto the chair.  I used a fine tipped brush and black acrylic paint and then sanded and applied a coat of wax.

Another bonus from my friend who gave me the basket . . . isn't she stunning?!  I believe she will be AT the sale as "eye candy" but she will not be PART of the sale.  I just don't think I could part with her.
But wouldn't this chair make a wonderful wedding gift?  Hopefully someone else will think so :)  Now back to the mountain of projects and furniture . . . at least the weather is warm and I can work on things outside which makes it even more enjoyable.  I definitely think the sound of singing birds makes the work go faster!


Wednesday, May 21, 2014

Vintage Domed Glass Pictures


Now that we finally have warm weather, I've been working in my garage on some larger pieces for a show I'll be doing in June.  After a few hours in the heat (I am NOT complaining!) I decided to take a break and move inside to work on some smaller projects.
  I snagged these at my local thrift store over a year ago (it took me THIS long to get to them!) for $6.00 for the pair.  Looked like a simple repurpose to me until I took them apart and found that the pictures were GLUED to the domed glass.  Ahhhh . .  maybe I'll work on these another day . . . well today was the day.  I had to soak the glass in hot, soapy water and scrub, scrub, peel, scrub some more, all of the picture off of the glass. So the easiest part was painting the frames!
Just a few coats of Paris Gray chalk paint, some stain rubbed on, some sanding, some more paint and they were finished.

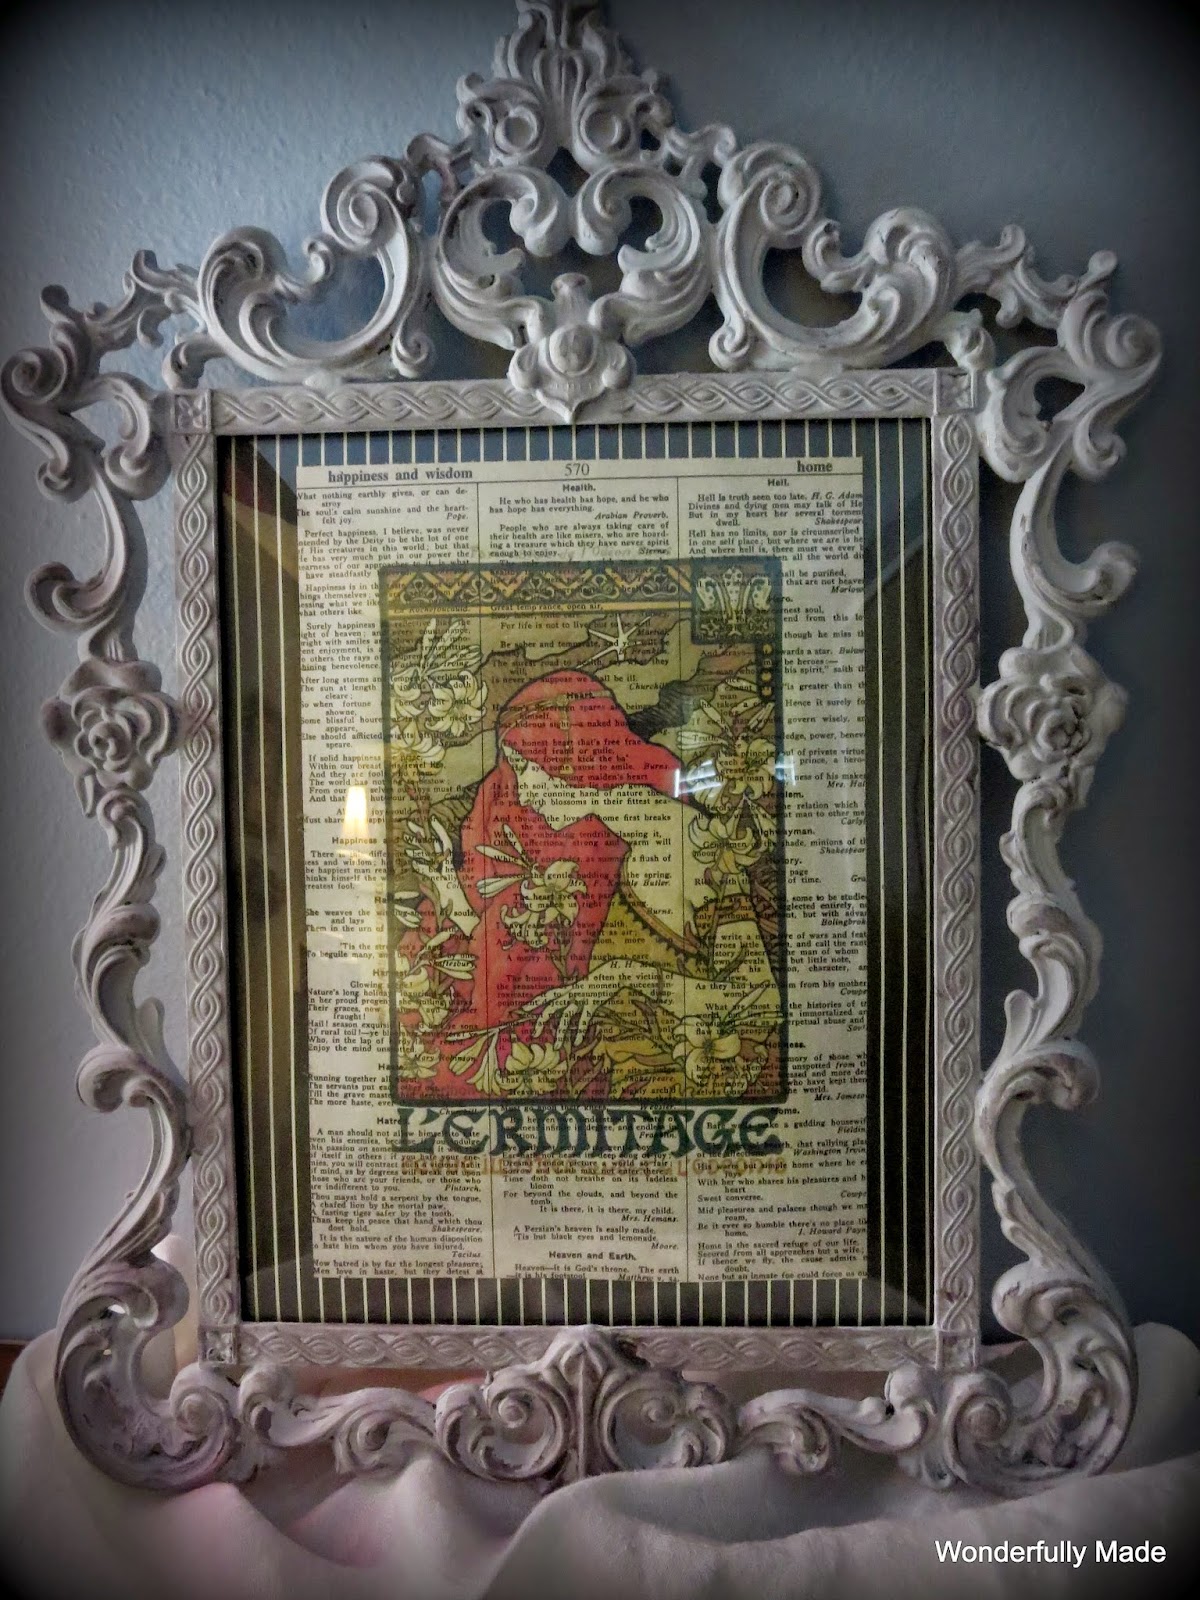
I found these graphics online and printed them on old, dictionary pages and mounted them on a simple black and white striped paper.

It was worth a little 'elbow grease' to get these finished.  Now back to work . . . how I LOVE these hot, summer-like afternoons!


Tuesday, April 22, 2014

Coconut Cream Cupcakes

I LOVE coconut anything so when I found this recipe for Coconut Cream Cupcakes I knew I had to make them. Mind you, these are not low calorie, healthy, yada yada yada BUT if you are treating yourself, this is a great way to do that.
 I like to use a cookie dough scoop to get the batter in the cupcake papers.  Two scoops, no mess, no drips, no clean up of your pan.
 Another benefit to using a cookie dough scoop is that they all turn out perfectly uniform and they all bake evenly.
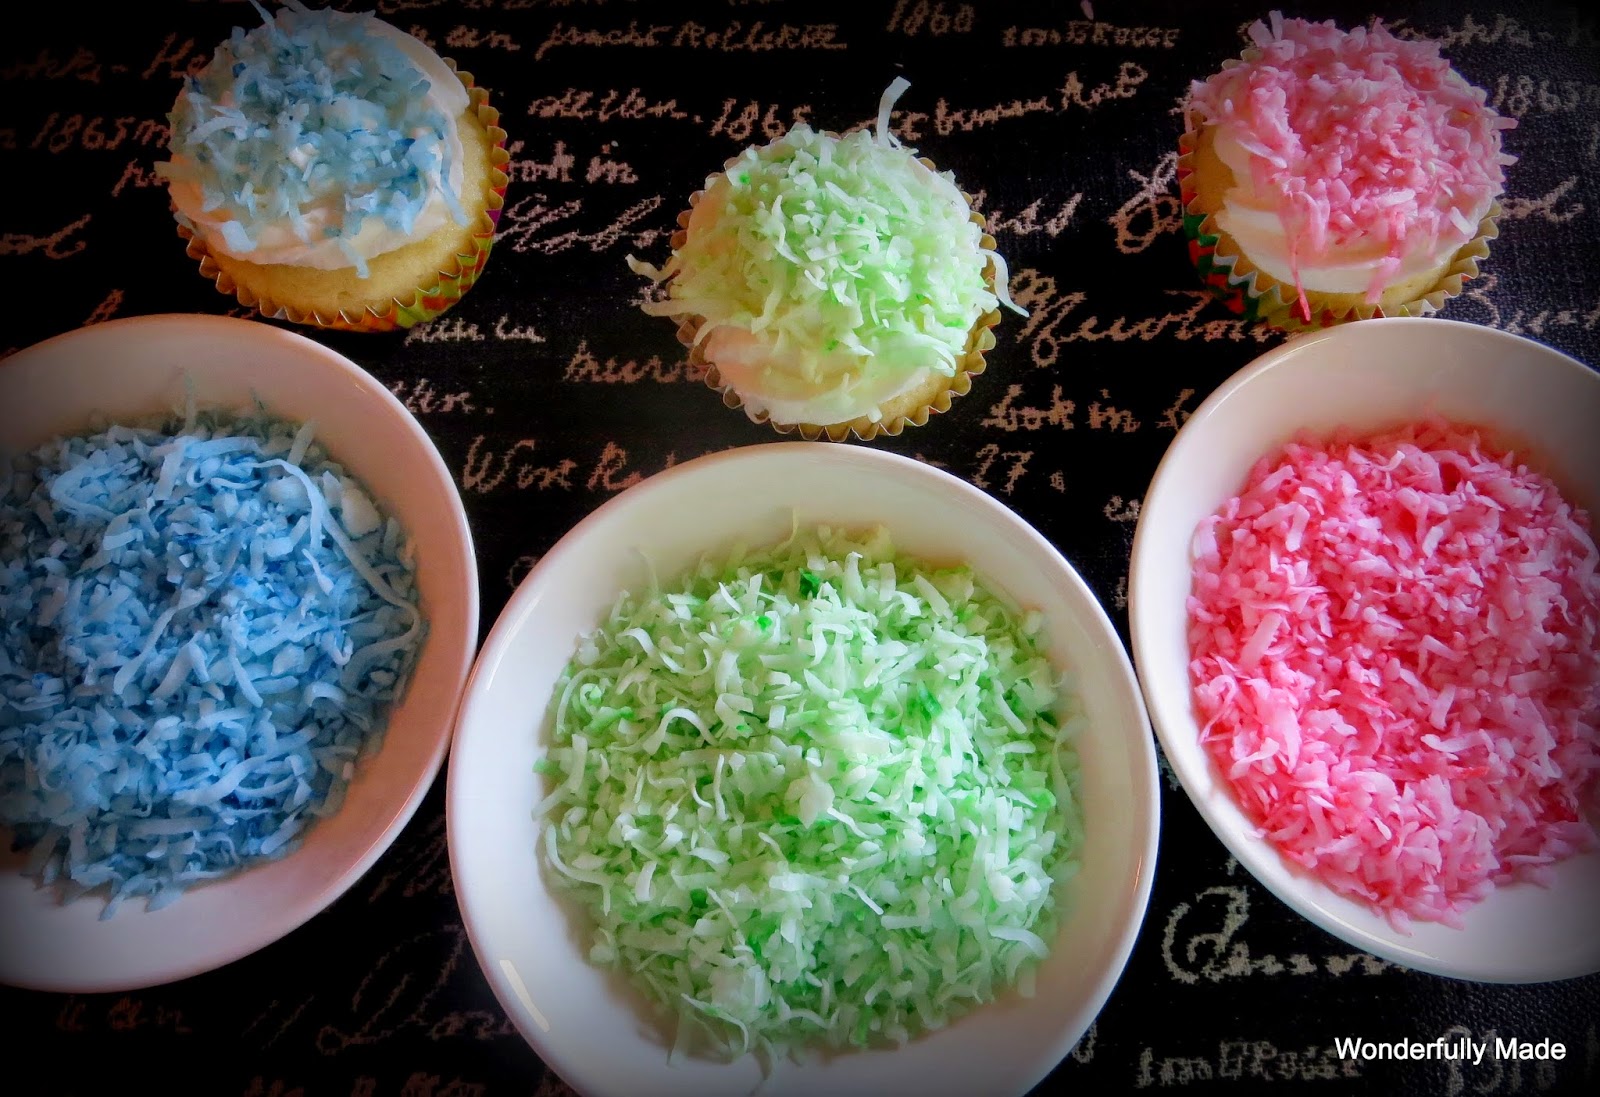
 I wanted to tint some of the coconut so I put the coconut in 1/2 pint jars, added a few drops of food coloring, put the lids on and shook them well.
Then if you have left over, tinted coconut, you can just put on the lid and save it for another time without wasting it.
 After piping on the frosting, I immediately sprinkled the coconut on before the frosting hardened too much.
 These cupcakes came out moist, light and fluffy.  This is definitely going to be a "keeper" recipe for me.
You can click on the link at the top of the post but here is the recipe as well:

Coconut extract is added for an extra boost of coconut flavor. If you don’t have any, substitute vanilla but I highly recommend the coconut extract.

Ingredients:

  • 1 cup butter, at room temperature
  • 2 cups sugar
  • 4 large eggs
  • 1 tsp coconut extract
  • 3 cups all-purpose flour
  • 1 Tbsp baking powder
  • 1/2 tsp salt
  • 1 cup coconut milk or regular milk (Again, I highly recommend the coconut milk)

Frosting (recipe follows) and shredded coconut, for decorating

Coconut Frosting:

  • 1 cup butter, at room temperature
  • 8 cups confectioners’ sugar
  • 1/2 cup coconut milk or regular milk
  • 1 tsp coconut extract


Instructions:


Preheat oven to 350F. Line cupcake pans with paper liners; set aside.

In a large bowl beat the butter and sugar for a few minutes, until fluffy. Add the eggs one at a time, beating after each. Beat in the vanilla.

In a medium bowl, stir together the flour, baking powder and salt. Add about a third to the butter mixture, beating on low speed just until combined. Add half the coconut milk in the same manner, then another third of the flour mixture, the rest of the coconut milk and the rest of the flour. It may look curdled at some point -this is OK.

Fill the prepared muffin cups 3/4 full and bake for 15-18 minutes, until pale golden and springy to the touch. Meanwhile, to make the frosting: beat the butter and half the confectioners’ sugar until smooth; add half the coconut milk, then the rest, and the extract, and the rest of the confectioners’ sugar, beating until you have a slightly stiff frosting. Cool completely before frosting. Sprinkle with coconut immediately as the frosting will set up and become too hard for the coconut to stick if you wait.  Makes about 2 dozen cupcakes.
 

Thursday, April 3, 2014

Thrifted Rustic Easter Vignette

I found these three pieces at my local thrift store -- total cost was $4.00.  
 This is how they started out.   I gave all three pieces a coat of white chalk paint.  They were too 'stark' for the look I was going for so I added several coats of watered down brown paint.  Here you can see the duck on the left after it was 'aged' and the one on the right with just chalk paint.
To age the watering can, I just kept wiping brown stain over it and rubbing it off.  The hatching chick decal was applied using Mod Podge.  I have a method for printing these out using just plain paper, white tissue paper and a regular ink jet printer.  You can read about it in detail HERE.
To help make the edges of the print 'disappear', I take something stiff (a stencil brush, stiff piece of dry sponge, etc.) and pound the edges.  They then 'fray' and 'feather' out so you hardly see them.
 I filled the bottom of the can with paper and topped with some moss and wooden eggs that I already had.  I'm trying to spend as little as possible while adding to my Easter decor this year.  How are you saving money with your decorating?  I always love seeing how others decorate "on the cheap"!  Happy Spring (hopefully it will FEEL like Spring soon where we are!)