Friday, April 8, 2011

"Shabby" Easter Tree

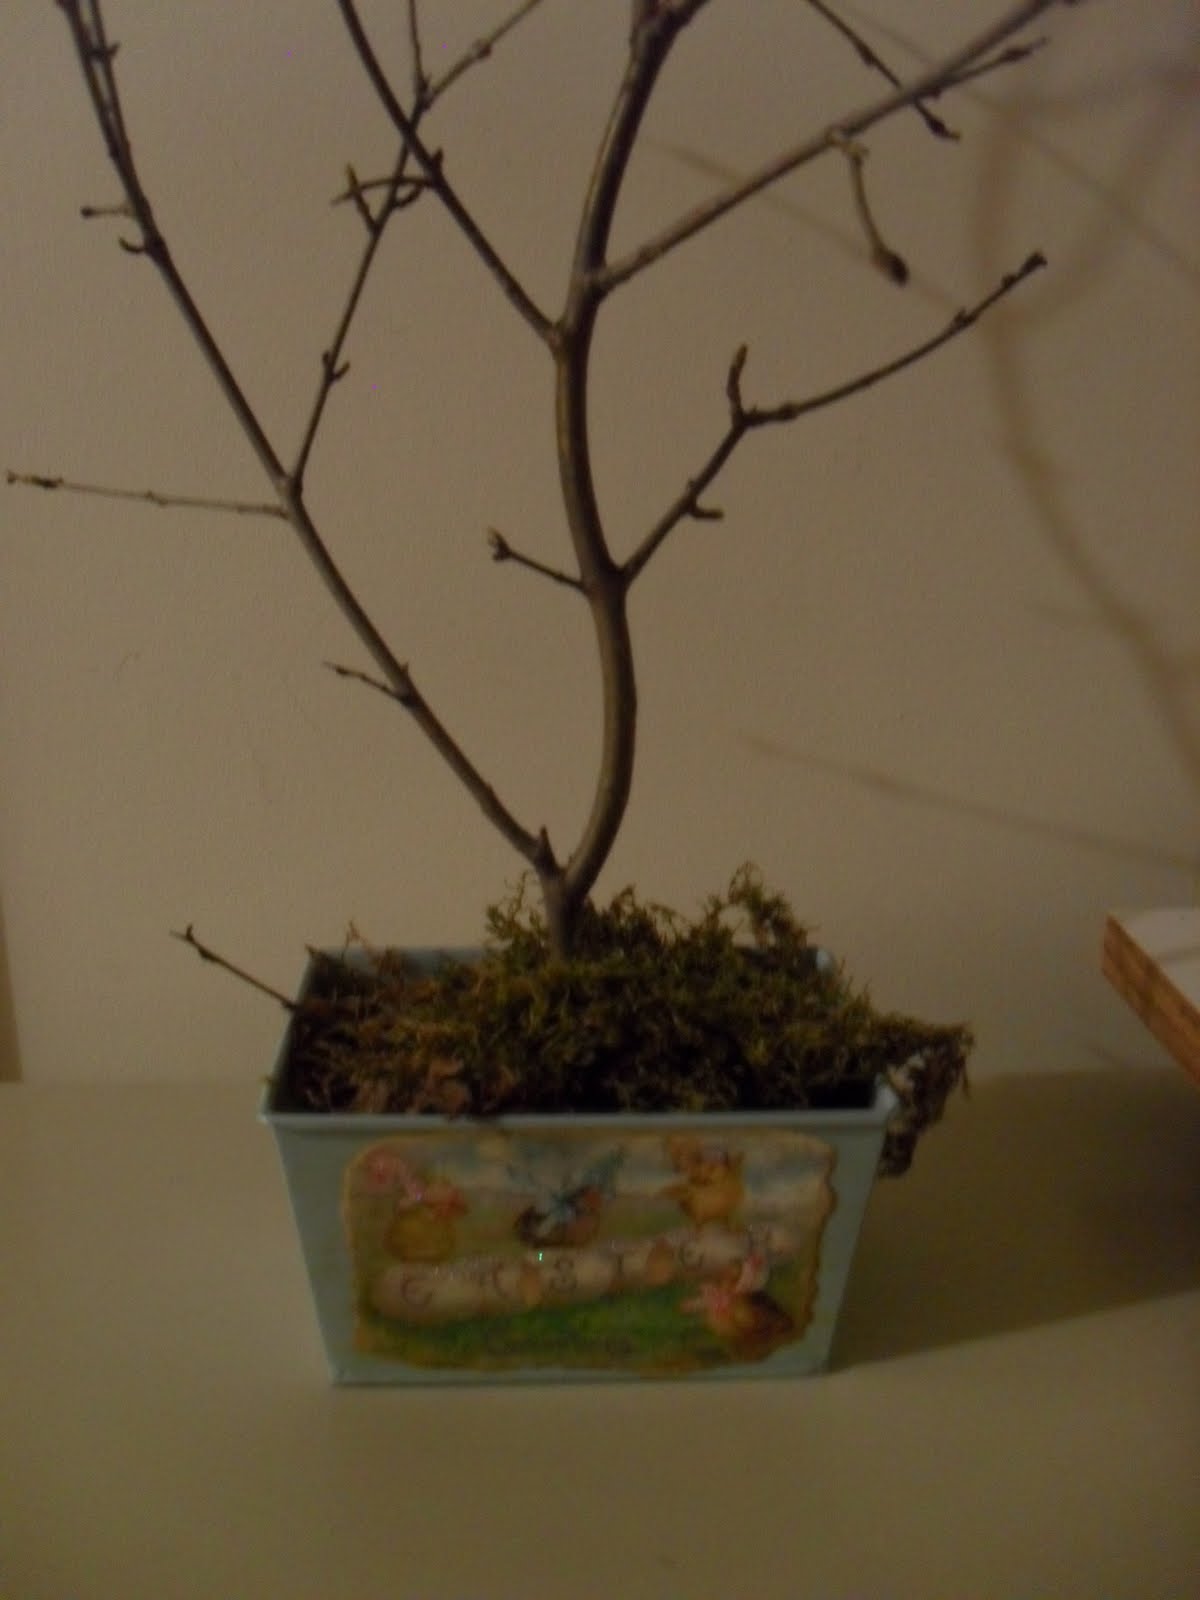
It’s a cold, rainy, foggy day here which has motivated me to do little else but craft and since I’m in the “Easter” groove, I continued on with that theme and made this little Easter tree.  I already had these little tin containers (which were originally a shiny, silver finish) so I spray painted one to use for my base. 


To decorate it I went back to Google and found these cute, vintage Easter postcards, printed them out, tore the edges and distressed them.  Using Mod Podge I attached them to the container front and back.


After they were dry, I used a small paintbrush to add glue to parts of the images and then sprinkled on my favorite ultra-fine glitter.  Once this was dry, I used a small, dry brush to remove any excess glitter.


To hold  the branch in the container, I used hot glue to attach a spray paint can lid into the bottom, put the branch in the little center hole and surrounded it with sticky tack to secure it.  I added some sheet moss to cover all of that.
 
I had a hard time deciding what to put ON the tree so looking around I decided to take some pages from an old book and make flowers to attached to the branches.

First I crumpled up the pages and then un-crumpled them.  Taking a light brown ink pad, I rubbed the pad over the wrinkled pages, distressing them.

 
Then I used a circle scallop punch to punch out the petals.  If you don’t have a circle punch or scallop punch, just cut out circles free hand – the more uneven, the more vintage it will look anyway!  Laying 4 petals on top of each other, I inserted a jewel-brad. 


Next I crumpled up the petals and then fanned them back out giving the flowers a 3-dimensional look.  These were attached to the branches of the tree with hot glue.

 
You really could use any type of container-- even an empty aluminum can would be cute!  So this is a really inexpensive (and in my case . . . free!) project to use as a table centerpiece for your Easter dinner!


And I found a 'temporary' use for the little vase whose handle I replaced with beads!  Happy Easter everyone!!


Thursday, April 7, 2011

Twine Hugged Eggs


You’ve probably seen these twine-covered eggs on several blogs . . . I saw them at Kristine Mckay Designs under her Dollar Store Easter decorations post so it's not my idea but I sure loved them!  I also had this glass jar that I needed to do SOMETHING with so why not fill it with twine-wrapped eggs?  

I did come up with a few “helpful hints” that I’ll pass on to you if you decide to do this project.  I started out using the glue gun for attaching the twine to the egg at intervals and for me, this proved to be a bit messy.


I decided to use “Terrifically Tacky” tape for the majority of the wrapping/adhering.  This is a double-sided tape but it is SUPER sticky and strong.  I’m not sure that regular double stick tape would work but this sure did!  

I wrapped the egg once around from top to bottom and then added two separate strips one on each side, also from top to bottom. 

Starting with a dab of hot glue, I attached the end of the twine.  Another hint:  Start at the ‘small’ end of the egg – it’s much easier!  Once the twine was attached with the hot glue, I began wrapping, being certain to press the twine firmly as it crossed over the tape and trying not to touch the tape below too much.  Once I got about a third of the egg covered in twine, I moved to holding the twine-covered top while continuing to wrap the bottom.  

 
As you get to the wider bottom part of the egg, you may need to add a dab of hot glue here and there but when you get to the bottom part, it’s almost completely covered in the sticky tape so you should be able to press the twine down and then just use a dab of hot glue at the very end to seal it.  I was also using twine I already had, which was kind of thin but I like the look it gave.  I’m sure you could use thicker twine or even try butcher’s twine or other types of string/cord/rope.

 
For a little added “something”, I used a Stampin’ Up! flower punch and punched out flower shapes from cream-colored cardstock to toss in with the eggs.
Now my only problem will be to keep my puppy from pulling these out and playing with them!