Monday, April 11, 2022

Tea Cozy: Take Two

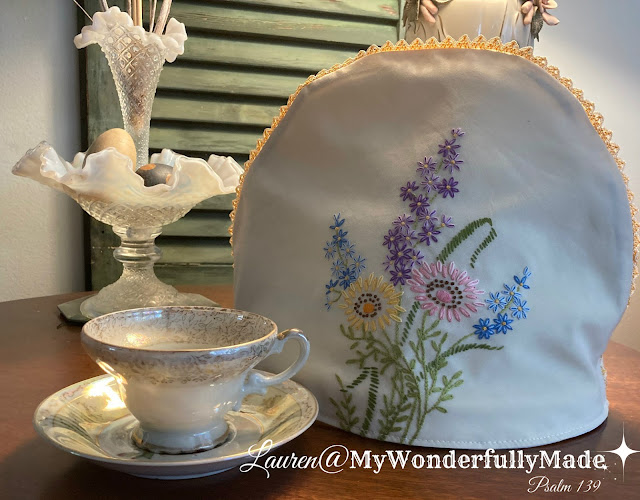
 I'm still having fun making tea cozies with vintage linens!  I wanted to try a slightly different shape so after measuring one of my pots from top to bottom and spout to handle, I created a slightly pointed cozy with straight sides.


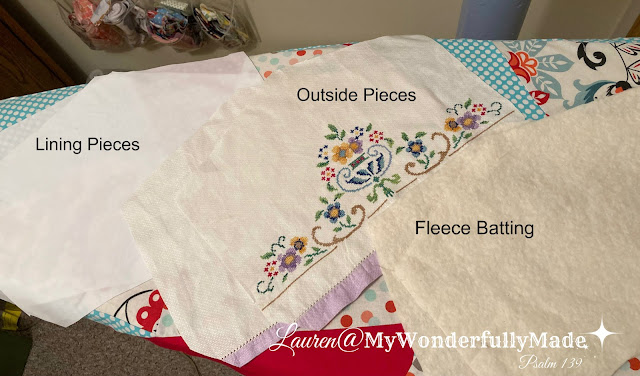
I cut out my two lining pieces (FYI . . . I purchase plain, white sheets at estate or garage sales and use them for things like this!), my two outside pieces (from a vintage tea towel) and two fleece batting pieces.

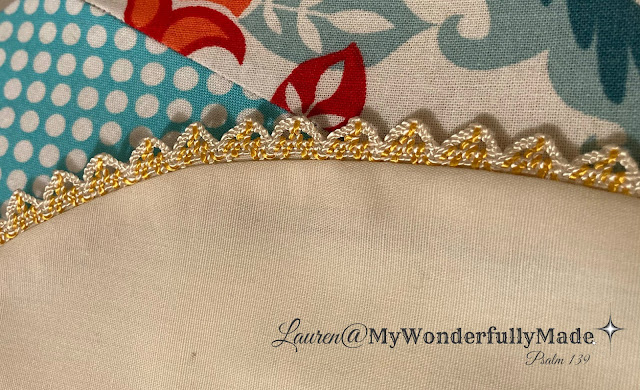
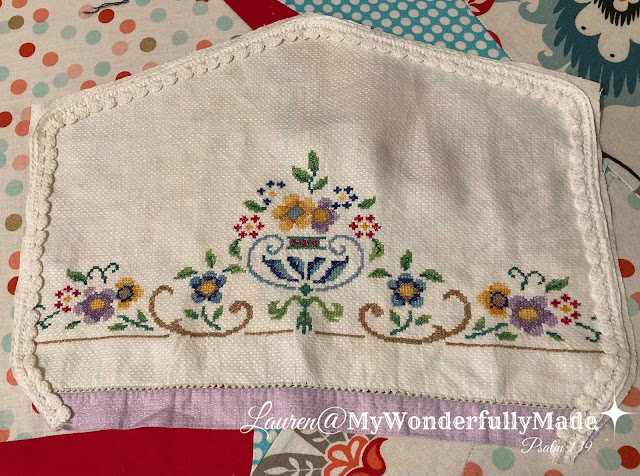
The trim for this one was actually a scrap cut from a vintage pillow case.  I used the embroidery from the case for a project but glad I hung on to the edging!  This was stitched onto one of the outside pieces with the trim facing INWARD.


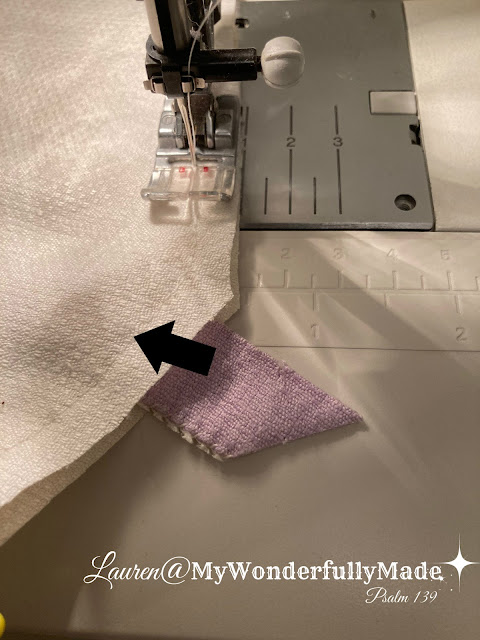
While sewing the two outside pieces, right sides together, I added a piece from the edging (placing it so the finished edge points INWARD) to create a little tab on top of the cozy.  Stitch top and sides, leaving bottom edge open. Turn this right side out and press.


Now sew the batting pieces to the wrong sides of the lining pieces, leaving bottoms open.  Then stitch these two pieces, right sides together on the top and sides, leaving bottom open.


Here's what you now have.  Leaving the lining inside out, slip the outside pieces inside the lining so that right sides are together.  Stitch the bottom edge, leaving about a 3" opening to turn.


Once you turn it all right side out, this is what it will look like.  Now, just push the lining up inside the other pieces and press all of the edges, pressing the opening in as well.


This is what it will then look like.  Next, stitch close to the bottom edge, catching in the edges that you left open.  Press and you're finished!


I love how this one turned out and I love the shape.  HOWEVER, with that slant in that I added at the bottom, it would NOT fit the teapot I intended . . . it was too tight.  


BUT, it DID fit this teapot which was smaller.  This pot belonged to my late mom (who never made a pot of tea in her life that I can recall haha!) and I just love using it and the cozy fits it perfectly.  So, if you're going to tape in the bottom, make the cozy overall about 1" bigger.

The kitchen reno continues above my head so I'm grateful for my sewing room downstairs where I have heat and my machines and lots of other blogs to visit and get inspiration from!!

Wednesday, April 6, 2022

Tea Cozy from Vintage Linens

Winter just seems to be holding on here in the Midwest with a vice-like grip which among other things has prompted me to look for ways to stay cozy and enjoy being inside! I love brewing a pot of tea and even having friends over for little tea parties.  It's so special to bring out all of my crystal, vintage pieces and linens and yes, I bring some of those things out even when it's just me and the dog!  But I'm also in the middle of a complete kitchen remodel so no tea parties for a bit.  While hanging out in my basement and sewing room with contractors above me, I decided to whip up a few tea cozies using vintage linens.


I have quite a few different, vintage teapots of varying sizes so I thought I'd start with one of my larger pots first. You can do any shape or size with just a few, simple measurements.

Start by measuring from spout to edge of handle to get the width and measure from the top to bottom for height.  And always make sure your cuticles are ship-shape before taking a photo . . .


I used a vintage tablecloth that was stained and had holes in it for this project.  There are lots of tutorials and patterns out there.  I took some ideas and information from HERE and some ideas from HERE but ultimately kind of made it up as I went along using what I had on hand.


I was able to use this pretty vintage trim as well!  Before stitching pieces together, I stitched the trim onto one of the outside pieces with the trim facing INWARD. Sorry - I didn't take picture of that but it's explained on the sites I linked you to above in more detail.


Basically I stitched the two embroidered pieces, right sides together around the rounded edge, leaving the bottom open.  Then I stitched the batting pieces to the wrong side of the two lining pieces and finally, stitched the two lining pieces, right sides together, leaving the bottom open.


Now you will turn one of these inside out and leave the other right side out (It doesn't matter which is right side out.)  Slip one inside the other so that the right sides are together and stitch the bottoms together leaving about a 3" opening.


Now you will turn right side out and your cozy will look like this:

All you do now is push the lining up to the inside of the outside pieces.  Press the bottom edge and then stitch completely around that bottom edge, closing up that 3" opening you had.


That's it - pretty simple and a great way to use up scraps or give new life to vintage linens!


I'll be posting at least one or two more I've made following this same 'pattern' and using other linens I have!