Tuesday, May 22, 2018

Ladybug Rock Crossing

The theme for my porch this summer is . . . ladybugs!  Have you gotten into the 'painted rock' craze yet?  This was my first time and let me tell you . . . it's FUN!

Here's what you'll need:
Rocks (of course)
Acrylic paint (Red, black and white)
A fine tipped brush (I use a #4 round)
Toothpicks
Pencil w/soft eraser
Clear acrylic sealer


I had a bunch of these smooth, river rocks but you can find these just about anywhere.  I'd suggest looking at discount stores like Big Lots (that's where I got mine) rather than landscaping stores where they are more expensive.  
Begin by painting the black part then fill in with the red once the first color is dry.  (Hint:  The next time, I will spray each rock with a coat of white, flat primer.  I had to paint several coats of each color on some rocks that were darker.  I think if you prime them first with white, it will be easier.)


To create the spots, I tried different methods to get a nice, round dot.  If you have a SOFT pencil eraser, that would work.  Most of mine were too hard (Guess I don't use pencils that often anymore!).  I had this pen with 'stylus' end for a touchscreen laptop etc, that I don't use and it worked nicely. It left a round 'hole' in the center but I just filled it in with my brush and some paint.  You can experiment with other 'tools' to get the spots.


I just painted the white eyes freehand, then added the black center and a dot of white.  For the small and large dots I used a toothpick.  I made the 'antenna' dots just a bit larger to make them stand out from the outline 'wing dots'.  They all got a final spray of clear, matte acrylic sealer.


For the Ladybug Crossing sign, I just used scrap wood that I white washed and sanded.  I printed my words on computer paper and placed a piece of graphite paper underneath.  Trace the letters using a pen and then fill in with a fine-tipped brush.  (Hint:  Choose a relatively clean, simple font.  The more detailed it is, the harder it will be to paint.)


This sweet little ladybug family greets anyone who comes to my front porch.


I'm not sure what my next "rock" family will be but I know I will be doing more of these! A super simple, cheap and fun craft!


Thursday, May 17, 2018

12th Tea Cup and Mug Exchange Reveal

One of the sweetest, most beautiful bloggers I know is Stephanie at The Enchanting Rose.  Stephanie hosts this Tea Cup Exchange.  Because of her sacrificial efforts, hundreds and hundreds of us from around the world are able to connect, share gifts with one another and make this world just a tiny bit 'smaller'.  This is the fifth exchange I've participated in.  If you're interested, you can find more information about the exchange HERE.
I was excited to be paired up with Cathy at My 1929 Charmer. Cathy and I not only share a love for all things vintage and retro, but we don't live all that far from each other so hopefully we'll be able to meet up one day soon.
As you can see, my cup and saucer from Cathy is STUNNING!  Cathy was so sweet and put a lot of effort into my gifts, focusing on some of my favorite colors (turquoise and red) with the things she included.  It all came in a lovely floral box too!
Just look at this gorgeous, vintage plate!!  It is SO SO beautiful and is sitting on my kitchen table.
I love stamping and making cards so I'm super excited to have this alphabet stamp set!
This little bag had adorable red buttons of different shapes and sizes that I know I'll be using in sewing and craft projects.
I just LOVE baker's twine and of course, Cathy was thoughtful in choosing RED!
And of course, tea and sweets are always fun to get!  This lovely tea and shortbread have already been used on multiple occasions -- I DID share the shortbread with my daughter and husband (just a LITTLE haha!)
Cute little (RED of course!) post it notes rounded out this lovely package from Cathy.  Be sure to stop over to Stephanie's blog on May 17 for the Reveal Party to see what everyone shared and received . . . it's an amazing array of kindness, generosity and friendship!


Friday, May 11, 2018

Vintage Doily Banner

If you're like me, you just can't stay away from those boxes and bins of vintage doilies and linens at garage and estate sales.  Here's a fun, simple way to use them up!
For this banner I actually found 6 of these multi-color doilies and two of these medallion doilies but I plan to make more of these using vintage linens and mismatched doilies as well.
I cut these in 'half'. Because they had an uneven amount of 'points', one doily piece is large, the other small which works out great for this project.
The medallion doilies were cut apart creating these smaller pieces.
I have lots of these packages of old quilt binding but you of course could use new binding.  I used single-fold, wide and folded that in half and ironed it to create the 'pocket' for the doilies.
I pinned the doilies inside the binding, tucking all of the little frayed edges inside.
Then I just stitched the binding, catching in the edges.
Since there were so many little 'frayed' edges, I used a small zig-zag stitch as I felt that would catch all of those pieces neatly inside the binding.
 I thought this added a nice, summery look to our bedroom.
I simply tucked the ends behind the sconces and used a decorative tack to center it on the window frame.
So many possibilities with all of the vintage doilies and linens out there!  Also a great way to use linens that may have stains or other damage but still have beautiful embroidery or images on them.  
What creative uses have you found for vintage linens?

Sunday, April 29, 2018

Reading is Dreaming with Open Eyes - Magazine Rack

I got this little magazine rack at Salvation Army the other day for 5.00.  It's a solid piece and I liked all of the details on it. Because of the nice, smooth surface, I chose to use Rustoleum Chalked SPRAY paint.  I love this stuff!  AND since it's FINALLY warm out, I was able to work on it outside!
(I almost forgot to snap a 'before' picture . . . do you ever do that??)
I also knew when I saw it that I wanted to paint a quote on it so I found this one and it was the perfect size.  I print my quotes out on computer paper and then put graphite paper underneath and trace with a pen, transferring the writing onto the surface.
Once I trace the quote on, I use regular acrylic paint and a fine tipped brush to paint in the letters.  When dry, I sand very lightly to distress it a little as well as distressing 'here and there' on the rack.
I applied a coat of clear wax and then buffed the spindles with this attachment on my electric drill.  If you do a lot of waxing, these 'fuzzy' heads are so handy for buffing detailed spots like these.
I love working on these smaller projects in between bigger ones . . . a sense of accomplishment quickly!  Also, another advantage to the Rustoleum Chalked Spray paint is that is dries SUPER fast!  By the time you've finished one coat, the first is nearly dry!  So the project moves very quickly.
Looking forward to working on more projects in my "outdoor" work room!

On any given week (depending on how busy I am!) I love to participate in Link Parties.  These gals put a lot of time and effort into hosting these parties so I always want to show my appreciation by directing my readers to these blogs. 

Monday

Tuesday

Wednesday

Thursday

Friday

Saturday

Sunday

Wednesday, April 25, 2018

DIY Hand Scrub Flowers

It's FINALLY spring here in the Midwest and that means I'll be out working on my flower beds, yard and the general mess that our winters leave behind.  With that in mind, I decided to make these hand scrub 'flowers' (you could use any shape mold) and am also adding them to my Tea Cup Exchange box for Stephanie's Tea Cup Exchange at The Enchanting Rose.  This is the TWELFTH one she's hosted - it's an amazing and wonderful way to meet other bloggers and it's SO fun to put together the packages!
It takes just four simple ingredients:  Epsom salt, baking soda, essential oils and distilled or filtered water.  You'll also need a spice or coffee grinder and some type of silicone mold.  I chose flowers for these.  There are a lot of different recipes on Pinterest but this one from One Essential Community seemed to be the simplest.
You definitely need the grinder for this -- a food processor will not grind the Epsom Salts finely enough.  Here you see the salts on the left and afterward, they are ground to a fine powder.
After you combine the Epsom salt and baking soda, you add your essential oils.  My daughter and I decided on Lavender and Lemon/Rosemary.  We did 12 drops of each and mixed with a wooden spoon (that I only use for craft projects).  Add two tablespoons of water and mix then continue adding by the tablespoon until you get a nice, smooth, but stiff paste.  We used 7 tablespoons of water.
Press the paste into the molds. 
Our mixture made 18 flowers.
Cover your molds with plastic wrap and weigh them down with a heavy book. The mixture continues to expand for several hours so you have to keep checking and patting them down, compressing the mixture back into the molds.  Let them dry over night and then you can pop them right out.
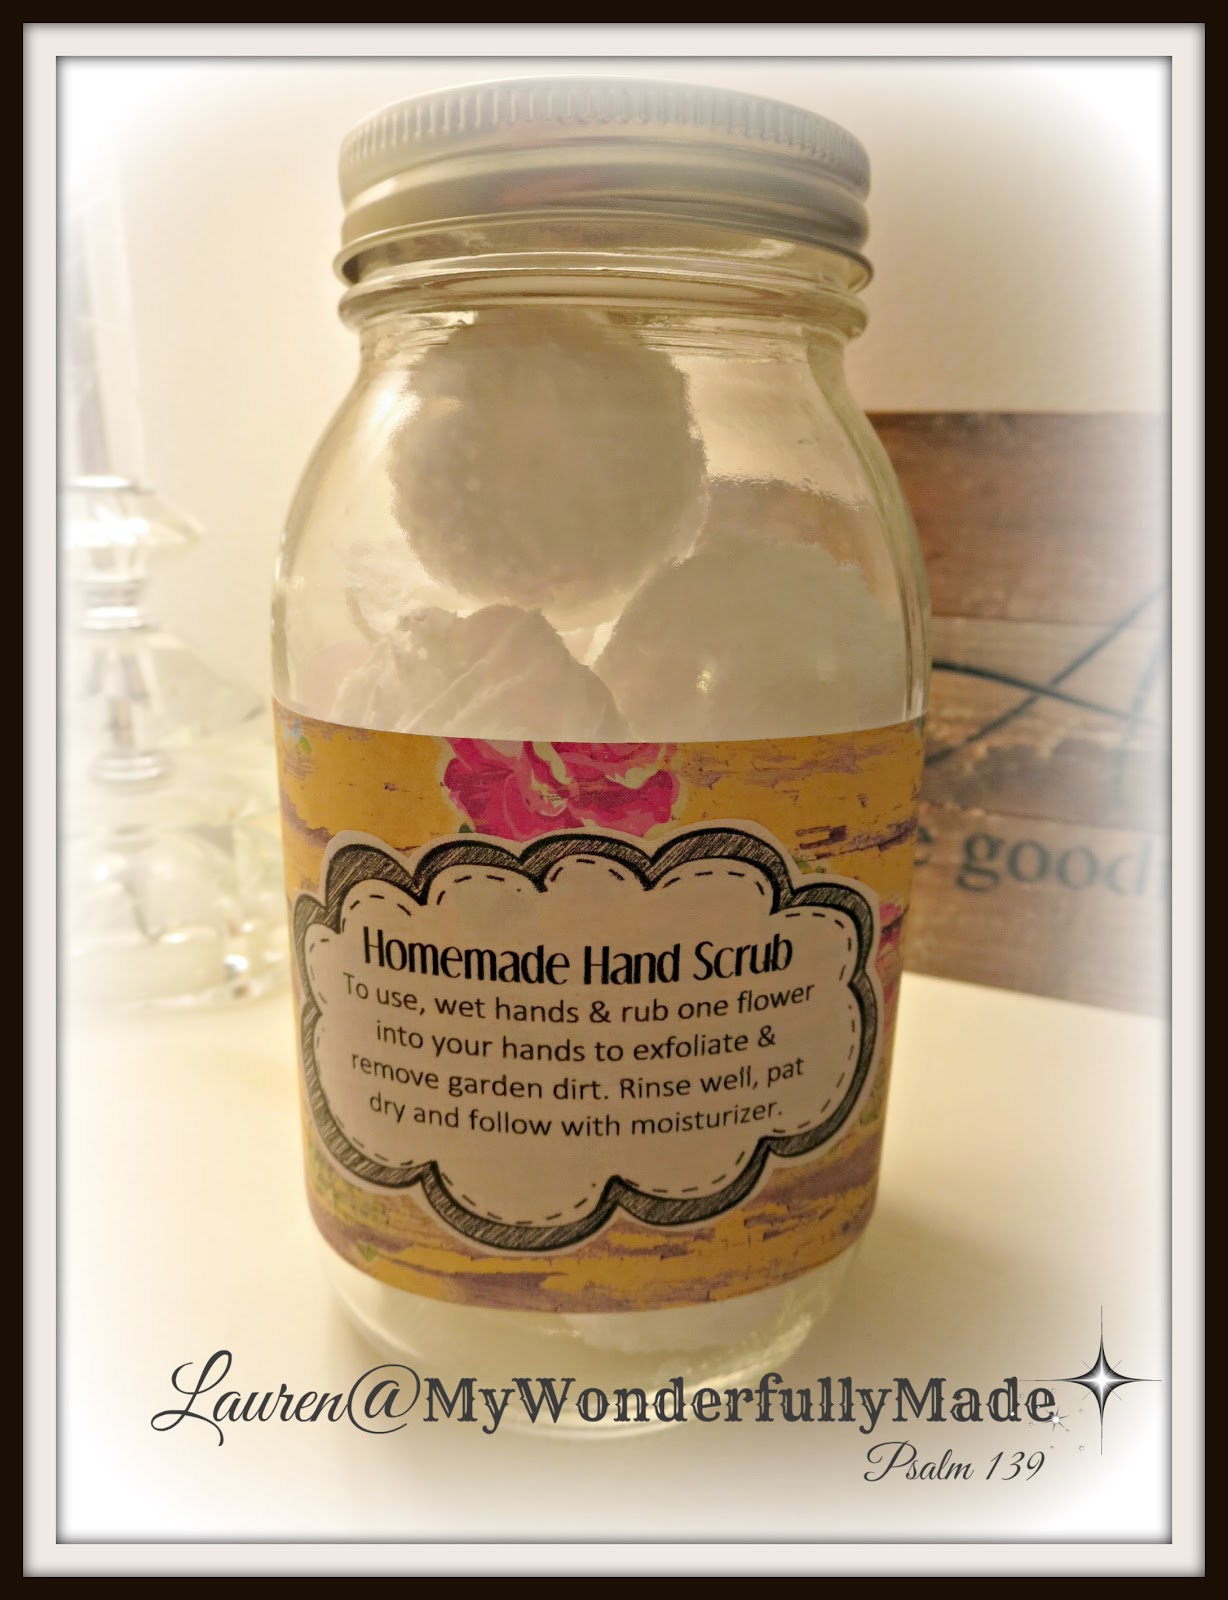
Store in an airtight jar.  When your hands need a good cleaning, simply wet your hands and rub one of these into your hands and the dirt of the day will come right off.  The bonus is your hands are exfoliated and smell great!  I've used them already and plan to make a lot more to have 'on hand'.
I just used a Mason jar for mine and made a pretty label and decorated the lid.  This jar is going into my Tea Cup Exchange box . . . MY jar isn't as fancy haha!

Be sure to check out Stephanie's blog, The Enchanting Rose -- she's such a beautiful lady and I know you'll enjoy all she shares on her blog!

DIY Hand Scrub

Use a spice grinder to grind 1 cup Epsom salt to a fine powder; add ground Epsom salt and 1 c of baking soda to a glass bowl.  Add 24 drops of your choice of essential oils.  Mix well, breaking up any clumps with a wooden spoon or your hands.  Begin adding 2-3 T filtered or distilled water to the bowl.  Continue adding water until it's the consistency of stiff cookie dough.  Press dough into your molds and let dry overnight.  The mixture will expand as it dries so cover molds with plastic wrap and weigh down with a book.  Continue checking and pressing down the dough for the first 3-4 hours.  After the dough has dried, pop it out of the molds and store in an airtight container.

On any given week (depending on how busy I am!) I love to participate in Link Parties.  These gals put a lot of time and effort into hosting these parties so I always want to show my appreciation by directing my readers to these blogs. 

Monday

Tuesday

Wednesday

Thursday

Friday

Saturday

Sunday