Tuesday, February 6, 2018

Homemade Cinnamon Yeast Rolls


These bitterly cold, snowy days are not good for much . . . except baking things like these wonderful, oh-so-good, cinnamon rolls!
My recipe comes from Two Peas and Their Pod and is not only a fantastic recipe but there are some cute pictures of her dad (this is his recipe) making his famous cinnamon rolls.
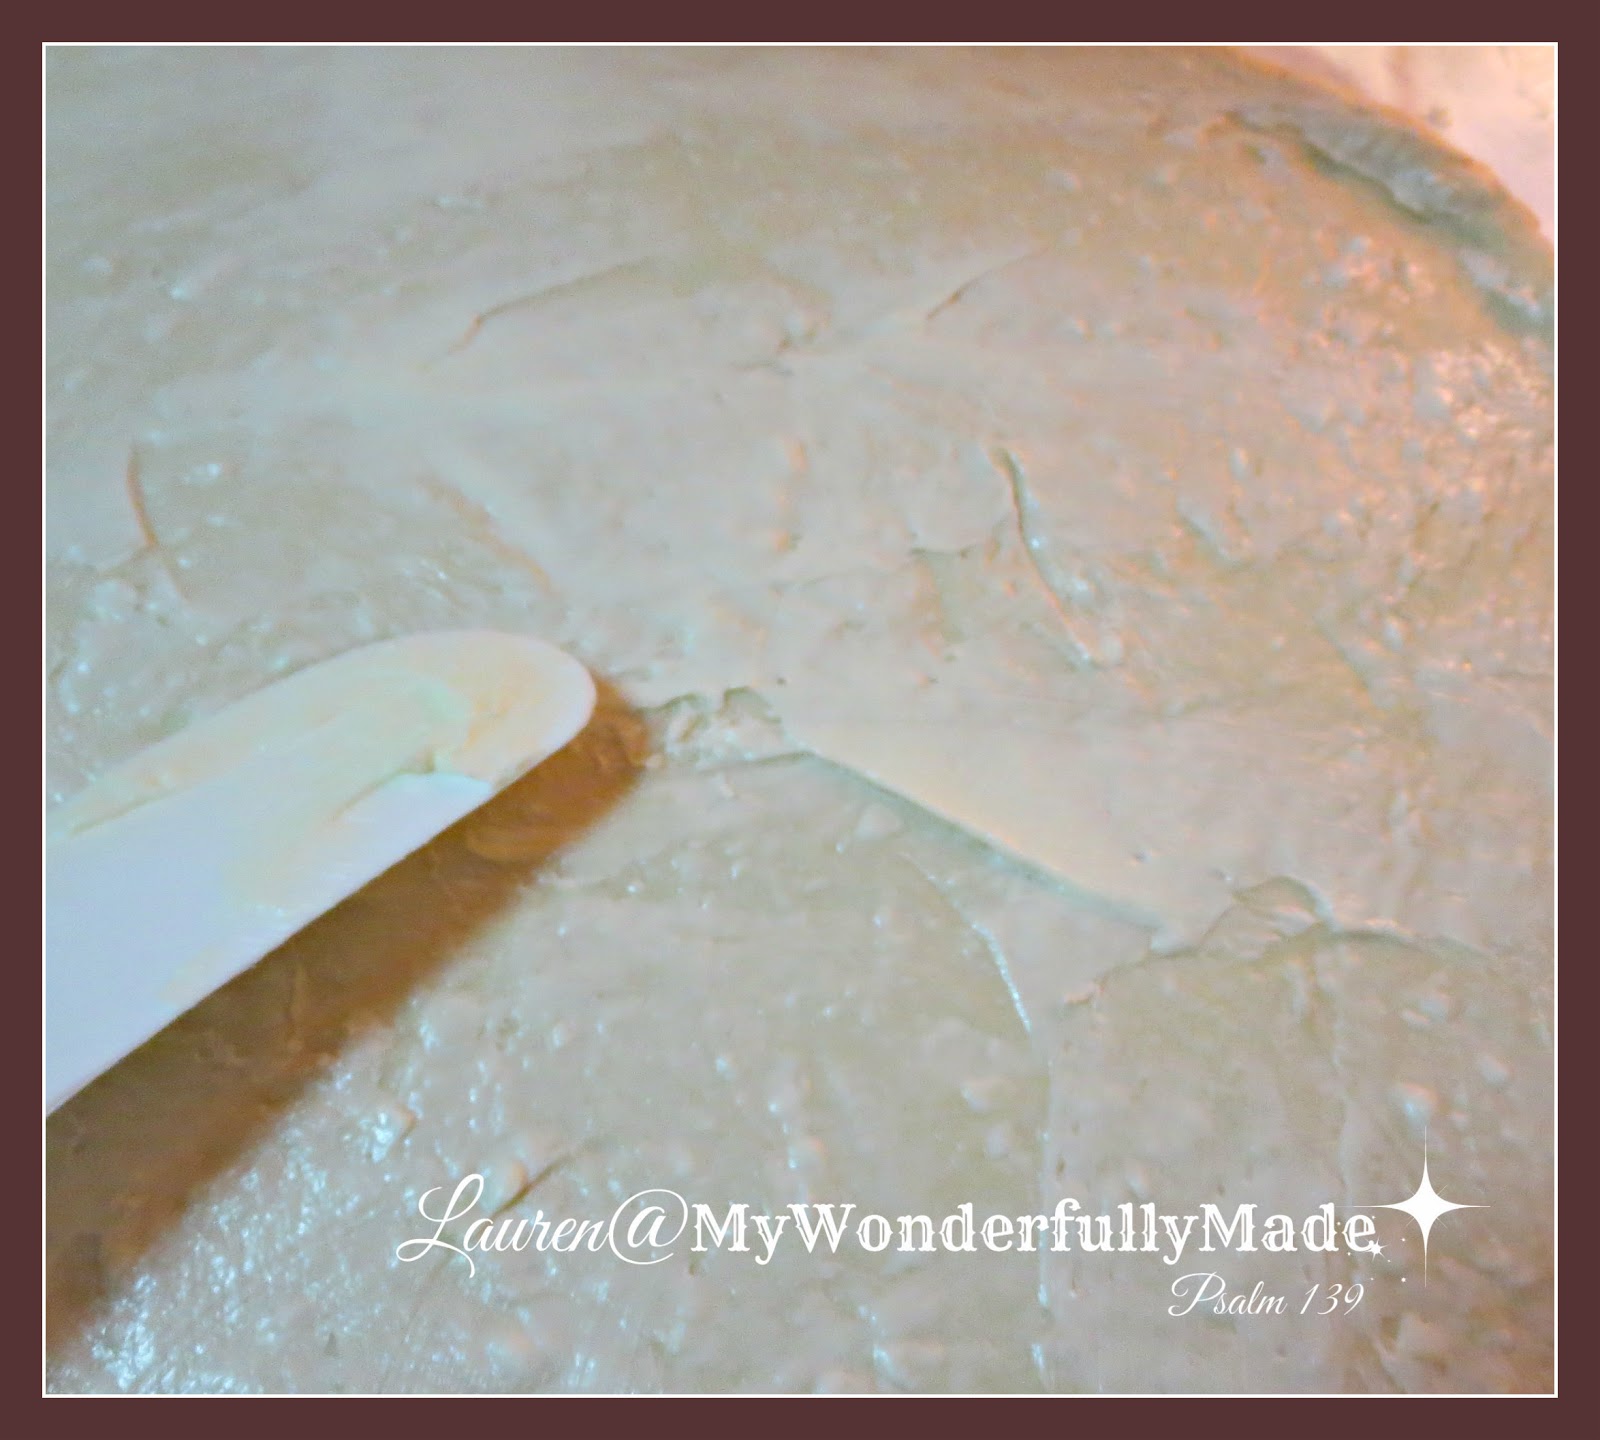

Once the dough has risen once and been rolled out into a rectangle, you spread it with soft butter.


Next comes a thick layer of brown sugar and cinnamon.  You can add raisins (I didn't have any) if you like. I think the next time I make these, I'll add raisins and more of the cinnamon sugar mixture.
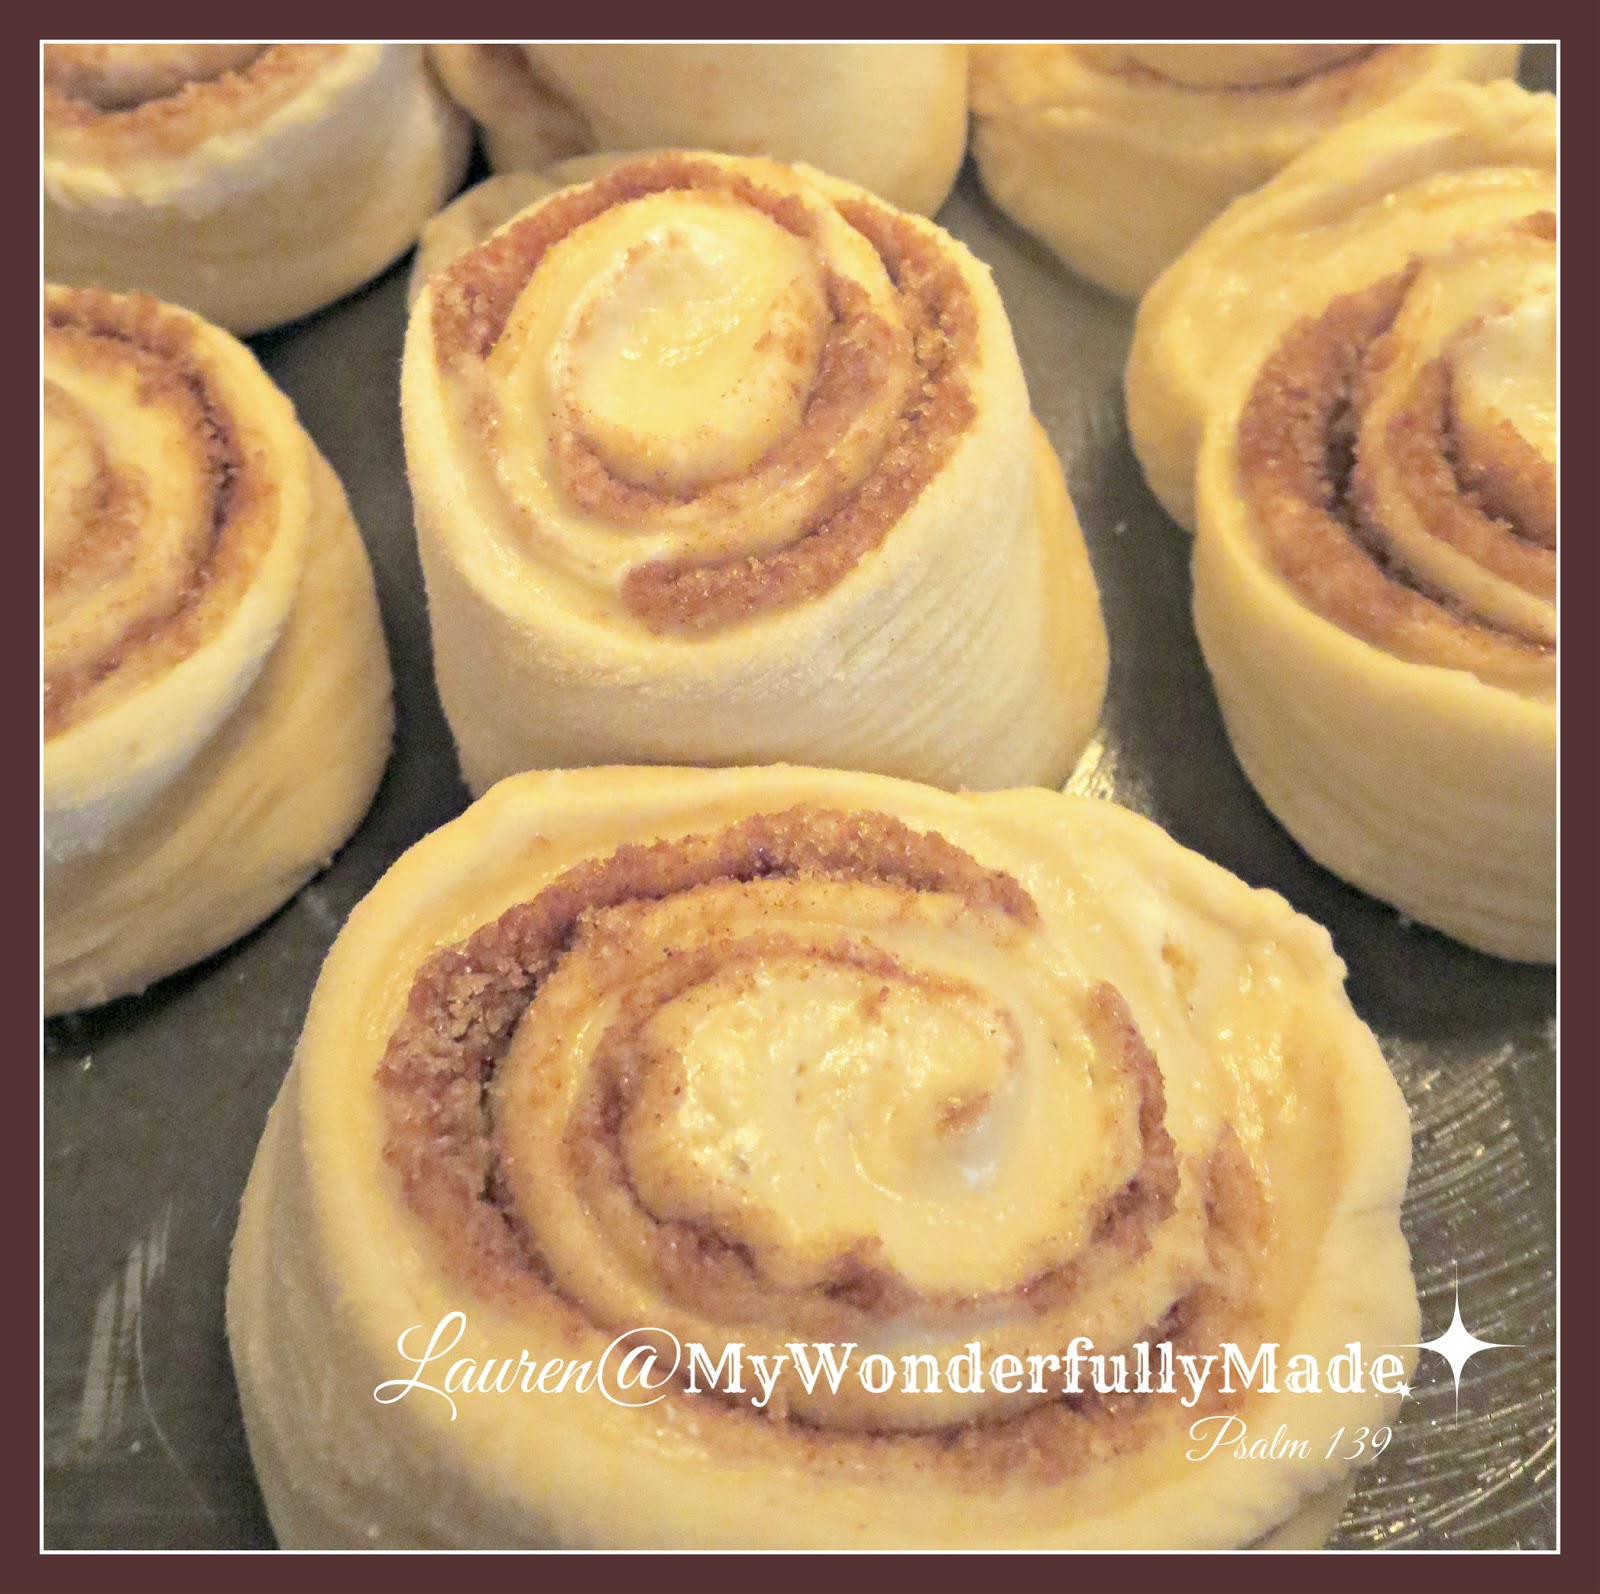

After slicing (use a piece of dental floss to get nice, clean cuts) they went into a generously greased pan to rise once more.  I set my oven to 250 degrees and set my bowl/pan of dough on TOP of the stove. The warmth coming up from the oven makes these rise really well.


Here they are all puffy and ready for the oven. 


Out of the oven and ready for a nice icing bath!


Is your mouth watering yet??


These were SO SO good -- tender inside and so gooey!
In order to spare my hips any further insult, I kept a few at home and sent the rest to church with my hubby for the staff to enjoy!
I have copied the recipe directly from Two Peas and Their Pod's site below:


  • Rolls:
  • 2 packages yeast (4 1/2 teaspoons), dissolved in 1 cup lukewarm water
  • 6 tablespoons shortening (Crisco)
  • 1 cup granulated sugar
  • 8 cups unbleached all-purpose flour (you might need more if the dough is sticky, up to 9-10 cups)
  • 2 cups hot water
  • 2 eggs, beaten
  • 1 tablespoon salt
  • Softened butter (about 1/2 cup total)
  • Brown sugar (about 1 1/2 cups total)
  • Raisins (about 1 cup total)
  • Cinnamon (about 2 tablespoons total)
  Icing:
  • 4 tablespoons unsalted butter, softened
  • 2 cups powdered sugar
  • 4 tablespoons milk
  • 1 teaspoon vanilla extract

DIRECTIONS:


  1. Add yeast to cup of lukewarm water and sprinkle in a little sugar. Set aside for about five minutes.
    2. In the bowl of a stand mixer, add shortening, sugar, and salt to hot water and beat for 30 seconds, using the beater blade. Let cool to lukewarm temperature. Stir in 2 cups of flour and mix until smooth. Add yeast mixture and mix until well combined. Mix in the beaten eggs.
    3. Gradually stir in the remaining flour and mix with the dough hook for about 2 minutes. Remove dough from the bowl and place on a lightly floured counter. Knead by hand, add a little flour if the dough is still sticky. Knead until dough feels satiny and smooth.
    4. Cover and let rise for 30 minutes. After the dough has doubled in size, remove it from the bowl and divide it in half. With a rolling pin, roll one half of the dough into a rectangular shape, about 22 X 13 inches. Spread dough evenly with half of the softened butter, about 1/4 cup. Sprinkle dough with half of the brown sugar, raisins, and cinnamon. You can omit the raisins, but my family loves them.
    5. Roll up dough into one long roll. Cut rolls, using a piece of dental floss or thread, about two inches thick. Place rolls in greased 9X13 baking pans. Now follow the exact same steps with the other half of the dough.
    6. Let the rolls rise until double in bulk. Preheat oven to 350 degrees F. Bake for 20-30 minutes or until cinnamon rolls are golden brown on top and cooked in the middle. Every oven is different so check at 20 minutes to be safe, but it might take longer. You don’t want them to be doughy in the middle. Time will also vary based on how big they get during the second rise. Ours take closer to 28-30 minutes. Remove from the oven and let the rolls cool to room temperature.
    7. While the rolls are cooling, make the frosting. In a medium bowl, whisk together butter, sugar, milk, and vanilla. Frost the cooled cinnamon rolls generously!

On any given week (depending on how busy I am!) I love to participate in Link Parties.  These gals put a lot of time and effort into hosting these parties so I always want to show my appreciation by directing my readers to these blogs. 

Monday

Tuesday

Wednesday

Thursday

Friday

Saturday

Sunday


Friday, February 2, 2018

Estate Sale Finds Friday

 I finally had a Friday off to hit up a few estate sales.  I think this one will stay with me . . . kind of makes me sad that these sweet recipes (see the one in the back? "Mama's Special Apple Cake") ended up in an estate sale. Lots of fun, old newspaper articles and clippings as well as family recipes.
These cutters are huge and very heavy.  I'll be keeping the donut cutter but selling the rest.
Couldn't resist this little coffee measure cup!

Nice vintage Life Magazine book of recipes from 1960's/70's with all recipes intact.
I know linens are not a great seller right now but I couldn't resist these lovely embroidered hanger covers in beautiful condition.
Details are hard to see on these but they are three tiny, baby dresses and they are in perfect condition.  I'll be hand-washing and pressing these before listing them.
The dresses all appear to be hand made with amazing details and embroidery.
Just look at this hand-smocking!
Tiny, tiny pin tucks! These are so beautiful they would make wonderful Christening/Baby Dedication gowns for a baby today!
This vintage Christmas tablecloth was in one room and down in the basement, I found the matching napkins  . . . all in perfect condition!

These vintage 5X7 lithographs are still in their original wrapper.  They were made by the Arthur A. Kaplan Co. in NY. The texture is like an oil painting. I couldn't find out much about them but I love the subject matter and the vibrant colors.

I had a fun morning just rummaging through things but one of the most fun parts was meeting a dear, sweet lady walking through the neighborhood of one of the sales.  Now mind you, it was about 5 degrees this morning with wind chills below zero but we stood on the sidewalk and chatted for about 15 minutes.
She told me wonderful historical facts about Jewish culture, history of names, the neighborhood, her neighbors and more. We laughed and chatted and both went away smiling over our chance encounter.
A lovely morning.

On any given week (depending on how busy I am!) I love to participate in Link Parties.  These gals put a lot of time and effort into hosting these parties so I always want to show my appreciation by directing my readers to these blogs. 

Monday

Tuesday

Wednesday

Thursday

Friday

Saturday

Sunday


Thursday, February 1, 2018

Yeast Rolls -- Yes You CAN!

Confession time.  I have never, I mean NEVER been able to make good rolls.  That is, until now.  Giving credit where credit is due, the recipe came from Anita at Sugar Spice and Spilled Milk.  Anita shared here mom's recipe (can you believe her mom made these once a week?!) Those WERE the days.  I don't think I'll be making these once a week but I will be making them often.  The recipe made 24 rolls so we literally ate dinner rolls with EVERY meal for a week haha!
I also have to give credit to the KitchenAid mixer that my husband surprised me with for Christmas.  That dough hook . . . well let me just say that thing is AMAZING! After working the dough with the mixer, it went into a greased bowl to rise for about 2 hours when it was doubled in size. 

And one of MY tips (especially in a cold climate!), I turn my oven to 250 degrees and set my dough on top of the stove to rise both times.  It's just enough extra warmth I think to make these rise like crazy!
I patted the dough out and used a pizza cutter to make even size pieces but you don't have to do that -- it's just the obsessive compulsive in me coming out.
I loosely rolled each piece in my hands to form a ball and placed it in a well-oiled 9X13 pan.  After another hour or so, this is what I had . . .
Into the oven they went and 30 minutes later . . .
Perfect dinner rolls!  Brushed with some melted butter . . . is your mouth watering yet??
Tall and fluffy . . . these things were huge and pulled right apart from each other.
Well now you HAVE to have lots of butter melting on these, right?  I figured with all of the years behind this recipe it should work and I wasn't disappointed.  Here's the recipe right from Anita's blog:

In a small bowl, mix together:
1 cup warm water
1 teaspoon sugar
1 package yeast (or 2 1/4 teaspoons)

Let this stand until yeast bubbles up.

In a separate large mixing bowl, mix together:
1/2 cup vegetable oil
1/2 cup sugar
1 1/2 teaspoons salt
1 cup warm water

Combine yeast mixture with the oil mixture. Add about 6 cups all purpose flour, gradually stirring in 1 cup at a time. Knead well, then place dough in a large greased bowl to rise. Cover with plastic wrap, and let rise until double in size (about 2 1/2 - 3 hours). Knead again, and form dough into rolls. Place in a greased 9 x 13-inch pan. Let rise again until rolls touch top of pan. Bake at 350 degrees F for about 30 minutes or until browned.

On any given week (depending on how busy I am!) I love to participate in Link Parties.  These gals put a lot of time and effort into hosting these parties so I always want to show my appreciation by directing my readers to these blogs. 

Monday

Tuesday

Wednesday

Thursday

Friday

Saturday

Sunday

Monday, January 29, 2018

Multi-Purpose Porch Decor Door

In December, I made this door to put on my front porch with interchangeable panels.  You can see it HERE dressed for Christmas.  I was excited to add the first of the new panels to this for Valentine's Day.
As I say in my other post, you could use any type of thin wood or plywood for this.  I used old peel-and-stick floor tiles (that I would NEVER want to see on a floor!) which make this really easy to do.  I started by cutting the tiles using a template I created so they will fit inside the panels of the old door.  Once the fabric is cut, I just peeled the paper backing off of the tiles and stuck the fabric to the tile. If you are using wood, you can use spray adhesive.  Next, I used a glue gun to fold the corners back and then the edges to create a finished, covered panel.
Since this could be exposed to the elements, I sealed the fabric panels with water-repellent/outdoor Mod Podge.  The panels are attached/detached using velcro (detailed in my other post).
The top panel is painted with chalk paint so I can change out the quotes or verses.
Now my porch is ready for Valentine's Day! (LOL the banner says Be Mine but you can only see "e mine")
I added a dollar store wreath to my milk can and filled a red, wire basket with silver dollar plants and a dollar store, red, plastic plate and some pink lights.
Many are not familiar with Silver Dollar plants but let me tell you, they are SO pretty and fun to grow!  I think a friend gave me some seeds years ago and since then, I always have an abundance of them each spring.
They bloom in the spring and have these gorgeous, tall stalks of purple flowers.  After the flowers fade, they leave behind tiny pods that continue to grow and turn brown as the spring wears on.  Eventually, you cut down the stalks and then the fun begins!
At the top you see the pods with the seeds (these were originally the purple flowers).  The middle picture is what you get as you sit and mindlessly, therapeutically rub the pods between your fingers, removing the two outer, brown 'skins' and seeds. Then, you're left with these iridescent, shiny 'silver dollars'.  In the bottom picture you can see the pile of seeds left behind!
They make lovely arrangements!
I've even stamped on them and used them on gifts, cards, etc. (Read my previous post on the Silver Dollar Plant) The pilgrims brought them on the Mayflower.  Thomas Jefferson grew them in the famous gardens of Monticello and he often mentioned them in his letters.  They are easy to grow as they re-seed themselves year after year.  
As you can see, there is never a shortage of seeds! If you'd like me to send some to you, I'd be happy to!  Just email me privately with your name and address and I'll get them to you in time to plant for spring.  All you have to do is turn over the dirt as soon as everything is thawed and scatter the seeds, covering over with dirt.  That's it.  Beware though that when they start to come up, they can be mistaken for weeds! See my Silver Dollar Post for pictures of what they look like at every stage.
Since Easter is so early this year, I'll probably skip St. Patrick's Day decor so my next panels will be for Spring!

On any given week (depending on how busy I am!) I love to participate in Link Parties.  These gals put a lot of time and effort into hosting these parties so I always want to show my appreciation by directing my readers to these blogs. 

Monday

Tuesday

Wednesday

Thursday

Friday

Saturday