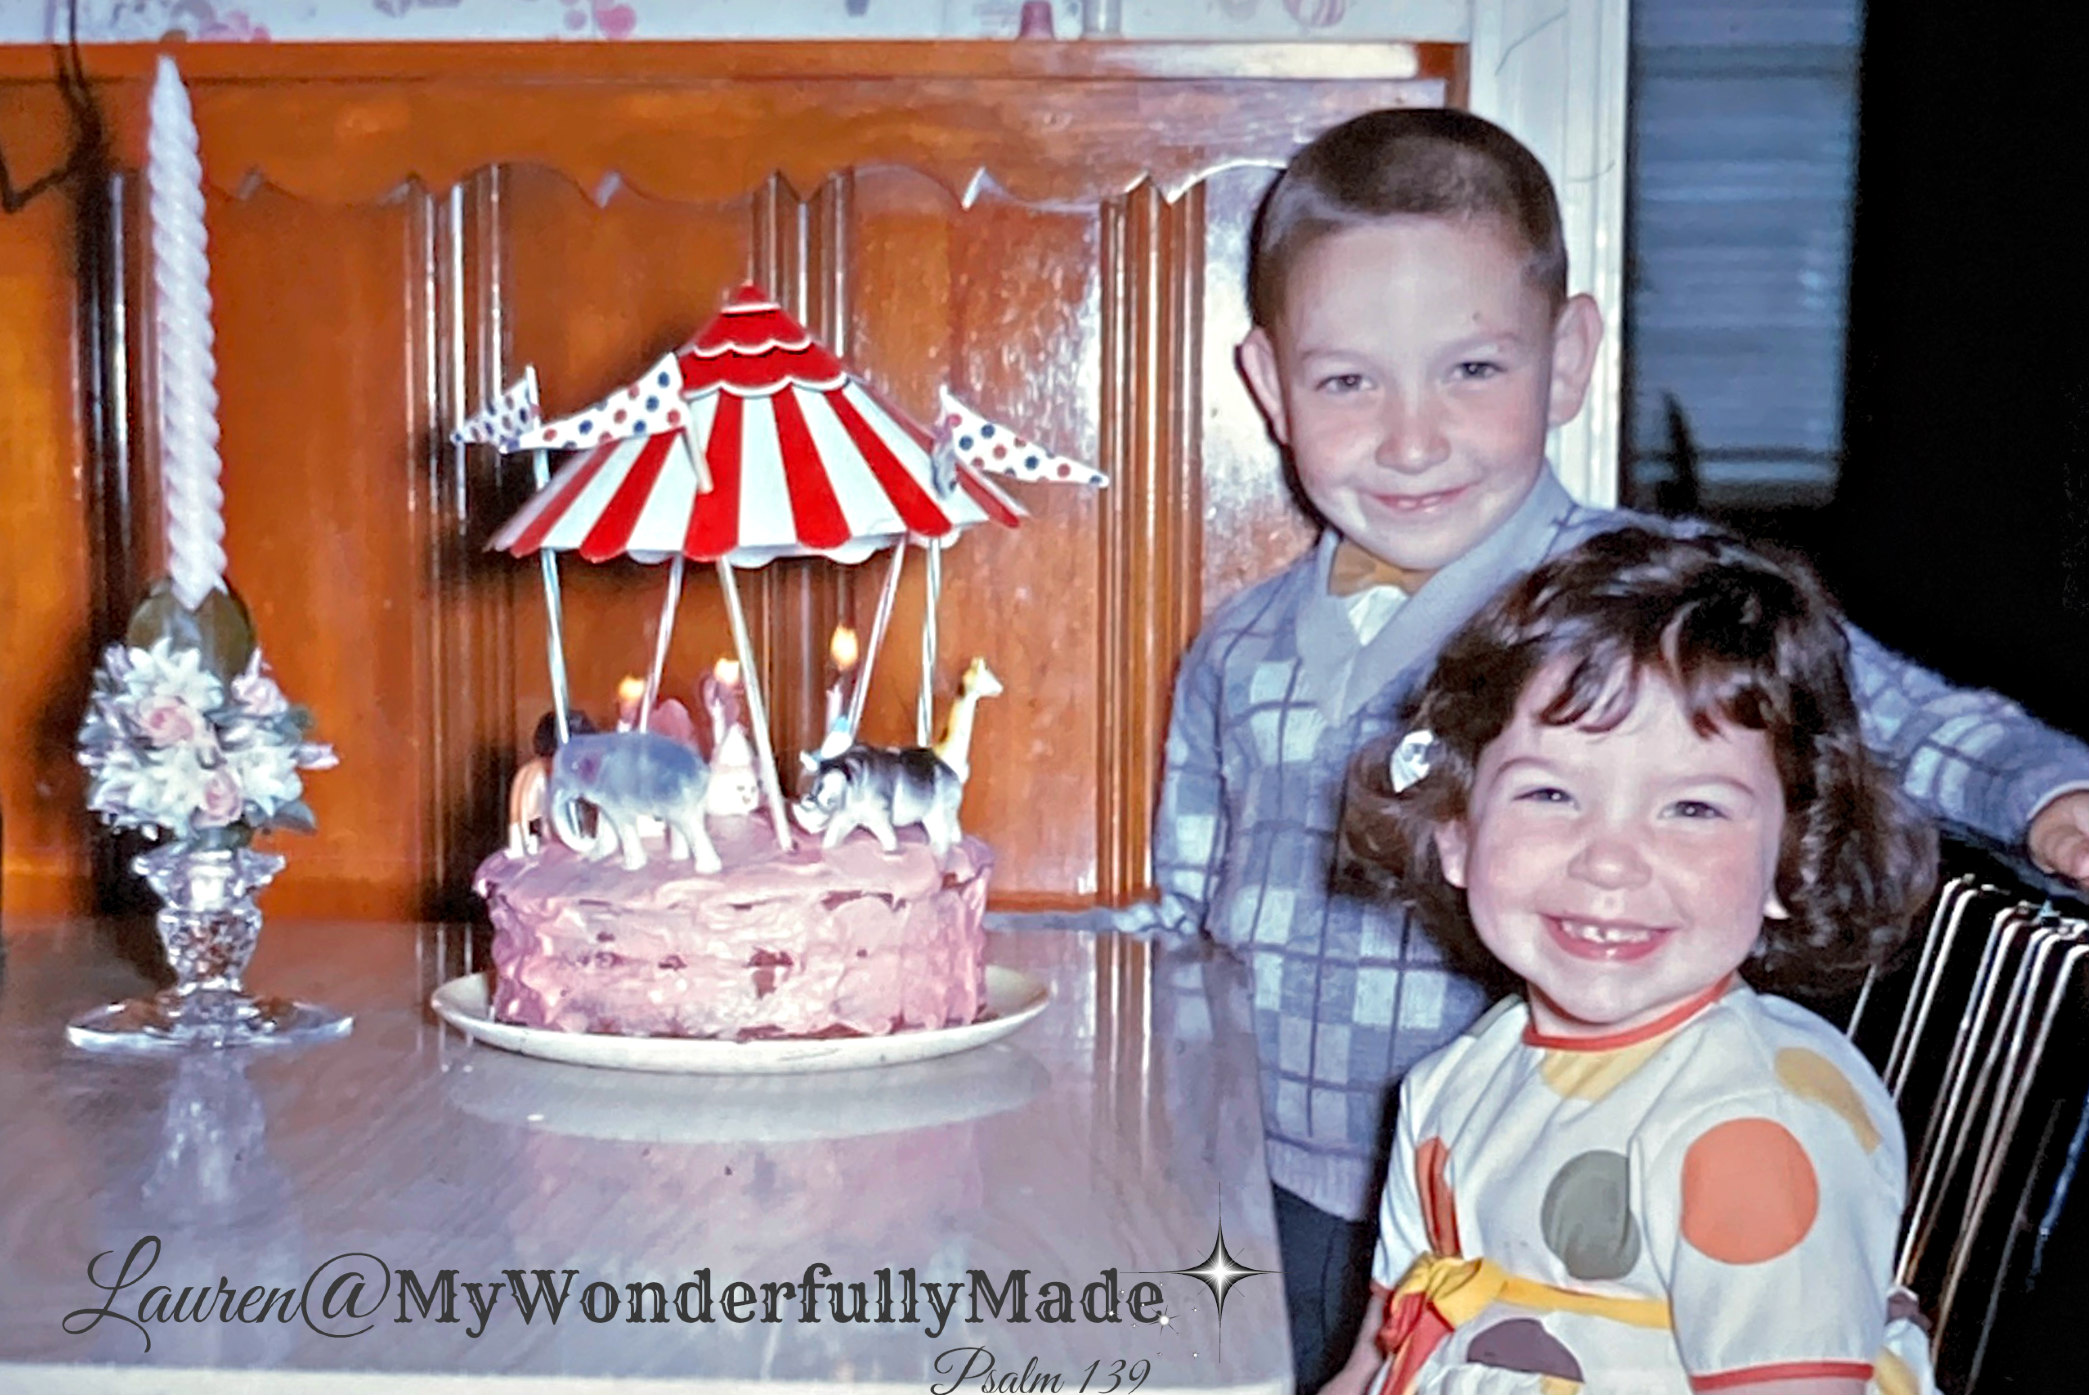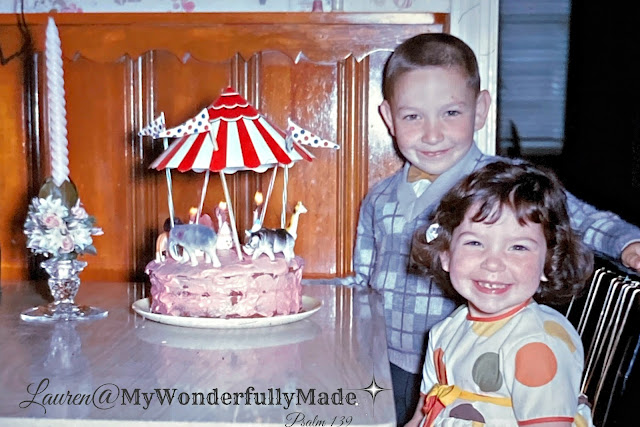
Living in a 'digital world', we sometimes forget (or weren't even around!!) when you inserted a roll of film into a camera, took pictures, put that film into an envelope, mailed it off and eagerly awaited the arrival of the envelope (or box in the case of SLIDES) to see what you captured . . . or didn't! Recently when my dad passed away, my brother and I (that's him above!) began going through boxes and boxes and bags of not just photos but SLIDES. My dad took a lot of slides! Wanting to find an easy, economical way to access the slides, I came across an app called SlideScan. There is a free version but for just 7.99/month you get the full version. With this app you can scan photos AND slides, save them, download them, share them . . . whatever you want!
In scanning these slides (I'll explain the simple process at the end of this post.) we discovered some very interesting things!
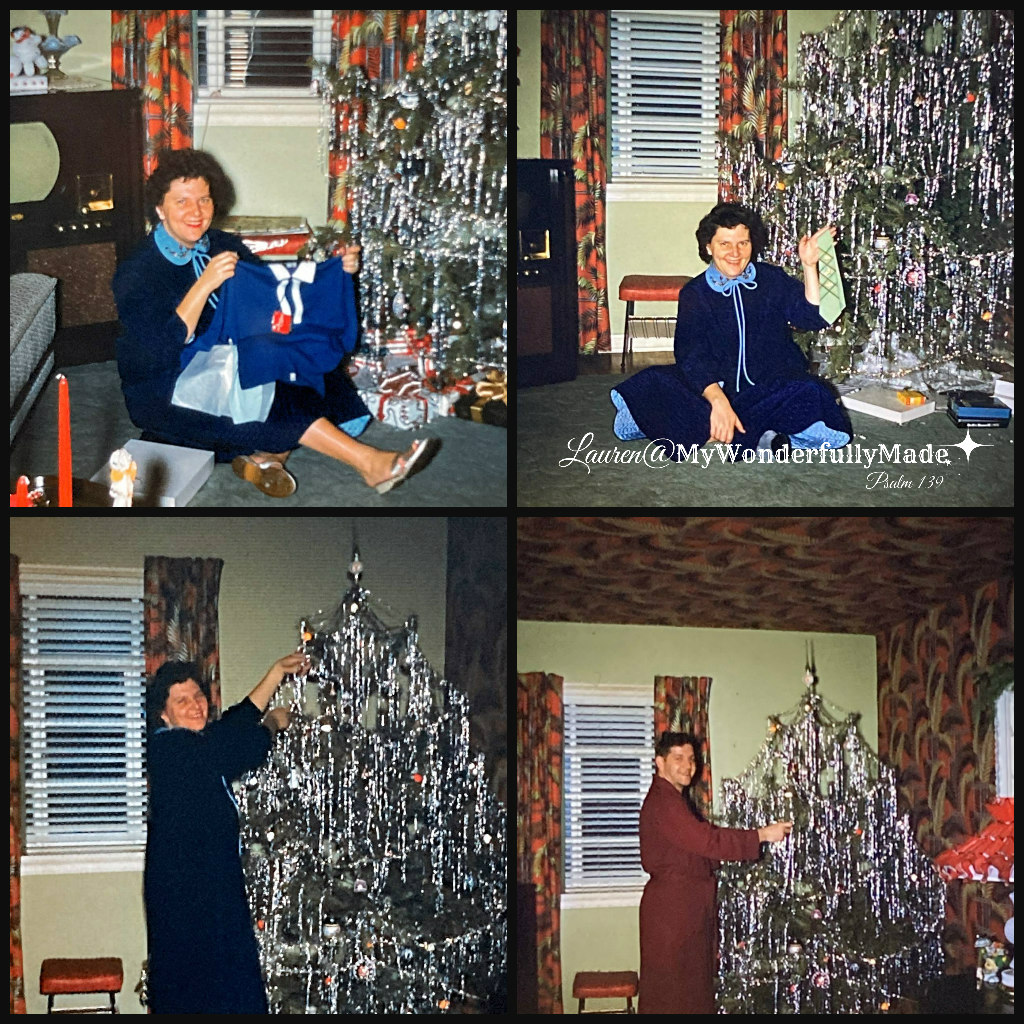
For example . . . apparently wallpaper on the ceiling was a 'thing'?? As well as coordinating paper and draperies. We also found it funny that my mom was only holding up my DAD's gifts and not hers haha! She was pregnant with my brother in these photos.
Now look at these next three collages of me and my brother. Can you find the common denominator in all of these photos???
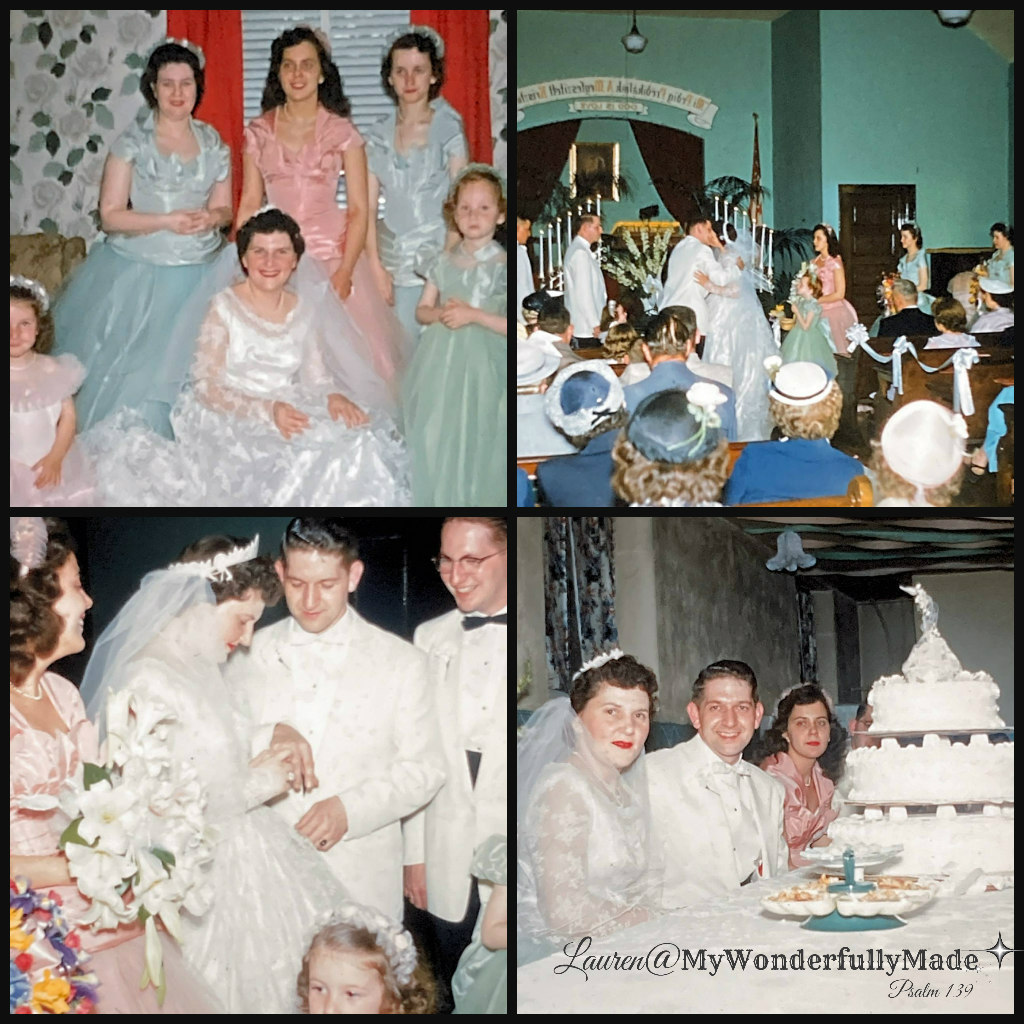
We learned some interesting things about my parents' wedding as well . . . Just look at all those hats!
I was delighted to have found my mom's wedding gown and veil in the attic when we cleaned everything out and both are in excellent condition! Take note of the cake picture and read on . . .
We could not figure out why there were apparently TWO receptions. One in the basement of the church and one at this restaurant. Upon talking with my aunt we learned that back then you had a LUNCH with the wedding party in all of their clothes at a restaurant and THEN, you went visiting those who were 'shut in' and couldn't come to the wedding! Can you imagine!? What if you spilled ketchup on your dress at lunch?? The wedding ceremony took place at 7 p.m.! My aunt said several of the places they visited were FARMS and they had to tiptoe through the fields of mud and dirt to get to the houses!!
So at the church, they would have cake and punch for all who attended the ceremony. It was just not affordable to feed the crowd more than cake and peanuts.
We also marveled at the beautiful outfits my mom dressed us in! What she must have spent!
AND, what we noticed also is that in almost every picture of HER, she is wearing the same black suit dress . . . that explains it haha!
Even on Easter it was the same dress (Although she DID manage a new hat each year! I have the one in the lower right corner photo. My dad always bought her and I corsages every single Easter!
Now realize, these photos are all from SLIDES! And here's a really cool feature from SlideScan . . . you can colorize photos!
This is my Aunt (the one who filled us in on the wedding information) and my grandpa who was widowed with ELEVEN children when my grandma died at age 42. Here he is with six of those eleven! He was such a godly man who loved the Lord and could pray like no one I've ever heard before or since!
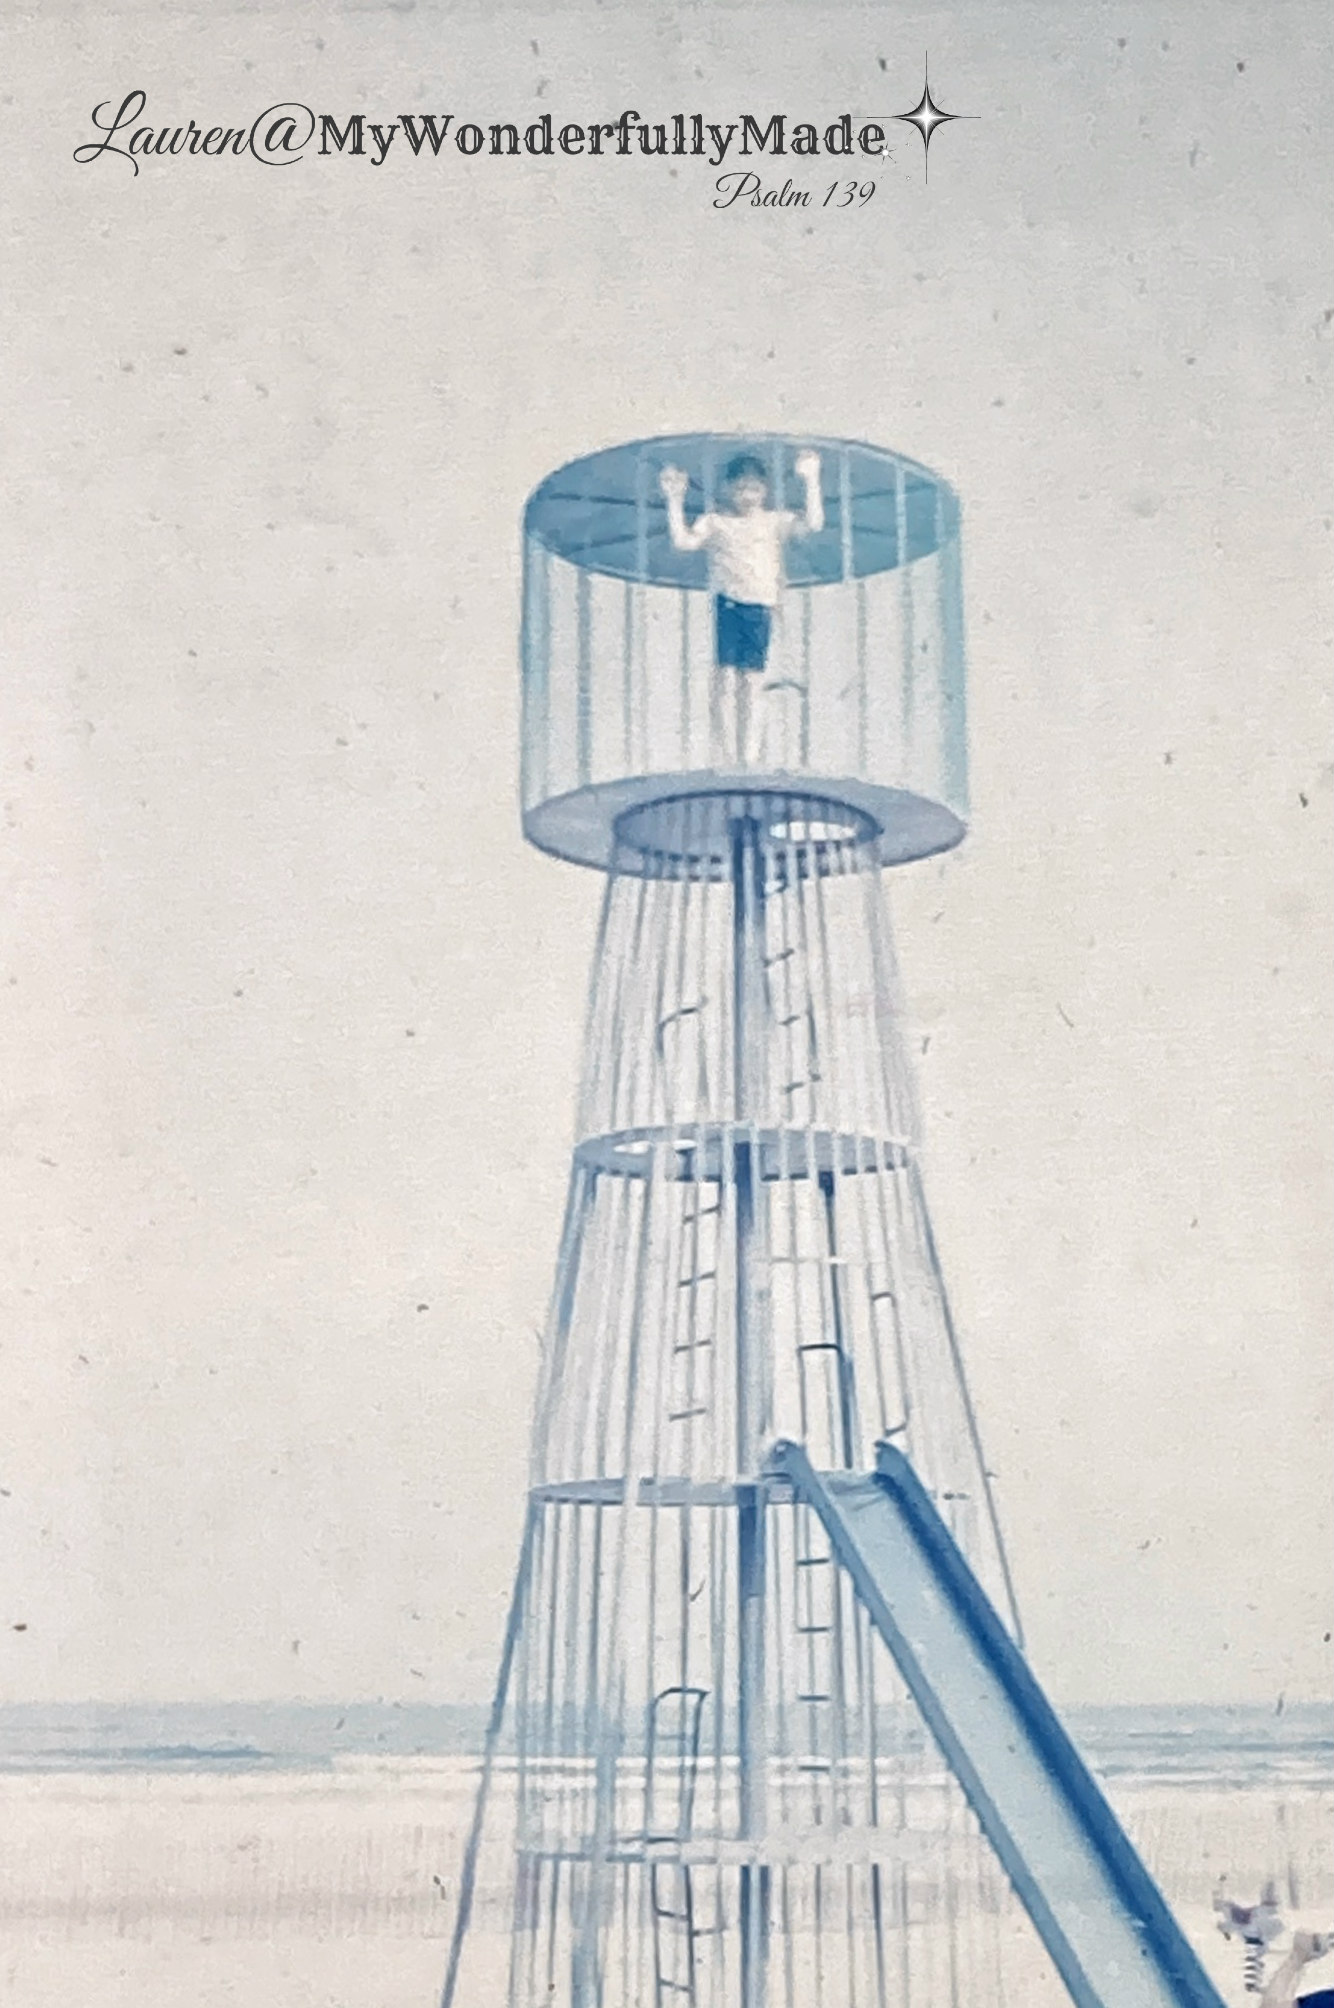
We came across LOTS of gems like this photo of my brother (we think taken in Atlantic City) on a piece of playground equipment from the days when playgrounds were playgrounds hahahaha! Can you even imagine?! How hot do you think that metal slide got on the beach??? And if each rung is 10" that thing has to be around 40 feet high!!!!
This was my baptism when I was nine years old!! I had no idea my dad had taken any pictures!
I get no reimbursement for this endorsement but I highly recommend you give this app a try if you have lots of pictures and especially slides you want to convert to digital.
The app directs you to a website where you have a 'white screen' on your computer. You simply hold the slide up in front of your screen, tap a button on the app on your phone and it scans the image. But wait, that's not all lol . . . It then straightens, crops and color adjusts the image before saving it!
One feature I found after scanning about 700 slides . . . you don't even have to tap the button to scan. If you enable your microphone, you just say "Go" and it scans!!
I did approximately 1000 slides and about 200 photos in two days and I probably spent about 3 hours each day! That's it!
What surprises have you found when looking at old photos??