Saturday, March 31, 2012

Anniversary Give Away

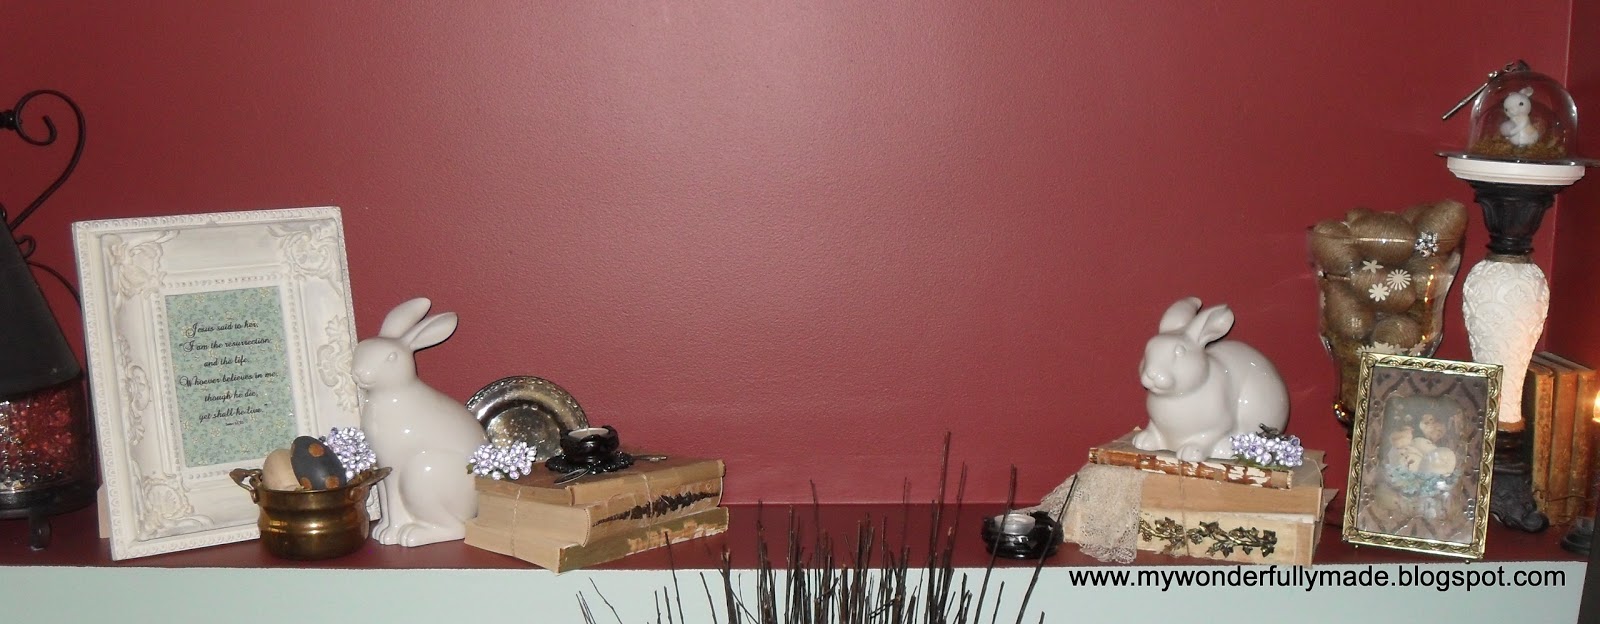
It's hard to believe that it's been a little over a year since I did my first blog post featuring the makeover of this Goodwill table into a T.V. stand for our living room.  In honor of my one year anniversary and that I'm almost at 400 followers (who will be numbers 399 and 400??) I'm offering a give away to a lovely online antique shop called Bella Rosa Antiques.


Here are three of my purchases from Jillian's shop:  LOVE these vintage rolls of crepe paper (she still has a few more available!).  I think they're going to be used for my 4th of July decorating.  I collect vintage brooches and this one incorporates one of my favorite colors . . . pink.  Finally, I bought this ADORABLE miniature spoon pin.  I plan to wear this when hosting my Victorian teas.  Bella Rosa Antiques offers a wide selection of vintage jewelry, linens, china, books, ephemera and more.
Jillian has graciously offered the winner a $25.00 gift certificate to her store.  Here's what you have to do to enter:
(Required) Be a follower of my blog and leave me a comment or let me know that you already are a follower - 1 entry
(Optional) Stop by Bella Rosa Antiques and tell me something you'd like to buy if you win - 1 entry
(Optional) Become a follower of Jill's blog
(Optional) Post about this give away on your blog - 1 entry
 
Give away ends April 10. 
(U.S. Residents only please)

Tuesday, March 27, 2012

Spring Mantle

This year I'm using a lot of elements for Easter that I can leave up past the actual holiday.  

 These two large ceramic bunnies were thrift store 'scores' at just 2.00 each.  They're perched on top of my vintage book stacks and accessorized with these cute, glass bead wreaths and some vintage jewelry.

More "Multi-Purpose" decorating with a vintage Easter postcard replacing the St. Patrick's Day image in this frame previously.
 This frame gets a new Bible verse or quote with each new season but always remains on the mantle.
I added these twine-wrapped eggs to the large vase and clipped on a pretty, silver vintage earring.


Wednesday, March 21, 2012

Spring Book Page Banner

Time to dress my ladder again.  I saw this idea at a Creations by Kara and knew I wanted to do something similar.
Instead of Easter eggs on the book pages, I went for 3-D flowers so I can keep this up as long as I want.
Kara provides you with a template for the banner pieces which I used.  For the flowers, I punched 3 pieces from paper.  I folded the first one twice and the second one three times (see below) leaving the third one as is.
 Using glue dots, I attached the three together to form the flower.
 I inked the edges of the banner pieces and also added some of my favorite 'distressing' stamps to age them even more.
I used double sided tape to attached the banners to twine and then used hot glue to add buttons to the flowers and the flowers to the banners.
 I made four banners and attached them to my ladder using clear push pins.

 A fun and easy project that could be adapted for any holiday or season!


Saturday, March 17, 2012

More Multi-Purpose Decorating

Small spaces like mine require that I be creative with decorations so I love just switching out the images in existing frames around my house for the holidays.
 I love the little "feet" on this old frame.  Got this for a quarter at Salvation Army.
These pictures were made using my technique for printing images onto sheet music images.
So the same frames were used for Christmas, Easter, St. Patrick's and Valentine's Day and all I have to store is the paper print.
Happy St. Patrick's Day to everyone!
Lauren

Friday, March 9, 2012

Sweet Scripture Bird Plaques

I'm having fun with these old plaques I got at the thrift store.  I didn't take any before pictures of these but they had funky 70's fruit pictures on them. I gave them a coat of white chalk paint, distressed and waxed.
I had several of these plaster birds.  Not sure what they were intended for as there was no method of hanging them up and they wouldn't stand up on their own.  So I painted them and used E6000 glue to attach them to the plaques.
I printed out some Bible verses that included reference to "wings", distressed, crumpled, inked and 'aged' them then applied them with Mod Podge.
If you're interested :) these are available in my Etsy Shop.

Sunday, March 4, 2012

Wordle Collage Box

Have you heard of "Wordle"?  It's a great, free program that transforms any group of words into these cool collages!  I made this one using Matthew 11:28-30 to put on a box I made for my husband's office.  More information on the program at the bottom of this post.
This started out as a wooden cigar box that I got for 50 cents at the thrift store.  It got a coat of Paris Gray chalk paint, some distressing, clear and dark wax.
I lined the inside with paper and then gave it all a coat of Mod Podge just to help keep it easy to clean (not that my husband is messy :)
The wordle collage was just printed on plain, white paper which I then tore, inked, crumpled and distressed some more and used Mod Podge to adhere it to the top of the box.  I finished it off with a few coats of clear wax and buffed.
To cover the cigar logo and words, I added this mini frame that I painted black and distressed.
Now for Wordle.  Here are some brief explanations of how to use it but seriously, just go to the site -- they have a great FAQ section and it's really quite easy to do but here are some tips that may save you some time:

Create your Wordle by writing your verse, quote or whatever in the box and then click “Go”.  Your Wordle will appear and you can now click on the “Randomize” button and you’ll see lots of variations of your words.  Hint:  If there are certain words YOU want emphasized, type them in twice.  Wordle makes words that are repeated larger.

Note: You need to install the free Adobe Acrobat Reader and Java to save your image.
To save it, click on the “Print” button and a box will come up saying, “The applet has requested access to your printer.  Do you want to allow this action?”.  Click “yes” and check the box for “always allow”.

When the print box comes up, in the printer, drop-down box, click on PDF Complete, then “Okay”.  A box will appear which will allow you to save this image as a PDF to your computer, allowing you to use it however you want.

If you want to upload your image to your blog, you can edit it at the top (change font, colors, etc.).  Once you’re happy with it, you need to upload the image to their gallery.  After doing that, you’ll see an html code at the bottom of the image.  Copy and paste that into your blog (insert html gadget) design and the image will appear on your blog (See mine at the top right of my blog?)

Now go "Wordle" and let me know what you create!


Friday, March 2, 2012

Make Your Own Background Paper

My boss had these old cartoons and he wanted to put them in a frame as a gift for a friend.  I just mounted them on black card stock and purchased the Beatles images on Etsy, mounting them on black as well. But when I put the pieces on plain, white card stock it seemed to be 'lacking'.  Solution: create my own background paper.
 Music lyrics always make a great background for projects.  Using a Word document, I copied and pasted the lyrics (in this case, "A Hard Day's Night") into the document.  I maximized the margins and ignored the 'warning' that the print was outside of the margins.  
 I went online to Fontspace.com and did a search for a "Beatles" font . . . and they had several!  After installing the new font I changed the print to that and set the type to fill the line (not sure what the technical term is but it's not 'centered', 'left' or 'right' but 'full').
And this is what I got (although it was not blurry like this picture!). Here's the finished product:
By making your own background paper, you are never limited in what you can create!