Sunday, April 29, 2018

Reading is Dreaming with Open Eyes - Magazine Rack

I got this little magazine rack at Salvation Army the other day for 5.00.  It's a solid piece and I liked all of the details on it. Because of the nice, smooth surface, I chose to use Rustoleum Chalked SPRAY paint.  I love this stuff!  AND since it's FINALLY warm out, I was able to work on it outside!
(I almost forgot to snap a 'before' picture . . . do you ever do that??)
I also knew when I saw it that I wanted to paint a quote on it so I found this one and it was the perfect size.  I print my quotes out on computer paper and then put graphite paper underneath and trace with a pen, transferring the writing onto the surface.
Once I trace the quote on, I use regular acrylic paint and a fine tipped brush to paint in the letters.  When dry, I sand very lightly to distress it a little as well as distressing 'here and there' on the rack.
I applied a coat of clear wax and then buffed the spindles with this attachment on my electric drill.  If you do a lot of waxing, these 'fuzzy' heads are so handy for buffing detailed spots like these.
I love working on these smaller projects in between bigger ones . . . a sense of accomplishment quickly!  Also, another advantage to the Rustoleum Chalked Spray paint is that is dries SUPER fast!  By the time you've finished one coat, the first is nearly dry!  So the project moves very quickly.
Looking forward to working on more projects in my "outdoor" work room!

On any given week (depending on how busy I am!) I love to participate in Link Parties.  These gals put a lot of time and effort into hosting these parties so I always want to show my appreciation by directing my readers to these blogs. 

Monday

Tuesday

Wednesday

Thursday

Friday

Saturday

Sunday

Wednesday, April 25, 2018

DIY Hand Scrub Flowers

It's FINALLY spring here in the Midwest and that means I'll be out working on my flower beds, yard and the general mess that our winters leave behind.  With that in mind, I decided to make these hand scrub 'flowers' (you could use any shape mold) and am also adding them to my Tea Cup Exchange box for Stephanie's Tea Cup Exchange at The Enchanting Rose.  This is the TWELFTH one she's hosted - it's an amazing and wonderful way to meet other bloggers and it's SO fun to put together the packages!
It takes just four simple ingredients:  Epsom salt, baking soda, essential oils and distilled or filtered water.  You'll also need a spice or coffee grinder and some type of silicone mold.  I chose flowers for these.  There are a lot of different recipes on Pinterest but this one from One Essential Community seemed to be the simplest.
You definitely need the grinder for this -- a food processor will not grind the Epsom Salts finely enough.  Here you see the salts on the left and afterward, they are ground to a fine powder.
After you combine the Epsom salt and baking soda, you add your essential oils.  My daughter and I decided on Lavender and Lemon/Rosemary.  We did 12 drops of each and mixed with a wooden spoon (that I only use for craft projects).  Add two tablespoons of water and mix then continue adding by the tablespoon until you get a nice, smooth, but stiff paste.  We used 7 tablespoons of water.
Press the paste into the molds. 
Our mixture made 18 flowers.
Cover your molds with plastic wrap and weigh them down with a heavy book. The mixture continues to expand for several hours so you have to keep checking and patting them down, compressing the mixture back into the molds.  Let them dry over night and then you can pop them right out.
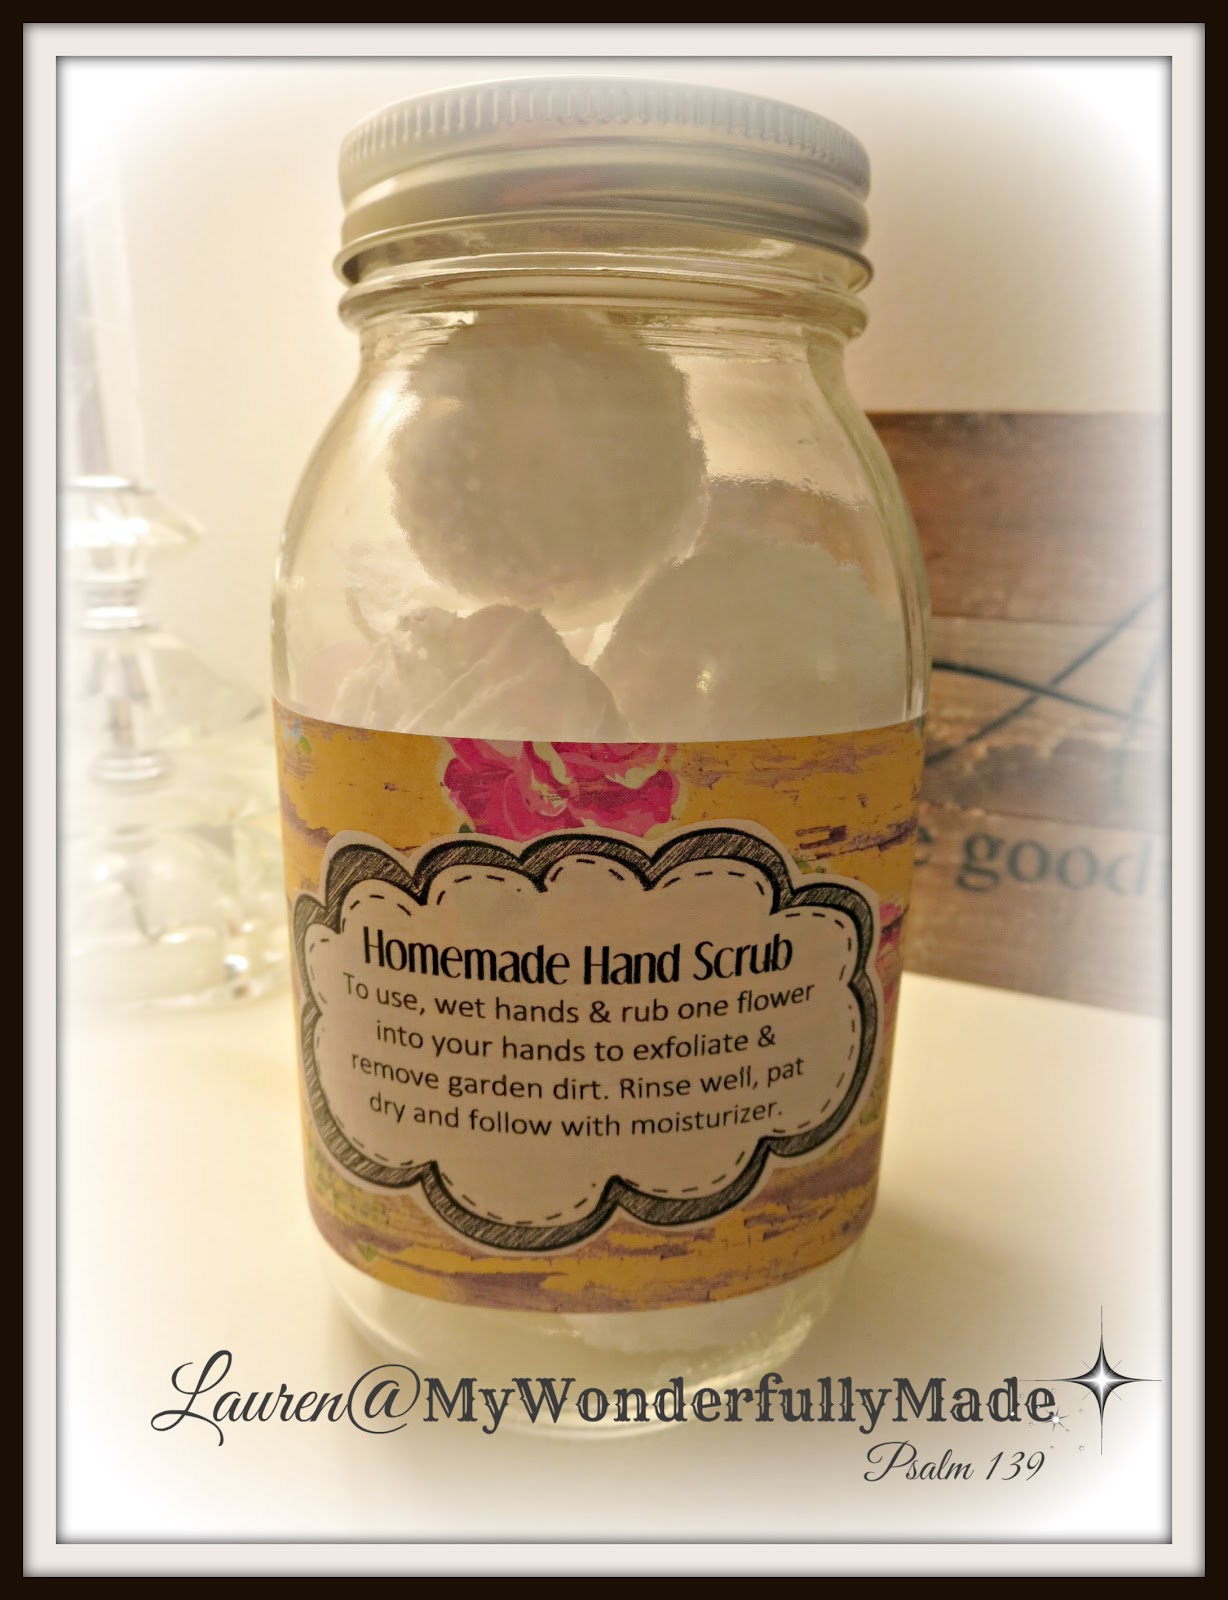
Store in an airtight jar.  When your hands need a good cleaning, simply wet your hands and rub one of these into your hands and the dirt of the day will come right off.  The bonus is your hands are exfoliated and smell great!  I've used them already and plan to make a lot more to have 'on hand'.
I just used a Mason jar for mine and made a pretty label and decorated the lid.  This jar is going into my Tea Cup Exchange box . . . MY jar isn't as fancy haha!

Be sure to check out Stephanie's blog, The Enchanting Rose -- she's such a beautiful lady and I know you'll enjoy all she shares on her blog!

DIY Hand Scrub

Use a spice grinder to grind 1 cup Epsom salt to a fine powder; add ground Epsom salt and 1 c of baking soda to a glass bowl.  Add 24 drops of your choice of essential oils.  Mix well, breaking up any clumps with a wooden spoon or your hands.  Begin adding 2-3 T filtered or distilled water to the bowl.  Continue adding water until it's the consistency of stiff cookie dough.  Press dough into your molds and let dry overnight.  The mixture will expand as it dries so cover molds with plastic wrap and weigh down with a book.  Continue checking and pressing down the dough for the first 3-4 hours.  After the dough has dried, pop it out of the molds and store in an airtight container.

On any given week (depending on how busy I am!) I love to participate in Link Parties.  These gals put a lot of time and effort into hosting these parties so I always want to show my appreciation by directing my readers to these blogs. 

Monday

Tuesday

Wednesday

Thursday

Friday

Saturday

Sunday

Wednesday, April 11, 2018

Another Brief Blog Break

It's been a difficult month with the passing of my mom.  Just when I thought I was getting back into a 'groove', we had to suddenly put our little 8-year old Cocker Spaniel, Ava down on Sunday.  

Ava had something called Hemangiosarcoma.  It is a tumor that usually affects the liver or spleen.  Hers was on her spleen.  There usually are no signs anything is wrong until the tumor ruptures and causes, in some cases, instant death.  Ava became ill in a matter of hours and by the time I rushed her to emergency, it was apparent she was barely alive.  We were able to hold her and be with her until the end.  I'm so, so sad.

If you have pets, you know how attached we become to them and how quickly they become a part of the 'landscape.  
It's just a bit overwhelming right now so I'll take a little time off.  I'll be visiting your blogs as much as I can and look forward to returning when I'm feeling up to it.

Thank you dear friends for understanding.


Friday, March 30, 2018

Weathered Wood Garden Signs


I don't have a very 'green thumb'.  I admit it.  I keep trying though.  Every year.  It helps to have a sense of humor about your shortcomings so I decided to create some signs for the garden (of course they're fun to use even if you DO have a 'green thumb'!)  I'm making multiples of these so they will be for sale in my eBay shop on APRIL 1 and are also available through my Facebook Marketplace shop right now.


I have a lot of reclaimed wood but you could use any scrap wood you may have.  I give the wood a white wash first.  This is important because the images are printed on white tissue paper and you want the tissue to kind of 'disappear' when applied to the wood.


Lots of sanding by hand and using my sander help to make the tissue 'disappear' into the wood.


I love this verse!  I thought it was also a great way to display God's word in the garden.  I normally like the NIV but for some reason, I really liked the King James for this verse.


Patience pays off when the tissue disappears making it look like these have been hand-painted directly onto the wood.

It's still a bit cold here although the flowers ARE starting to make an appearance and the grass is starting to grow so hopefully in the weeks to come I can get out to the garden beds and begin getting them ready for another attempt at making SOMETHING bloom this summer!

It may not FEEL like Easter but it IS and I wish you all the most blessed Easter as we celebrate the risen Savior, 
Jesus Christ!

I'm sharing with you one of my favorite songs by Selah called "Glory".  It was a great comfort to me as we sat with my mom before she went to be with the Lord.  It's such a great description of all that awaits when our Lord returns.  Because of His sacrifice on the cross and his resurrection, "one day death will retreat and wave it's white flag"!!  Amen!!


On any given week (depending on how busy I am!) I love to participate in Link Parties.  These gals put a lot of time and effort into hosting these parties so I always want to show my appreciation by directing my readers to these blogs. 

Monday

Tuesday

Wednesday

Thursday

Friday

Saturday

Sunday


Tuesday, March 20, 2018

Birds On A Wire String Art

Welcome to the March Pinterest Challenge Blog Hop, hosted by My Pinterventures. The purpose of this Pinterest Challenge is to motivate all the participants of this hop (and you too) to not just pin, but to make it happen! So this month, I chose to create/make Birds on a Wire String Art.


Now it figures that the thing that grabs my attention doesn't have a link to the original source.  It has been reproduced many times by different people but no source for the pattern/idea is ever given!  Here is where I first saw it on Pinterest. Others have recreated it but no where is the source given so if YOU know it, let me know so I can give credit!


I used small 5/8" brads, a small hammer (smaller is better -- it's easier to get into the tight spaces) and needle nose pliers. You'll need the pliers often to hold the nails while you hammer (again, tight spaces . . .). You can use any type of string but I like the wide color selection of embroidery floss so that's what I used.  


I started by printing the picture out in black and white.  I took an old piece of fence board and white washed it first and distressed a little.  Laying the picture on the board, I pounded in a few random nails to hold it in place.


You do want to try to keep the nails evenly spaced and at the same height.  Once they were all in, I used the pliers to bend or straighten the nails and looked over the top of the board to see if any needed to be pounded in more.


Next you simply tear off the paper pattern and you're left with


your birds, ready to be 'strung'.


There are different 'styles' of string art. Some use very little string so a lot of the background is showing through. I kind of went for 'more' string to give more of a solid look since the background was white and I wanted the birds to show up better.  Simply start at the bottom of each bird by tying the string in a knot, then begin outlining first. 
I would suggest reading the great instructions at The Marathon Mom's Blog.  She shows you how to outline and wrap the string with great pictures and instructions!


It's up to you how many times you want to go over the piece to fill it in.  


Next I added the wire for the birdies to rest on.


I love this quote so decided to add it to this piece.  I simply printed it out on tissue paper and then used watered down Mod Podge to apply it to the board.


Once it was dry, I sanded it to fade/age/distress the lettering.


I love how this looks on my dining room wall!

NOW, let me just say that this is NOT the quick project I THOUGHT it would be.  It's SIMPLE enough, but let me tell you, pounding in all those nails is a bit challenging and winding the string takes some patience because if you're not careful, it will unwind and unwind a lot which can be frustrating.

That being said, I think I will definitely be making more of these haha!  There are lots of sights with free patterns but really, you can take ANYTHING and by simply outlining the shape, create string art.  Just don't plan on doing this while anyone is trying to nap!!

Now let's see what other things Pinterest inspired! Head over and visit the other hosts to see what they crafted, cooked, built, or tried!
Pinterest Challenge Blog Hop
Joanne - Our Unschooling Journey • 
Roseann - This Autoimmune Life • Kelli - The Olympic Nest
• Lynne - My Family Thyme • Beverly - Across the Blvd.
Debra - Shoppe No. 5 • Lauren - Mom Home Guide • Pili - My Sweet Things
Julie - Sum of their StoriesGwen - Geez, Gwen!
 • T'onna - Sew Crafty Crochet • Kenyatta - My Design Rules
Lauren - Mom Home Guide • Deborah - Salvage Sister & Mister
Gail - Purple Hues and Me • Terri - Our Good Life • Lisa - Blogghetti