This will be my last post for the week as my son is getting married a week from tomorrow! Following the wedding reception, we are hosting an "after party" at our home so I've been getting the yard ready (HOPING to have it outside!) and adding a few fun touches. This birdhouse was given to me by a neighbor. It was dark green with a plain metal pole so I couldn't resist painting it pink with a black pole and adding a bit of whimsy. I attached a little dangling prism in the center to catch the sunlight and on the side, this little framed quote is attached with magnets so I can remove it if it rains.
The same neighbor gave me a bunch of nice, large vases. My son (the one getting married) was going through all of his 'stuff' and came across a box with all of these pretty rocks from his childhood collection. Imagine, he was going to throw them out!
I filled one of the vases with sand, topped it with the sparkly, colorful rocks and added a candle.
Great sentimental memories and I love how the 'fool's gold' sparkles in the sunlight!
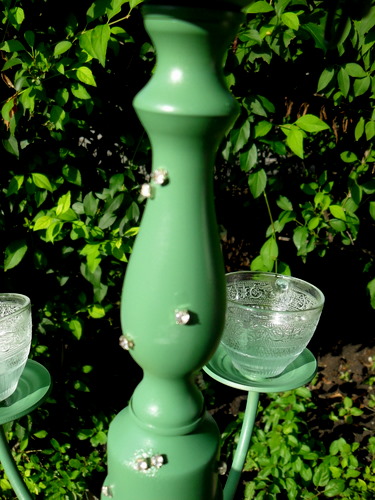
Finally, I got another one of the ReStore brass chandeliers for $5.00. I sprayed it this moss green color, added some glass tea cups (.25 each) and a few rhinestones here and there for a little 'bling'.
I bought a TON of vintage curtain panels that I'm going to use to decorate the tables outside at the party, added white lights to the bushes and will be using lots of my other outdoor lighting projects to create a fun, party atmosphere. So once the wedding is over, I'll be sure to post pictures! Have a great week everyone!
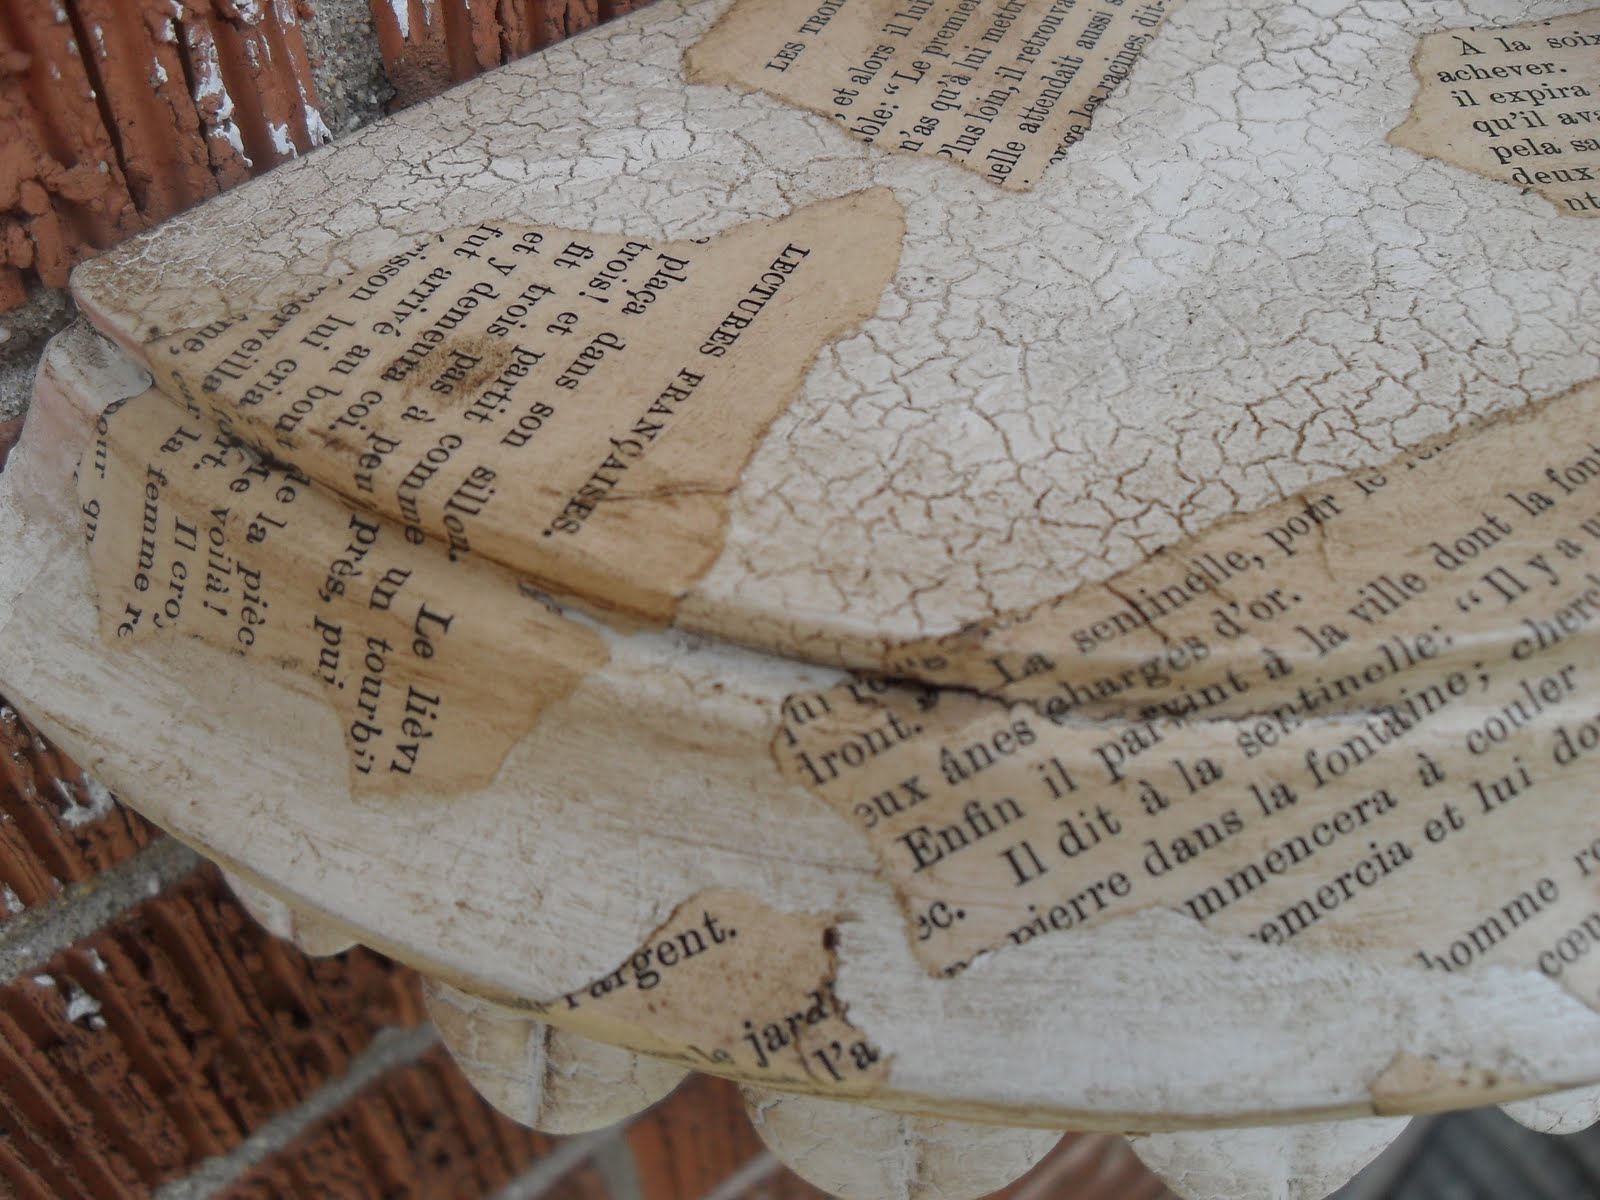
Recently I picked up a vintage French textbook and here are some of the projects I've used the pages on. This shelf came from a garage sale ($2.00) and was gold but it had lovely details and a crackle finish. After a few coats of off white spray paint, I added torn pieces of the pages using Mod Podge. I finished off with a coat of Annie Sloan's dark wax and a few coats of her clear wax.
Like it? It's for sale in my Etsy Shop! The second project was this lamp that I got at the thrift store for 60 cents. It was a bronze color originally.
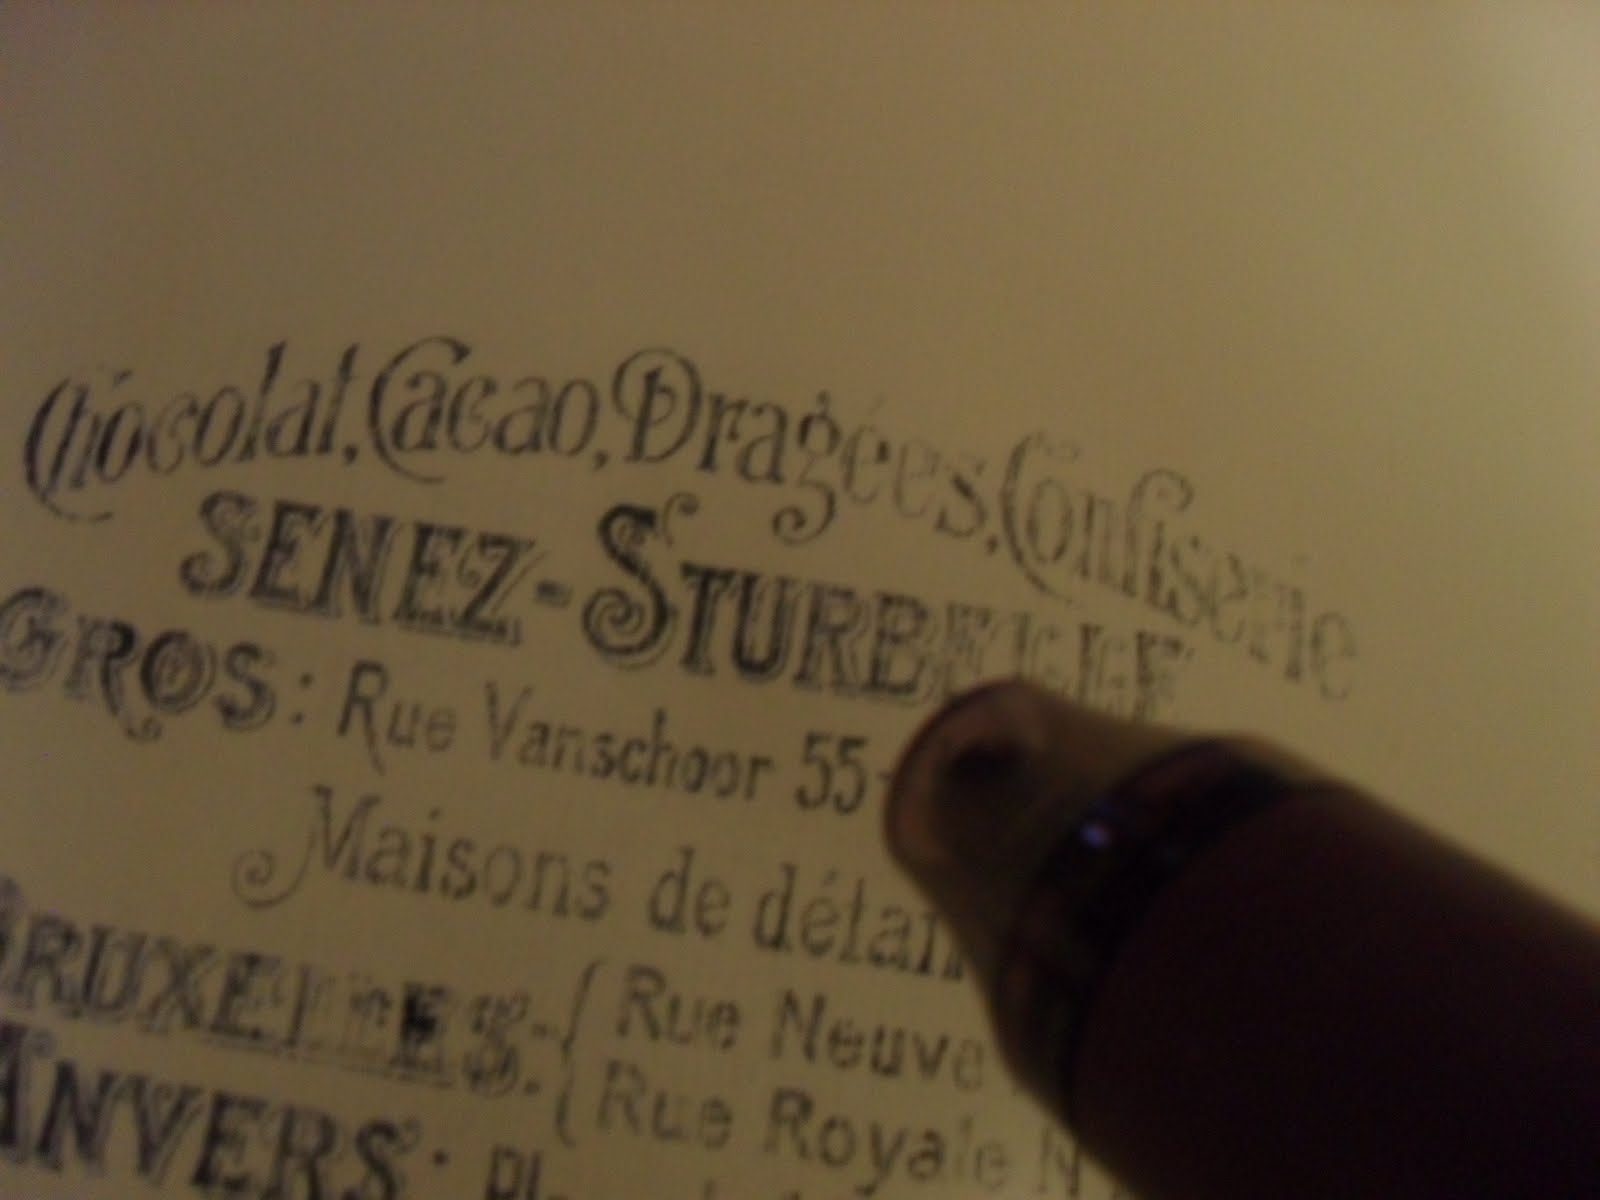
After a few coats of flat, black spray paint I added torn pieces of the French book to cover the base using Mod Podge. I applied several coats so the torn edges are all smooth and then finished off with a coat of dark wax.
The 'charm' was made from a formica chip sample that I spray painted, stamped with a French script background stamp and then the birdhouse. The gold bee was made by adding layer upon layer of embossing powder. After applying the last layer, you press your stamp (inked with clear VersaMark) into the warm embossing powder to get your image.
I love using book pages in my projects . . . what have you done with book pages? Please share your thoughts and ideas with me!
As with blogging, I'm joining the Etsy Bandwagon! If you don't know what Etsy is . . . well, it's this amazing world marketplace that swallows up your time and money but it is OH SO FUN! You really can find anything on Etsy from handmade goods to vintage antiques.
My shop is mainly 'shabby chic', vintage decorative items.
In addition to some of the things you see here, the outdoor basket chandeliers I made are also available in the shop. Don't you just love this jar candle holder with it's delicate design and dangling prisms??
You'll see that I love using old keys, book pages, mirrors and chalk paint!
So stop on over and take a look . . . I'll be adding new items weekly!
I found this table at a garage sale for $5.00. It’s a very heavy, solid piece so I bought it. I started with two coats of cream Chalk Paint. I really wanted to add a graphic from The Graphics Fairy but didn’t want to go through any of the processes I had seen online. I had read somewhere that you could use an ink jet printer to transfer to wood so I thought I’d give it a try.
After a bit of practice on scraps of wood, this is the technique I came up with and it worked really well. You’ll use a sheet of peel off labels and remove all of the labels leaving you with the waxy paper.
For this technique, I found a simple image worked best. If it is too finely detailed, it ends up looking ‘muddy’. I chose this image that is mostly letters.
Print your image on the WAX side of the paper (remember to reverse it if there are words/letters in the image) and then using a heat gun, dry it completely. This is important. Even letting it dry by itself for hours, doesn’t completely dry the ink and it will smear when you lay it down on the wood!
Lay the image face down on the painted surface and secure with painter’s tape. Using something like a plastic scraper (I used a sample of chipboard) rub and rub and rub.
You can peel back the paper periodically to see if there are any areas you’ve missed. Once you’re satisfied with the results, remove the paper. You can reuse the paper by simply wiping off the image with a damp cloth. This one I obviously couldn’t because I chose to cut it so it made centering the image easier.
Using the heat gun again, go over the entire image to make sure it is dry. Don’t hold the gun over any one area too long or too close or it may bubble. Gently, and using a soft cloth instead of a brush, apply a coat of wax (I used clear). Once this is dry you can distress, buff, wax again or whatever you choose. For this piece I chose to do some more distressing and apply another coat of clear wax.
It should be noted that this method doesn’t give a SHARP image but since I was going for a vintage, distressed look, it was perfect!
To summarize:
Paint
Print image and dry with heat gun
Apply image
Dry and heat set image with heat gun
GENTLY apply a coat of wax using a soft cloth*
Distress, wax, etc. as much as you want
*You can also spray with clear sealer. I did that on a smaller piece and it worked fine too.
BEFORE
AFTER
And, since I just have to stop keeping the furniture I redo, this one is for sale on Craigslist (Sold) . . . Now on to my next project!